Download
1 / 24
260 likes | 487 Views
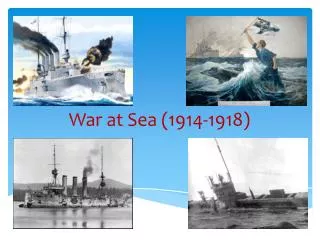
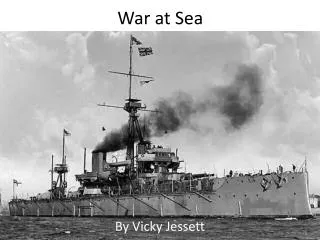
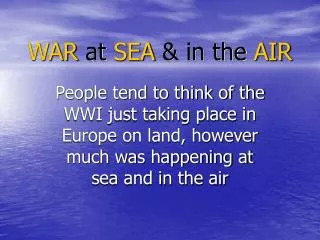
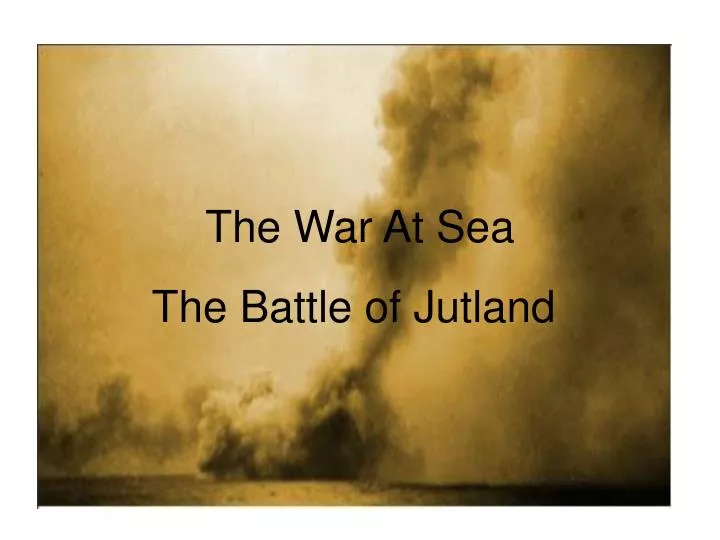
The War At Sea. The Battle of Jutland. "Admiral Jellicoe is the only commander on either side capable of losing the war in a single afternoon." Winston Churchill First Sea Lord. Why was Britain reluctant to get involved in a War at Sea?.

E N D
The War At Sea The Battle of Jutland
"Admiral Jellicoe is the only commander on either side capable of losing the war in a single afternoon." Winston ChurchillFirst Sea Lord Why was Britain reluctant to get involved in a War at Sea? • As an island, Britain was much more dependent on her imports from the sea than Germany. • Britain needed a large navy to protect her colonies • Britain had little to gain from a victory in a pitched battle and everything to lose
The German Plan Knowing their battle fleet was weak in its number of battleships, the Germans planned to avoid an all-out battle until they could first sink enough British warships to make the numbers more even.
The German Plan In 1916, the German plan was to lure parts of the British Grand Fleet out into the North Sea by swift surface raids on East coast towns such as Scarborough and Sunderland. Meanwhile, German submarines were stationed several miles outside the main British naval bases of Rosyth and Scapa Flow for the purpose of sinking British battleships with torpedoes as they left port to deal with the surface raids.
The German Plan However this plan proved ineffective as the German U-boats failed to sink a single British warship. Towards the end of May 1916, Admiral Scheer, Commander of the German High Seas Fleet, decided on a further - more risky - decoy operation to lure British battleships out of port. Wilhelmshaven – the German Naval Base
The German Plan The intention was to lure Admiral Beatty out into the open He decided to lead the whole of the German High Seas Fleet out into the North Sea, sending his battlecruisers under Admiral Hipper ahead as a decoy to attack merchant shipping in the sea passage between Denmark and Norway, known as the Skagerrak. Scheer’s intention, as before, was not to fight a pitched battle but to lure Admiral Beatty’s battlecruisers out of Rosyth to attack Hipper and then fall on Beatty with the whole might of the German High Seas Fleet. Hipper sent in here as a decoy to attack merchant shipping
Unknown to Scheer however, the British were able to decode German radio messages. Scheer’s messages to Hipper were intercepted and passed to Admiral Jellicoe, who immediately ordered the British Grand Fleet to sea under cover of darkness to avoid the waiting German submarines. By midnight on 30th May 1916, Jellicoe and Beatty were at sea - five hours before Scheer and the German High Seas Fleet had left Wilhelmshaven!
The Admirals Admiral Jellicoe Admiral Scheer Admiral Hipper Admiral Beatty
15.30 Beatty sights Hipper's leading battlecruisers. Hipper turns towards the South East, hoping to lure Beatty in the direction of Scheer's main battle fleet which is 50 miles to the South and rapidly closing. At this point, Scheer and Hipper must have thought that their plan of detaching Beatty from the British Grand Fleet was working.
15.48Both sides open fire. Almost immediately, HMS Indefatigable is blown up and sunk with the loss of all but two of her 900 crew.
16.26 HMS Queen Mary receives a direct hit on her magazine, she explodes spectacularly and sinks. From a crew of 2,000 only twenty survive.
16.40 Beatty sights the German High Seas Fleet in the distance and turns his battlecruisers Northwards to avoid the German trap. He sets his own by drawing Scheer and Hipper towards Jellicoe and the British Grand Fleet which is rapidly approaching from the North West.
17.35 Whilst escaping to the North West, Beatty continues to engage Hipper's cruisers, forcing them further to the East. Unable to see the approaching British Grand Fleet, the whole German fleet is about to enter the trap Jellicoe and Beatty have prepared.
18.05Jellicoe sights the battlecruiser action from a distance of 15 miles. With little information from Beatty and not sure exactly where Scheer was, Jellicoe had to decide how to deploy his fleet from cruising into battle formation.
18.15Jellicoe decided to deploy his battleships to port (left) - ie. to form a single line behind the port column. This has been described as "the Royal Navy's most important tactical decision of the twentieth century". Had he taken the starboard line, he would have sailed towards the massed guns of the German High Seas Fleet. Jellicoe's decision reversed this situation. Scheer, believing he was chasing down only Beatty's cruisers, suddenly found himself sailing towards the massed guns of the most powerful navy in the world. His fleet was already taking a dreadful pounding.
18.30Facing almost certain annihilation, Scheer carried out a brilliant manoeuvre. He ordered his whole battle fleet to turn at the same time, make smoke to conceal their whereabouts, and sail at full speed in the opposite direction (South West) away from Jellicoe's guns.
19.10For a reason still unexplained, Scheer turned back again and sailed for a second time into the British guns. This time Jellicoe was able to "cross the German T". Only the forward guns of the leading German ships were able to fire on the British Grand Fleet - the German ships further back were too far away to reach the British ships. The British fleet, on the other hand, were able to concentrate overwhelming fire on the leading German ships, as almost all their ships - and nearly all their guns - could fire on the German fleet at the same time.
19.17This time, turning away alone would not save him, so Scheer also ordered a mass torpedo attack on the British fleet by his remaining destroyers. It was a desperate gamble.
19.21At this moment, Jellicoe took the decision that would ensure that he could never win the battle. Jellicoe was extremely cautious of torpedoes and his instinct was to turn away from them as he mistakenly believed that the Germans had developed torpedoes that left no trail of surface bubbles as they moved through the water and so would be undetectable. So he turned away with his whole battle fleet, allowing Scheer to escape from view and beyond the range of his guns.
19.21Had Jellicoe turned towards Scheer at this point instead of away he would have inflicted heavy losses on the German fleet - possibly even routed them, and at the very least butchered the German battlecruisers. Although heavily criticised for this action, a turn towards the attack whilst more aggressive also increased the risk of losses to the British - a risk Jellicoe did not need to take.
20.00Despite losing contact with the German High Seas Fleet, Jellicoe was well placed between Scheer and the German fleet's harbour at Wilhelmshaven. He therefore headed generally South in order to cut off Scheer's escape route. Unfortunately, night began to fall and Scheer was able to slip past the British Grand Fleet in the darkness and reach the safety of his home ports. Jellicoe had no option but to begin the long journey home.