Download
1 / 21
230 likes | 391 Views
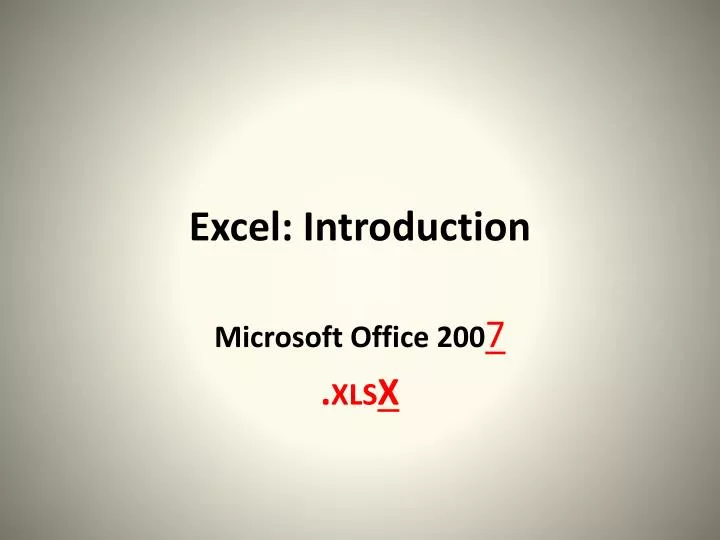
Excel: Introduction. Microsoft Office 200 7 . XLS X. TEMPLATES. Click on the OFFICE button NEW A list of templates appear (pre-created workbooks that can be reused and include formulas and formatting ) .

E N D
Excel: Introduction Microsoft Office 2007 .XLSX
TEMPLATES • Click on the OFFICE button • NEW • A list of templates appear (pre-created workbooks that can be reused and include formulas and formatting )
KEYBOARD SHORTCUTS & VIEWS • KEYBOARD SHORTCUTS: • Hold down the: ALT key • Letters will appear • Key in the ALT + letter • Numbers will appear: ALT + number • VIEWS: • Bottom-right; on taskbar • Page Break Preview • Page Layout View • Headers, footers, margins, orientation, scaling Works in ALL MS OFFICE PROGRAMS
ALIGNMENT & HEADER ROWS/COLUMNS • Center and Merge • HOMEtab > ALIGNMENTgroup > • Rows and/or Columns to Repeat at top/left • PAGE LAYOUT tab > PAGE SETUP group > SHEET tab >
AUTOMATICALLY formatting cells whose cell values is…. • HOMEtab > STYLESgroup > drop-down arrow i.e. HIGHLIGHT CELLS RULES > GREATER THAN • Key in value • Select the type • of FORMATTING you would like from the list, or select: • CUSTOM FORMAT
FORMATTING & misc. • RENAMING WORKSHEETS • Cell styles: HOMEtab > STYLESgroup > • Format number style • Format Painter • Home tab, Font group, Borders and Shading • Autofill/Fill Handle • Review tab, Spelling • Autofit columns and rows
NUMBER FORMATS • Right- click the cell > FORMAT CELLS > NUMBERtab, select: • CUSTOM> at the bottom of the list • A ? Question mark, represents 1alpha-numeric character • # represents a value
DATA BARS • HOMEtab; STYLESgroup • Applies formats based on the values in cells • DATA BARS: • Conditional formatting tool • Alternative to charting data when you want to highlight patterns & trends, and you don’t need a chart
CONDITIONAL FORMATTING • ICON SETS: • HOMEtab; STYLESgroup • Symbols to represent different values • i.e.top 1/3 of the group represented by the green check mark • Values in the middle represented by: yellow exclamation mark • Smallest value byred “X”
THEMES • Click PAGE LAYOUT tab • Click on the THEMES format gallery • Pre-defined set of colours, fonts, line and effects • As you point to differentthemes “LIVE PREVIEW” shows you what your chart would look like • Can also customize a theme to match
CHARTS • Pre-select cells • INSERTtab; CHARTSgroup; • Select the type of chart • A gallery of sub-types appear to choose from
CHARTS cont. • By default, the chart appears on same page • When you select a chart: Chart Tools Design tab appears • If you want to move the chart to another sheet, click on the: button
CHARTS cont. • If you want to change the overall visual style of your chart, click on the MOREButton, to the right of the Chart Style group • Pre-defined themecolours & intensities
CHARTS cont. • Chart Layouts group: • Edit & modify data • To modify specific elements of the chart, move to theLAYOUTtab:
CHARTS • If you want to change chart type • Go to DESIGNtab, and click on • Change Chart Type button (extreme left):
FORMULAS • FUNCTION WIZARD • FUNCTION LIBRARY: Categories of functions • Includes the AUTOSUM button if you click on the drop-down arrow— other functions
FUNCTION AUTOCOMPLETE • Click in the cell where you want to insert a function • Click in the formula bar, and type in the = equal sign, then the 1stletter of the function i.e. “a” • Click on the ARROWkey to move down to the function you want And then press the TAB key • A tooltip appears to remind you of the argument list
FREE “TIP OF THE WEEK” • The "Get Started" tab added to the Excel ribbon - http://office.microsoft.com/en-ca/help/HA102146851033.aspx • gives quick access to the training and videos • adds an interactive guide which can show the locations of commands in Excel 2007 when you know its location Excel 2003.