Download
1 / 24
280 likes | 663 Views
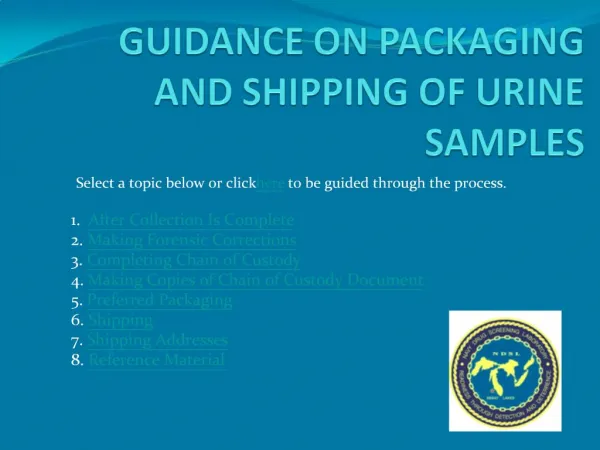
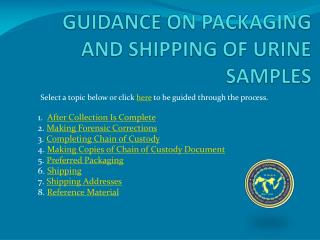
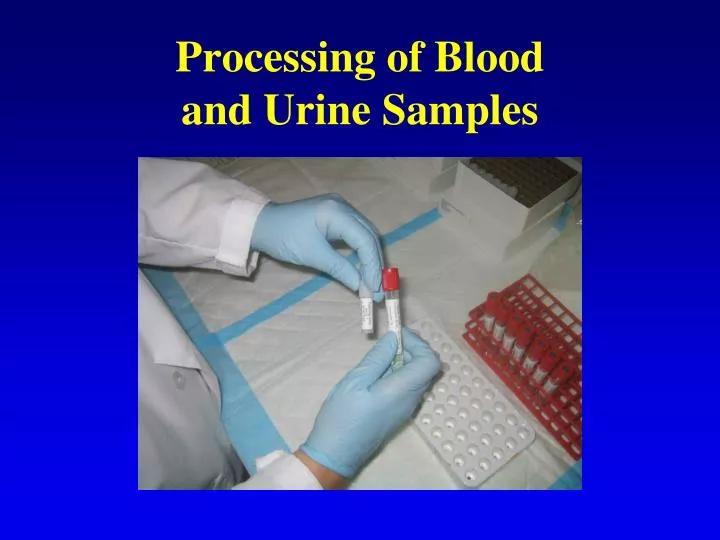
Processing of Blood and Urine Samples. For easier comprehension of this presentation, please review the specimen processing flow chart below. Receipt of samples. Receive samples at a regional hospital or DGHA lab (MOH) in Muscat.

E N D
For easier comprehension of this presentation, please review the specimen processing flow chart below
Receipt of samples • Receive samples at a regional hospital or DGHA lab (MOH) in Muscat. • Check freezer and refrigerator space availability and temperatures. Freezer space should have been previously allotted for use with a phone call or another contact ahead of time. • Place digital thermometers into the freezer and refrigerator so that you can record the temperatures onto all shipping lists.
Unpacking the shipment • Unpack specimens and note comments or problems on Shipping Lists. • Store urines and purple tops in 4°C refrigerator while processing red tops. • Outside the Muscat area, purple tops may be discarded into a biohazard container after team supervisor has checked that the Hb has been recorded (ZP will be done on subset of samples from Muscat area). • Because of Vitamin A’s sensitivity to light, never work in sunlight from a window. Fluorescent lighting is okay.
Roles of the processing team • Lab staff will centrifuge red tops according to manufacturer’s instructions for tube size to separate the serum from the cells. • Team supervisor will organize all of the labels into sequential order dividing women, children, and men.
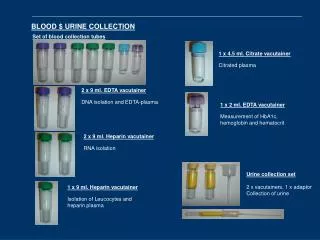
Serum processing steps • Organize red top tubes, racks, pipettes, cryovials and caps, shipping lists, boxes, study labels, and box labels to facilitate good work flow.
Serum processing steps • Three (10 X10) gridded boxes for serum cryovials should be prelabeled with a label on the side of the lid and then handwritten/prelabeled on the side of the box bottom to include the study name, specimen type, the test method/storage, destination lab, and desired temperature. Hand write the collection date on the label.
Serum processing steps Boxes need to be marked at the bottom left corner with a heavy marker. This will indicate specimen placement in box.
Serum processing steps Lab staff will centrifuge red top tubes according to the manufacturer’s instructions. While red tops are being centrifuged, the team supervisor will organize the labels into sequential order with women, children, and men labels separated. After red top tubes are centrifuged, lab staff will organize the tubes in a rack corresponding to the order of the labels.
Serum processing steps • Take the 3 labels identified as S1, S2, and S3 belonging to the first woman participant and prelabel serum cryovials S1, S2, and S3.
Serum processing steps • Arrange shipping lists for 3 serums on the counter and label each with S1-R, S2-MOH, and S3-MOH. Work with one participant ID at a time and note any comments. If no vacutainer was collected, make sure that the shipment list indicates this. • Place remaining labels face down to retain order for urine processing.
Serum processing steps • Working with one specimen at a time, always check label IDs on all tubes and double check on transfer from red top tube to cryovials.
Serum processing steps • Pipette at least 1 mL serum into each of the 3 cryovials utilizing all available serum. One mL in S1, and 1 mL in S2 is appropriate for testing. Cryovial labeled S3 is used for the extra serum. NEVER overfill beyond the 1.8 mL mark.
Serum processing steps • Work quickly, and secure caps tightly after each transfer. • Discard each pipette and blood tube into a biohazard container. • Place the cryovials into their respective boxes: a. S1 serum to Royal Hospital for Ferritin/CRP testing. Label reads R. b. S2 serum to DGHA for Vitamin A testing. Label reads MOH. c. S3 serum to DGHA for storage backup sample. Label reads MOH.
Serum processing steps • Start on the 2nd woman’s red top tube repeating previous steps and continue processing all red top tubes in this manner. • When finished with the women, move on to the children samples. Process these samples as specified above.
Serum processing steps • Place the children’s serum cryovials at the halfway mark within the box keeping them separate from the women’s serum.
Serum processing steps • When complete, place the boxes into the freezer until ready to package for shipment and transfer to the next destination. • Make a copy of the shipping list. The original list will stay with the samples and the copy is for the team supervisor. • Next, the processing of the urines may be started.
Urine processing steps • The urine cryovials from the field must be reboxed sequentially into 2 separate boxes for shipment, separating the U1’s from the U2’s. • The boxes will be labeled to indicate the study name, sample type (urine), test method/storage, destination lab (DGHA), and desired temperature.
Urine processing steps • Gather the sequential stack of labels organized during the serum processing. Place sequential numbers onto 2 separate shipping lists for urines: U1-MOH and U2-MOH. • Reorganize the urines sequentially and place Urine 1 into a separate box from Urine 2 following the order of the shipment list. The 2 boxes will be identified as Urine 1 for urinary iodine, and Urine 2 for storage. Destination is DGHA; label reads MOH.
Urine processing steps • Check each urine sample as it is boxed to make sure the order is correct. • If there is no specimen (identified by a cross-out on the label), indicate this on the shipping list. • Make sure all caps are secured tightly and not overfilled beyond the 1.8 mL mark. • Again, work from bottom left corner of box, which is indicated by the black mark at the corner and work left to right on each row and front to back to duplicate rack work flow.
Urine processing steps • Continue with next sequential number, repeating the previous steps. Always work with one specimen number before moving on. • After all urines are boxed into the 2 boxes, make a copy of the shipping list and put both urine boxes into the freezer. If freezer space is not available, store the urine samples in the refrigerator. • When all urines have been completed and if you are working in the Muscat region, you may begin processing the purple top tubes.
Whole blood processing steps • The purple top tubes in the Muscat area will need to have a separate shipping list made. • Gather the sequential stack of labels from the urine processing. Place sequential numbers onto the shipping lists for ZP. Label will read P-MOH. • Reorganize the purple top samples into sequential order to correspond to the labeling of the shipping list.
Whole blood processing steps • The purple top tubes may be placed into a larger (7x7) box or into a borrowed rack. The 7x7 box will only be temporary storage for transport since it will require reuse. • Store the purple tops into a monitored and designated refrigerator at DGHA (MOH). • Testing for ZP is stable for up to 7 days if stored in a refrigerator. Do Not Freeze.
Final tasks • Before team workers leave the processing lab, make sure the lab area is as it was on arrival. • Remove all items that you brought in. • Discard all trash into appropriate containers. • Don’t forget your digital thermometers. • Prepare more blank copies of Shipping Lists. • Turn off the copy machine. • Replace used cold packs for new ones. • Refer to the Shipment Procedure when ready to package and ship the serums and urines to Royal Hospital and to the DGHA lab.