Download
1 / 16
970 likes | 2.4k Views
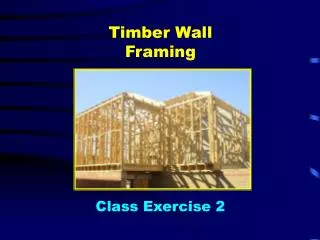
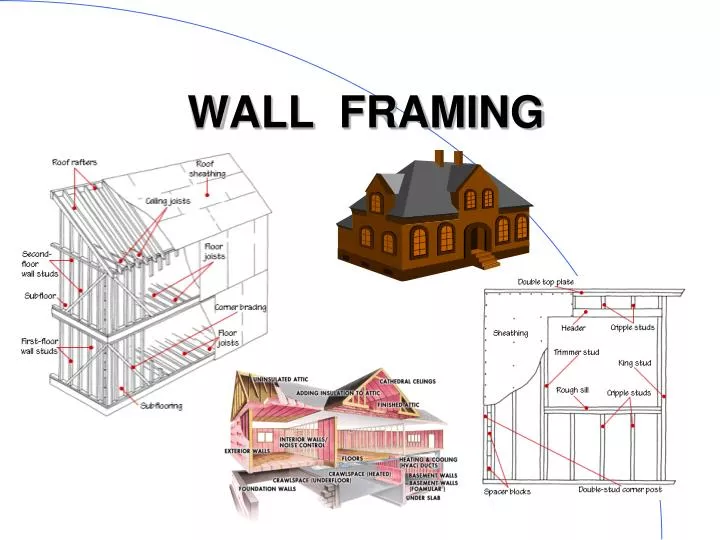
WALL FRAMING. Interior & exterior walls. basic wall components bottom plate studs top plates headers bracing sheathing finishing materials. Plates. most common assembly consist of one bottom plate and two top plates for wood framing

E N D
Interior & exterior walls • basic wall components • bottom plate • studs • top plates • headers • bracing • sheathing • finishing materials
Plates • most common assembly consist of onebottom plateand two top plates for wood framing • refer to wall sectionsfor sizes • refer to specifications for grade of lumberused
Plate takeoff • plates are required for exterior walls and interior walls • NOTE: exterior and interior walls may be different is size therefor perform takeoff separately • multiply the total linear feetof wall by the number of platesrequired in the wall sections • length’ of walls * number of plates • NOTE: do not deduct for openings
WOOD STUDS • studs, like plates should be taken off separately based on sizes required • Studs are most commonly 2” X 4” @ 16” O/C or 2” X 6” @ 16” O/C
WOOD STUD TAKEOFF • review specifications and drawings for spacing and lumber grade • FORMULA # studs = roundup (length’ of wall / 1.33) or # studs = roundup (length’ of wall * 0.75) • 1.33 and 0.75 is for 16” o/c studs NOTE:do not deduct for openings
WOOD STUD TAKEOFF • after number of studs are calculated add the following • for every corner or end add 1 stud • for every intersection add 2 studs • for every opening add 2 studs
WOOD HEADERS • headers are required to support the weight of the building over openings • check the specs. and drawings to determine if headers are built-upwood , engineeredor cripples
WOOD HEADERS • a built-up header is made up of 2 pieces of lumber usually 2” x 4”, 6”, 8”, 10” or 12” • header length must also be considered • usually the header must extend over the top of one stud on either side of the opening ( jack stud )
Exterior sheathing • most common materials are • plywood sheathing • OSB sheathing • rigid insulation • exterior sheathing is taken off in square feet • check wall sections to exact area of wall to be covered • height’ of area covered by sheathing X length’ of wall • do not subtract for openings
Air barrier • air barrier is used to allow moisture to escape from the inside but prevent wind from entering • common type is TYVEX • taken off in square feet but ordered by the roll • check wall sections to exact area of wall to be covered • do not subtract for openings
Insulation • common types used are: • batt insulation • rigid insulation • blown-in • batt insulation is friction fit between the studs
Insulation • insulation is made in different thickness to meet the building code R-value requirements • different locations in a home require different R-values
Insulation • insulation is taken off in square feet but ordered in bundles • check specifications and interior walls for sound insulation • do not subtract for openings smaller then 50 sf • thickness and framing spacing must be taken into consideration
Vapour barrier • vapour barrier must be placed on the warm side of the structure usually between interior face of stud and drywall • check wall sections for all locations • taken off in square feet but ordered in rolls • do not subtract for any openings • all joints should be taped or caulked
REMEMBER • -TEST NEXT WEEK