Download
1 / 8
80 likes | 153 Views
Pencasting vs . Screencasting: Communicate Your Message. Creating effective low-cost or free training resources and instructional materials to reach digital learners Jesse Wisnouse Frederick County (MD) Public Schools. Meet the presenter.

E N D
Pencasting vs.Screencasting: Communicate Your Message Creating effective low-cost or free training resources and instructional materials to reach digital learners Jesse WisnouseFrederick County (MD) Public Schools
Meet the presenter • Middle school science teacher for Frederick Co. (MD) for four years (2002 - 2006) • Technology coordinator for one year (2006 - 2007) • Technology Resource Teacher (2007 – present) • Started producing screencasts in 2005 • Started creating pencasts in 2010
What We’ll Review Today • Materials necessary for creating pencasts and screencasts • Determining the best tool for your audience • Demo: How to create pencasts and screencasts • How to publish your content for others to access
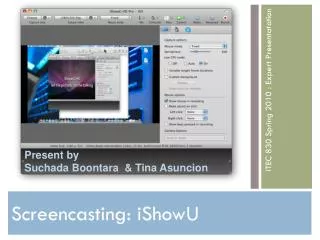
Pencasts vs. Screencasts • Pencasts: recorded pen strokes with audio • Save as a PDF or post online for free (up to 500 MB) • Great for explaining a process • Less technology involved; more natural for teachers • Screencasts: on-screen video demonstrations of a user’s actions • Options can offer better visual experiences • Save locally or post to a free online account (up to 2 GB) • More planning might be necessary (storyboarding)
Which Tool Should I Use? Pencasts Screencasts • Math examples- equations, proofs • Science- relationships, simple illustrations • Languages- peer editing, parts of speech • Meeting notes • Demonstrate a task (in software or online) • Sharing multiple objects in the same learning simulation (images and terms) • Tutorials for staff members Software- Jing (TechSmith) Microphone / headset Recommended: Wireless pointing device, interactive white board and software • Livescribe smart pen • Livescribe Desktop Software • Livescribe note paper • Microphone
Tips From the Trenches • Is this sufficient for learning? Consider your learners. • Keep secure data offline (names, SPED/FARM etc.) • Screencasts: 5 minutes of recording time- use time wisely; pause when necessary. • Very Important: What do you want to say? Use a storyboard to map out your recording. Be efficient! • Lessons learned: speak clearly, annunciate, record using a smaller window (not maximized), and give your creation an appropriate title
Publishing In A Nutshell • Choose an appropriate training / learning topic • Map out the flow of instruction on your storyboard • Create materials / manipulatives, as necessary, using white board software or other programs • Test your microphone (play back sample recording) • Record your session • Review your final product • Save locally or publish online- or do both • Share content with others as appropriate
Putting it all Together- Demo • Pencast- Calculating area & perimeter • Differentiating the terms • Real-life application for each process • Screencast- Atomic Bonding • Review of the terms • Demonstration of the process