Download
1 / 22
220 likes | 376 Views
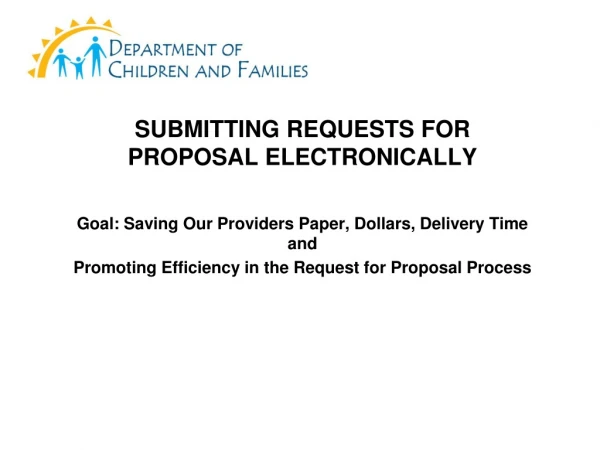
Tools and Tips for Submitting Responses Electronically. best practices to efficiently prepare your institution's responses. Why the change?. Standardized responses are easier to review Volunteers from the industry review these responses and other documentation.

E N D
Tools and Tips for Submitting Responses Electronically best practices to efficiently prepare your institution's responses
Why the change? Standardized responses are easier to review Volunteers from the industry review these responses and other documentation. Having all responses in the same format helps reviewers evaluate more easily, and therefore, more thoroughly.
Basic Requirements Save as a PDF Send in on CD or Thumb Drive PDF is saved as optimized for Web and Email File size must be under 50MB Submit a single PDF These instructions are available on the ABHES web site at http://www.abhes.org/forms
Example Response Response Sections Cover Letter Issue One Cite the accreditation standard violated Copy explanation from evaluation report Response narrative Exhibit to support response Issue Two Cite the accreditation standard violated Copy explanation from evaluation report Response narrative Exhibit to support response Repeat Format for additional issues
Cover Letter The cover letter must identify the document as the response to the Visitation Report or Commission Action letter. Must reference the specific date of the Visitation Report or Commission Action letter.
Issue Responses For each issue: Cite the accreditation standard violated (ex. V.A.5. A program has an active advisory board of in-field specialists…) Copy Explanation from Evaluation report (ex. The Distance Education representative attending the Advisory Board is a school employee. The institution…) A detailed narrative explanation of the violation with a description of any institutional changes made to correct the area of noncompliance. Identified exhibits (e.g., Exhibit 1 - McCarthy_resume) to support the narrative explanation using electronic bookmarks placed within the document.
File Name Requirement File name is ID followed by School Acronym followed by -Resp- ending with the date ID-School Acronym-Resp-Date of response Date is in mm-dd-yy format No spaces – use underscores ( _ ) if needed Keep school acronym short Ex. I-005-01-BMM-Resp-09-10-11.pdf
Tools to Use Word 2007, 2010 or 2011 (Mac) Save as PDF Create bookmarks Adobe Acrobat or PDF Creator (Windows) Preview (Mac) Create bookmarks
Scanning in Exhibits Scan as jpg Save as optimized for web or email to reduce file size. Make sure document is legible. Add to Word document as picture. Arrange so the exhibit displays after the corresponding response. If you do not have a dedicated scanner but do have a smart phone, use scanner apps like Genius Scan or CamScanner
Inserting Exhibits Create a new page for each exhibit Do not renumber Exhibits for each section Copy and Paste text from other documents or insert scanned exhibits as pictures Put the Exhibit name at the top of the page – ex. Exhibit 1 – Board Meeting Agenda Feb 7 2012
Creating Bookmarks in Word Select Insert from the Word ribbon/menu Select the exhibit page title Select Bookmark from the Insert ribbon Name Bookmark – use the exhibit name. Bookmark names must begin with a letter and cannot contain spaces or dashes.
Creating Hyperlinks in Word Insert bookmarks first Select the text you want to hyperlink Select Insert from the Word ribbon/menu Select Hyperlink from the Insert ribbon When the Hyperlink window pops up, select Place in This Document from the left side In the “Select a place in this document:” box, select the bookmark you want the text to point to
Saving as a PDF in Word After creating bookmarks, select Save As, then Save as type: PDF Make sure the file name follows the recommendations - Ex. I-005-01-BMM-Resp-09-10-11.pdf Next to “Optimize for:” select the Minimum size (publishing online) option Select Options and click on “Create bookmarks using:” and “Word bookmarks”
Sending Your Response In Copy the PDF file onto a thumb drive/memory stick or CD. Mail the thumb drive or CD to: ABHES 7777 Leesburg Pike, Suite 314N Falls Church, VA 22043