Download
1 / 18
180 likes | 295 Views
Submitting an Expense Report. Press F5 to begin the slide show. Slides will automatically advance. February 2014. 1. Objectives. After completing this lesson, you should be able to:. Route your expense report to your default approver. Route your expense report to an alternate approver.

E N D
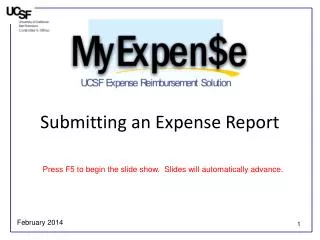
Submitting an Expense Report Press F5 to begin the slide show. Slides will automatically advance. February 2014 1
Objectives After completing this lesson, you should be able to: • Route your expense report to your default approver • Route your expense report to an alternate approver • Add a reviewer • Add an additional or exceptional approver 2
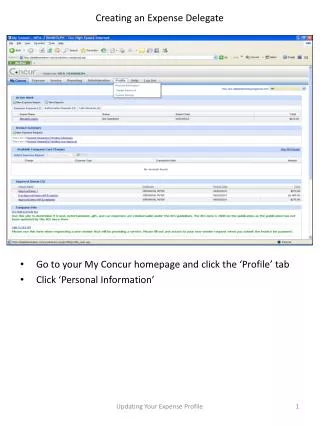
After you have completed your Expense Report, click the “Submit Report” button. 3
Final Review Review the Certification of your expenses Receipts Required If you haven’t attached your receipts already, click the “Attach Receipt Images” button to attach your already scanned receipt images. To submit your receipts via fax, click the “Print” button. After Reviewing, click “Accept & Submit” 4
KAWA To send your request to an Alternate Approver, begin entering the approver’s last name, then select from the drop-down list. 6
The Default Approver must be authorized to approve expenses for the Dept ID. 7
If the Default Approver is not authorized to approve the expenses for the Dept ID,the system will prompt for an Authorized Approver to be entered. 8
If the User is not familiar with who is authorized to approve for this Dept ID,he/she may enter an asterisk (*) and select from the list of Authorized Approvers. 9
If your department requires you to send the expense report for an additional level of review prior to the Default Approver, click the “Arrow-Up” button. 10
SZE Begin entering the Reviewer’s last name and select the name from the Drop-down list. 11
If your expense report requires Exceptional Approval, or you wish to add another level of approval after your Default Approver, click the “Arrow-Down” button 12
Begin entering the Approver’s last name and select the name from the Drop-down list. KAWA 13
When you have finished adding all additional levels of approval, click “Submit Report”. 14
Review the amounts presented on the Report Summary, then click, “Close”. 15
The Expense Report has been sent to the first Approver listed on your workflow. The status is now “Submitted & Pending Approval”. 16
Questions • CO Solution Center: • Tel: (415) 476-2126 • Email: COSolutionCenter@ucsf.edu 17
Congratulations! You have successfully completed the training for Submitting an Expense Report 18