Download
1 / 2
20 likes | 59 Views
Looking for best Basket and Bucket Strainer for aquatics, general water, and industrial applications. Strainer Australia is the largest supplier of Basket strainers in Australian. Find high quality bucket strainers in Australia.<br>

E N D
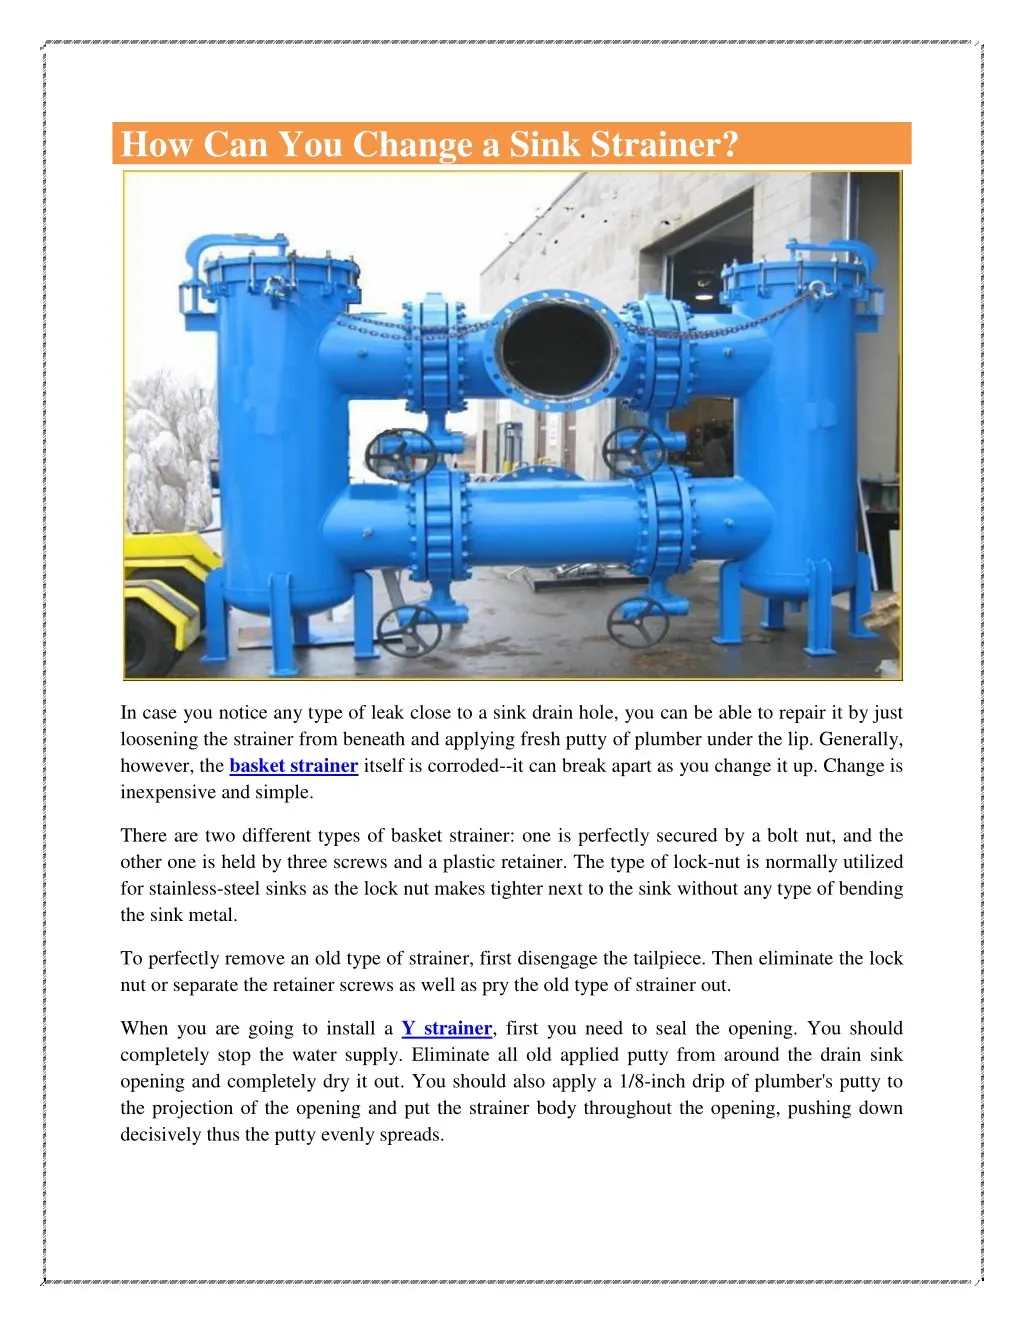
How Can You Change a Sink Strainer? In case you notice any type of leak close to a sink drain hole, you can be able to repair it by just loosening the strainer from beneath and applying fresh putty of plumber under the lip. Generally, however, the basket strainer itself is corroded--it can break apart as you change it up. Change is inexpensive and simple. There are two different types of basket strainer: one is perfectly secured by a bolt nut, and the other one is held by three screws and a plastic retainer. The type of lock-nut is normally utilized for stainless-steel sinks as the lock nut makes tighter next to the sink without any type of bending the sink metal. To perfectly remove an old type of strainer, first disengage the tailpiece. Then eliminate the lock nut or separate the retainer screws as well as pry the old type of strainer out. When you are going to install a Y strainer, first you need to seal the opening. You should completely stop the water supply. Eliminate all old applied putty from around the drain sink opening and completely dry it out. You should also apply a 1/8-inch drip of plumber's putty to the projection of the opening and put the strainer body throughout the opening, pushing down decisively thus the putty evenly spreads.
To effectively secure the Simplex Strainer, put the metal washer and the rubber washer onto the body of strainer. Then you must screw on the lock nut finger and perfectly tight to hold the strainer while you are doing work beneath the sink. Put the knobs of pliers into the strainer’s crosspieces and slide a screwdriver in between the knobs. You should also perfectly hold onto the screwdriver with one particular hand to halt the strainer even as you make tighter the lock nut. Perfectly tightening the lock nut comes further. Make tighter the strainers few turn more, utilizing a pipe wrench of 14-inch or a wood dowel and hammer. You can also brace the dowel next to one of the grooves of the lock nut as well as tap it with the pressure of hammer. Never more tighten the lock nut as you can disfigure the metal parts or break the ceramic. In case the tailpiece is corroded or worn, change it. Or else, you can fit the strainer sleeve over the available one, and keep it secure by making tighter the coupling. After that, you need to tighten the coupling of trap. Clean away excess amount of putty with a soft and clean cloth. Start the supply of water and check to confirm there are not any types of leakages. Ultimately, it is the best time to install your retainer strainer. Put the body of strainer into the opening puttied, and then fix the metal and rubber washers from beneath as for the locknut strainer. Perfectly fit the retainer onto the body of strainer and turn it until the points on the side of the drain perfectly fit into the retainer’s grooves.