Download
1 / 20
200 likes | 201 Views
Explore the fascinating history of the microscope, from the first vision aids in 1000AD to the invention of electron microscopes in 1931. Learn about its functions, parts, and how to use it effectively. Discover amazing microscopic images!

E N D
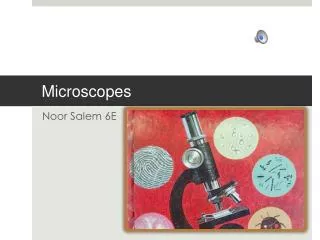
The History of the Microscope A microscope is an instrument for viewing objects that are too small to be seen easily by the naked eye.
The History of the Microscope Circa 1000AD The first vision aid was invented. It was called a reading stone. The inventor is unknown. It was a beryl stone, crystal sphere that magnified images when placed on top or in front of an object or writing.
The History of the Microscope Circa 1284AD The first wearable eye glasses were invented somewhere in Italy. The inventor is unknown. The lenses were made of quartz crystal and set in bone, metal, or leather.
The History of the Microscope In 1590, two Dutch eye glass makers, Zaccharias Janssen and his son, Hans Janssen, experimented with multiple lenses placed in a tube. They observed that objects placed in front of the tube appeared greatly enlarged. This tube was the forerunner of the compound microscope and the telescope.
The History of the Microscope In 1665, English physicist, Robert Hooke, looked at a sliver of cork through a microscope lens and noticed some tiny boxes, or cells, in it.
The History of the Microscope In 1674, Dutch tradesman, Anton van Leeuwenhoek, was the first person to use his handcrafted microscopes to observe and describe single celled organisms, which he originally referred to as animalcules, and which we now refer to as micro-organisms.
The History of the Microscope The first modern stereomicroscope was invented in 1897 when an American designer named Horatio S. Greenough introduced his creation to the Carl Zeiss company.
The History of the Microscope • In 1931, Ernst Ruska and Max Knoll developed and constructed the first electron microscope. • There are two types of electron microscopes: • TEM or transmission electron microscopes. • SEM or scanning electron microscopes. SEM image of an ant’s head.
The History of the Microscope Amazing microscopic images!
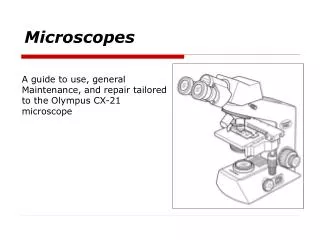
Microscope Care • Always carry with 2 hands • Only use lens paper for cleaning • Do not force knobs • Always store covered • Keep objects clear of desk and cords
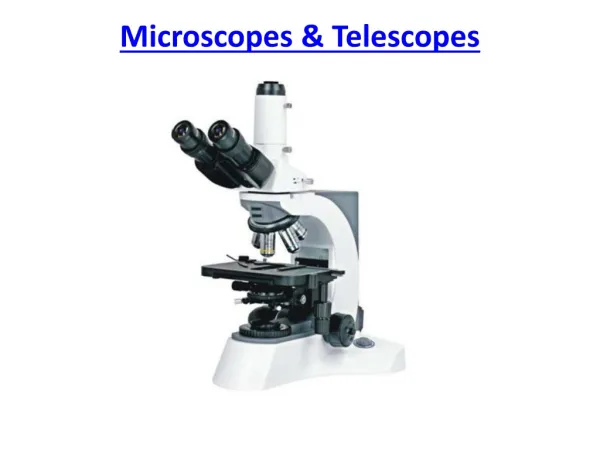
Microscope Parts Eyepiece Inclined Head RevolvingNosepiece Arm Objectives Stage StageClips CoarseFocus Diaphragm FineFocus Illuminator Base
Microscope Parts Type of Objective Band Color Magnification 1. Scanning Red 40x 2. Low Power Yellow 100x 3. High Power Blue 400x
Microscope Functions 1. Eyepiece - the lens you look through, magnifies 10x 2. Inclined head - rotates, allowing two people to use the microscope 3. Arm - used for carrying purposes 4. Revolving nosepiece - device that rotates the objectives and holds lenses 5. Objectives - hold lenses that magnify image 6. Stage clips - holds specimen slide in place
Functions Cont. 7. Stage - surface that holds slide or specimen 8. Disc diaphragm - controls the amount of light that passes through 9. Illuminator - light source 10. Course focus knob - control used during initial focusing 11. Fine focus knob - control used to bring specimen into sharp focus 12. Base- supports the microscope
Using the Microscope • Place a Slide on the Microscope • Use Stage Clips to secure slide • Click Nosepiece to the scanning power (red band objective) • Look into the Eyepiece • Use the Coarse Focus (image may be small)
Using Low Power • Once you have the image focused with scanning objective, switch to low power • Click Nosepiece to low power (yellow band objective) • Look into the eyepiece • Use Coarse Knob to refocus again
Using High Power • One you have the image focused with low power, switch to high power • Click the nosepiece to high power (blue band objective) • Do NOTuse the Coarse Focusing Knob • Use the Fine Focus Knob to bring the slide into focus What can you find on your slide?
Drawing Specimens • Use pencil - you can erase and shade areas • All drawings • should include clear and proper labels • should be labeled with the specimen name and magnification • Labels should be written on outside of circle. • Specimens should be drawn to scale
Drawing Specimens • Example: • Tips • Use a ruler to draw your label lines • Label lines should point to the center of structure being labeled • Do not write on or cross label lines