Download
1 / 22
220 likes | 230 Views
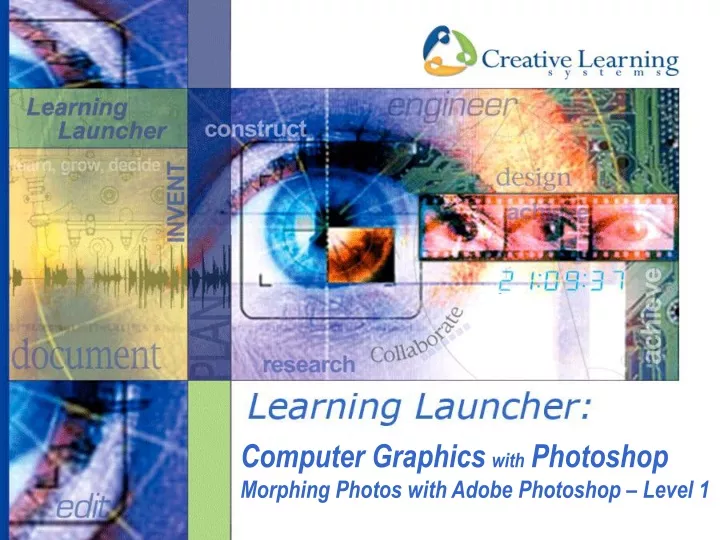
Computer Graphics with Photoshop Morphing Photos with Adobe Photoshop – Level 1. What You’ll Learn…. How to use some basic tools and menu options in Photoshop How to use the History and Layers palettes How to create fun special effects with Photoshop filters and adjustments.

E N D
Computer GraphicswithPhotoshop Morphing Photos with Adobe Photoshop – Level 1
What You’ll Learn… • How to use some basic tools and menu options in Photoshop • How to use the History and Layers palettes • How to create fun special effects with Photoshop filters and adjustments Stuff You’ll Need… • Adobe Photoshop CS2, CS3 or CS4 • The pictures of Mr. Butler in the Photoshop Learning Launcher folder • Digital Camera or downloaded image
ePortfolio Suggestions… • Show your before and after version of Mr. Butler morphing into Mr. Incredible • Show the before and after photos of your photos being morphed and modified • Describe the steps you used to morph your photos using screen captures or a short video slideshow • Create a chart with examples of what different Photoshop filters do. • Ask your SmartLab facilitator for permission to post your favorite morphs on your SmartLab bulletin board
What You Should Know… Depending which version of Photoshop you’re using, your workspace may look a little different than shown in this tutorial. That’s okay, all recent versions of Photoshop basically function the same way and you can do the activities in this Learning Launcher with CS2, CS3 or CS4. You may also find that the default workspace on your SmartLab computer is missing one or more of the panels or pallets you want to use. For example, the workspace below doesn’t show the “History” pallet, which is one of the most useful pallets because it allows you to undo work just by clicking on a previous step. You can activate any pallet by clicking on it under the Window pull-down menu. Click here to activate the History pallet
What You Should Know… Respecting People In this Learning Launcher, you’ll learn how to morph a picture of a SmartLab Facilitator, “Mr. Butler” in some fun and crazy ways. Mr. Butler does not mind if you make him look like an ugly alien. But not everyone will feel the same way. The purpose of this activity is to have fun with photo editing and learn about Photoshop, not to be disrespectful or hurt anyone’s feelings. Please do not morph anyone’s photo without their permission, and keep it clean (you know what we mean)! You can have a lot of fun without being mean or hurting anyone’s feelings. Please respect those who do not want you to take their picture or to morph their photos.
What You Should Know… Do you believe everything you see or read? Just because you see it in print does NOT mean it is real! Computers can do some amazing things with photographs. Mr. Butler Before… Mr. Butler After…
Do It!Pinch and Punch with Photoshop Your first objective is to turn Mr. Butler into Mr. Incredible… well, maybe you can’t exactly turn him into Mr. Incredible, but do your best. • Find this image of Mr. Butler in the Photoshop Learning Launcher folder. • Use Photoshop to open the image named… “Mr. Butler Front.jpg”. You can either launch Photoshop and drag the image into the workspace or use the file pull-down menu and browse to the file. Mr.Butler Front.jpg
Do It!Pinch and Punch with Photoshop It’s always a good idea to make a duplicate of your image before you begin to modify it. This way, you have a copy of your original image before changes you can always go back to. You can easily can easily create several different versions of the same basic image. Click on the Layer pull-down menu at the top of your workspace and select “Duplicate Layer”. This creates a new “layer” with a copy of the image. Now you can make changes to the image in the new layer. Your original image remains unchanged in the “background” layer so you can always go back to it. There are lots of great shortcuts you can use in Photoshop. Another quick way to create a duplicate layer is to press [Ctrl+J] on a PC or [Cmd+J] on a Mac
Do It!Pinch and Punch with Photoshop Use the “elliptical marquee” tool to “select” the center area of his face. If you see a different shape here, like a rectangle, right-click it and select the oval shape from the submenu that appears.
Do It!Pinch and Punch with Photoshop Use the Filter menu to find Distort, then select Pinch…
Do It!Pinch and Punch with Photoshop Adjust the slider to “pinch” his face until he looks like Mr. Incredible!
Do It!Pinch and Punch with Photoshop Hi, I am Mr. Incredible! See how easy it was to improve his looks! Now let’s try a couple more easy modifications just for fun. Find the History Palette on the right side of your workspace. Notice that Photoshop has recorded each step of your project. You can always go back in history to undo a number of steps in your project (the default setting is 20 steps). Simply click on the step you want to return to and go from there! Click on the top of the history palette to return to our starting point. Now create another duplicate layer to modify like we did at the beginning of this exercise.
Do It!Pinch and Punch with Photoshop Working with Layers Before we make Mr. Butler look even worse, let’s explore the Layers Palette! You’ve probably noticed it at the bottom right of your workspace. The layers palette shows you each layer in your Photoshop project. When we started this project, we created a duplicate layer for our changes. This let us to keep our original image in a Background layer. You can create an many layers as you want in Photoshop. In more advanced Learning Launchers, you’ll learn lots of tips and tricks that use these layers. For now though, let’s just work with duplicate layers. Whenever you want to try out a new effect on your image without changing work you’ve already done, you can do it in a duplicate layer. That way, you can save and compare different versions of the same image. When you save a project as Photoshop file (.psd) it will save all your layers. But .jpg files, which are much smaller and work with other types of software, can’t have more than one layer. So Photoshop will flatten a project to save it as a jpg. In this example, the jpg would keep only the version in the top layer. If you wanted to save other versions as jpg files, you would need to drag them to the top or turn “off” the top layers by clicking their “eyeballs” before saving . On the right you’ll find some helpful tips for working with layers. The layer you’re working on is always highlighted in blue. You can switch between active layers simply by clicking on them. Change the order of your layers simply by dragging them up or down. Turn layers “on” or “off” by clicking on the eyeball Double-click on the layer name to rename it so it’s easier keep track of what is in each layer. You can delete a layer by dragging it to the trashcan. Another way to create a duplicate of a layer is to click-and-drag the layer to the new layer icon.
Do It!Pinch and Punch with Photoshop Okay, now back to Mr. Butler! Select an area of the face that you would like punch using the same elliptical marquee tool we used before. Moving the slider to the left “punches” or enlarges the selected area. You can punch some areas, and pinch other areas to “improve” Mr. Butler’s face. Punch Pinch
Do It!Pinch and Punch with Photoshop Can we make him look like an alien? Let’s try adjusting the Hue and Saturation.
Do It!Pinch and Punch with Photoshop Yes! Adjusting the Hue and Saturation turned him into an “alien”.
Do It!Pinch and Punch with Photoshop Your next objective is to morph Mr. Butler’s side view! Plan to make several different versions. Be as creative as possible as you explore different tools and filters options. • Find this image of Mr. Butler in This Learning Launcher folder. It should be in the same folder as this learning launcher. • Use Photoshop to open the image named… “Mr. Butler Side.gif” Mr.Butler Side.gif
Do It!Pinch and Punch with Photoshop Try something like this…
Do It!Pinch and Punch with Photoshop Maybe bigger ears would improve his hearing…
Do It!Pinch and Punch with Photoshop You can also create some really cool effects with the Artistic filters
Do It!Pinch and Punch with Photoshop Now try morphing an image of your choice! Start with a picture of yourself, your pet or a friend (make sure they don’t mind). Or you can download a picture of a celebrity from the internet (if you use a downloaded image, make sure it’s big enough to work with – at least 600x800 pixels). Try out different filters and adjustments to see what they do. Save each version of your work for your portfolio and be sure to label them with the effect you used. Artistic: Fresco Artistic: Plastic Wrap Hue & Saturation Adjustment
Explore some of the other tools in the toolbar. Pick six tools and find out what they do (the help menu is a great resource if you get stuck). Find the liquify filter and see what it does. How is it similar to the pinch filter your used in this exercise? What are the advantages of each? Create a poster or electronic tutorial for the SmartLab showing how some of the Photoshop filters work. Be sure to label each filter effect so other learners will be able to use them for their projects. Do an internet search on “Photoshop tutorials”. Pick a project that looks interesting and give it a try! Check out some of the other Photoshop Learning Launchers to learn other great photo editing and design techniques. Extend Yourself…