Download
1 / 6
60 likes | 65 Views
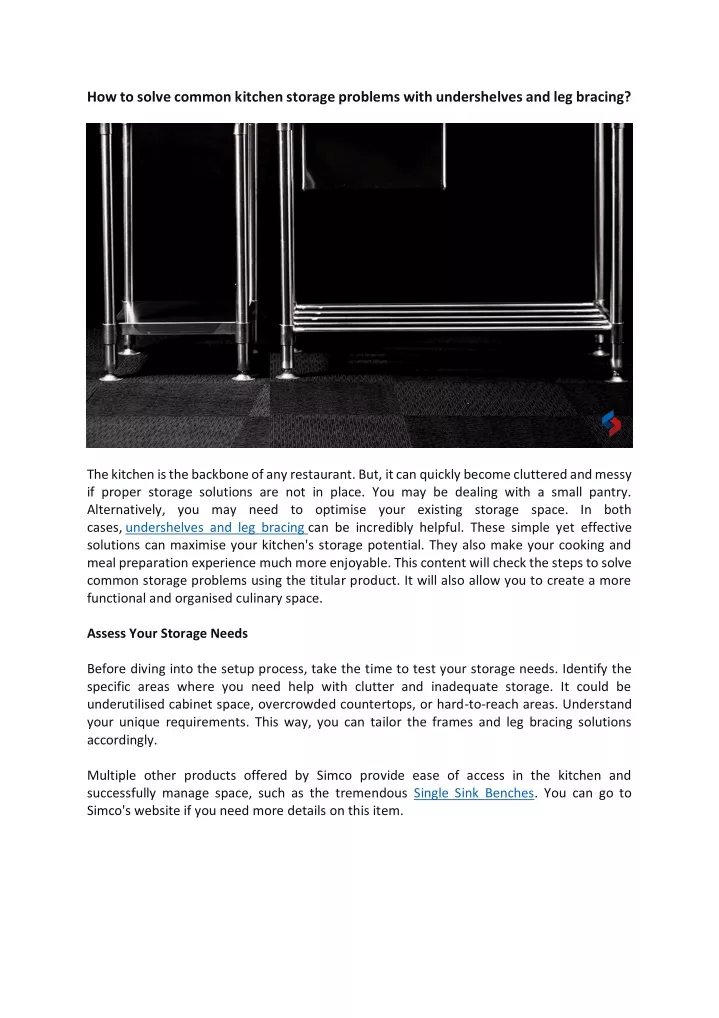
The kitchen is the backbone of any restaurant. But, it can quickly become cluttered and messy if proper storage solutions are not in place. You may be dealing with a small pantry. Alternatively, you may need to optimise your existing storage space. In both cases, undershelves and leg bracing can be incredibly helpful. These simple yet effective solutions can maximise your kitchen's storage potential. They also make your cooking and meal preparation experience much more enjoyable. This content will check the steps to solve common storage problems using the titular product. It will also allow yo

E N D
How to solve common kitchen storage problems with undershelves and leg bracing? The kitchen is the backbone of any restaurant. But, it can quickly become cluttered and messy if proper storage solutions are not in place. You may be dealing with a small pantry. Alternatively, you may need to optimise your existing storage space. In both cases, undershelves and leg bracing can be incredibly helpful. These simple yet effective solutions can maximise your kitchen's storage potential. They also make your cooking and meal preparation experience much more enjoyable. This content will check the steps to solve common storage problems using the titular product. It will also allow you to create a more functional and organised culinary space. Assess Your Storage Needs Before diving into the setup process, take the time to test your storage needs. Identify the specific areas where you need help with clutter and inadequate storage. It could be underutilised cabinet space, overcrowded countertops, or hard-to-reach areas. Understand your unique requirements. This way, you can tailor the frames and leg bracing solutions accordingly. Multiple other products offered by Simco provide ease of access in the kitchen and successfully manage space, such as the tremendous Single Sink Benches. You can go to Simco's website if you need more details on this item.
Measure and Plan Precise measurements are crucial for a successful setup. Measure the available space in your kitchen. The space includes the width, height, and depth of the areas where you intend to install the product. Use these measurements to find the appropriate size and type of titular device. Consider factors like weight capacity and material durability when making your selection. Choose the Right Undershelves These products are a great way to add extra storage below existing frames or cabinets. They are typically made of wire or wood and come in various sizes and styles. When choosing the offerings, ensure they are compatible with your kitchen's existing storage units. Measure the width and depth of the cabinets or racks. It will help find the right size of the product to buy. Choose adjustable frames whenever possible. This is because they offer flexibility to accommodate different-sized items. For further information, visit Simco – the leading undershelves and leg bracing supplier in Melbourne & Sydney.
Install the Undershelves The installation process for the titular item is usually straightforward. Start by cleaning the location where you want to install the undershelf. Ensure it is free from dirt and soot. Place the undershelf into the desired position and ensure it is level. Some undershelves need brackets for support. So, follow the manufacturer's instructions and attach the brackets securely. Once installed, test the stability of the undershelf. Do this by placing lightweight items on it before gradually increasing the load. Step-by-Step Guide to Installing Undershelves: a. Assess your Storage Needs: Begin by evaluating your kitchen items. Also, determine what you need to store. Consider the size and weight of the items. This will help you select the appropriate option for your needs. b. Measure the Available Space: Measure the countertops' width, depth, and height. Check the area where you plan to install the undershelves. This will help you find undershelves that fit perfectly in the allocated space. c. Choose the Right Undershelf Type: Find your storage needs. Then, select the type of undershelves and leg bracing that suits you best. For instance, suppose you have many small items like spices or cans. Then, consider wire undershelves with many tiers. Opt for sturdy metal undershelves if you intend to store heavier products like pots and pans. d. Install the Undershelf: Carefully position the undershelf beneath the existing shelf or countertop. Ensure that it is level and securely attached, following the manufacturer's instructions. Undershelves are often adjustable. This feature allows you to customise the height and arrangement of the frames. One does this to accommodate items of various sizes.
e. Organise your Items: Organise your kitchen items once you've installed the undershelf. Take advantage of the extra space offered by the undershelf. It will help store items that were cluttering your countertops. These items also include the ones occupying valuable cabinet space. Categorise your items and arrange them in a logical and accessible manner. This will help streamline your cooking process. Enhance Stability with Leg Bracing Leg bracing provides extra support to countertops, islands, or work surfaces that may have limited stability. These braces are typically made of metal or wood and are available in various designs. Measure the height and length of the area that needs support. Then, select leg braces that can handle the weight and fit within the available space. Consider the design aesthetic of your kitchen. Choose leg braces that complement the existing decor. You can garner further details by reaching out to the top undershelves and leg bracing suppliers in Brisbane & Perth. We provide many other useful devices for the commercial pantry, such as the Double Sink Benches for effortless washing, rinsing and drying the dishes simultaneously. For more information on the product, visit the website of Simco. Install Leg Bracing Installing leg braces involves securing them to the countertop or work surface underside. Begin by measuring the desired position for the braces. Also, mark the mounting points. Use suitable tools to attach the braces securely, ensuring they are level and stable. Suppose the braces come with adjustable height options. Then, set them to the desired level before tightening the fasteners. Test the stability of the leg braces by applying pressure. Then, verify that they can support the weight they were designed for.
Step-by-Step Guide to Installing Leg Bracing a.Check your needs: Determine the purpose of the extended countertop. Are you looking for extra workspace or extra storage? Try to clarify your goals. This will help you plan the design and functionality of the extension. b. Assess structural integrity: The next step is installing leg bracing. But ensure that your existing countertop can support the extra weight before that. Consult a professional if necessary to check the structural integrity. Take their help to determine the appropriate support required. c. Select leg bracing options: Choose the ideal undershelves and leg bracing type. It must suit your kitchen's aesthetics and functional requirements. Options include adjustable legs, metal brackets, or decorative corbels. Consider the materials and finishes that match your existing countertop. It will help maintain a cohesive look. d. Install the leg bracing: Position the leg bracing according to your design plan. It will ensure stability and proper weight distribution. Follow the manufacturer's instructions for secure installation.