Download
1 / 10
100 likes | 179 Views
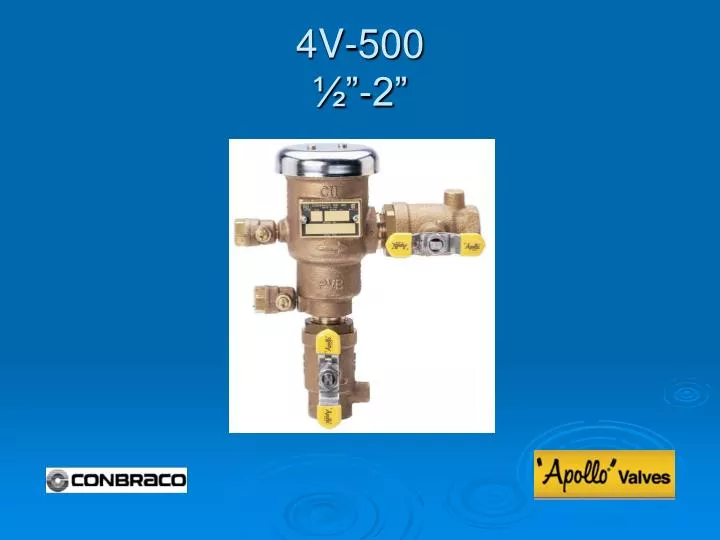
4V-500 ½”-2”. Modification Overview. Production of the 4V-500 PVB began in 1998. The 4V utilizes a float assembly that contains a relief valve that protects the unit against freeze damage. Canopy Removal. The canopy is secured by two screws. Bonnet Removal.

E N D
Modification Overview • Production of the 4V-500 PVB began in 1998. • The 4V utilizes a float assembly that contains a relief valve that protects the unit against freeze damage.
Canopy Removal • The canopy is secured by two screws.
Bonnet Removal • The bonnet is threaded into the body and sealed by an o-ring. • Unscrew the bonnet counter clockwise. • There is no spring load.
Float Removal and Service • The float is part of the bonnet assembly. • If the float or float spring is damaged, the bonnet must be replaced.
Check Valve Removal ½”-1” • The check valve is a module. • The check valve is threaded into the body and sealed by an o-ring. * Note: A special tool is needed to remove the check module.
Check Valve Removal 11/4”-2” • The 11/4” & 11/2” check modules are secured by a retainer that is threaded into the body. • The 2” check valve is not modular and is spring loaded. • Unscrew the spring retainer counter clockwise.
Check Disc Replacement • The ½”-11/2” rubber discs are part of the check module. • If the disc is damaged, the check module must be replaced. • The 2” disc is free once the screw and retainer are removed.
Check Seat Replacement • The ½”-11/2” check seats are part of the check module. • If the seat is damaged, the module must be replaced. • The 2” check seat is threaded into the body and sealed by an o-ring. • A special tool is needed for seat replacement.
Reassembly Notes • Reassemble in reverse order. • Lubricate the bonnet and check o-rings.