Download
1 / 11
110 likes | 220 Views
Audacity 1.3 Beta. This is a tutorial for Audacity 1.3 Beta. This does not cover older versions for things have been changed for the ease of use, and does not cover a newer version (which at the moment I do not believe exist). Ryan King. Requirements –

E N D
Audacity 1.3 Beta This is a tutorial for Audacity 1.3 Beta. This does not cover older versions for things have been changed for the ease of use, and does not cover a newer version (which at the moment I do not believe exist). Ryan King
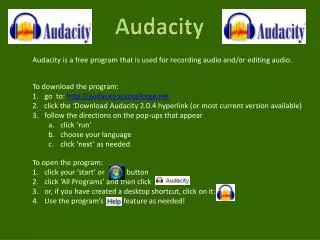
Requirements – Have Audacity 1.3 Beta downloaded, if you do not already you can download it at http://audacity.sourceforge.net/download/ You must also have music saved somewhere on your computer, itunes, Windows Media Player, Windows Music Center, or just in you’re my music folder on your computer.
Start by selecting the Audacity 1.3 Beta icon from either the desktop or pull out menu.
From there you should see this screen. But at the moment we are only worried about the tab that says file.
New – This is to start a new project. Close – This is to close your current project. MAKE SURE YOU HAVE SAVED IF YOU CLICK THIS!!! Save project as – This is a very important button and will become your friend, this allows you to save the project with a specified name so you can later find it as opposed to some random default name. Import – This is the next step in creating a project, and the next menu we will worry about.
Audio – This is the tab you are going to click on next, this is the point at which you are allowed to insert music into audacity.
The FIRST TIME that you click on the Audio tab you will present with a screen that has two spots you can click to download an add-on; you MUST click on this and download the add-on. Do not worry this is a one time thing and once it has been done that screen will not appear again. If I am not mistaken at this point it also says something about you need to change the preferences in your library or something, I do not know for sure because it will not let me pull this screen back up, but if there is any questions at this point email me (rock_high_way@yahoo.com)
Once you have downloaded the add-on you should get a screen that shows a screen with a browse tab at the top. You should set this tab to MY MUSIC that will allow you to select songs that are already stored in your library.
You should now see a screen similar to this, I seriously doubt that all the blue lines will be in the same spot because that depends on the song, but you should see blue lines. If you do not see blue lines then do not continue because you have not properly inserted the song and editing a song that is not there would be pointless.
Effect is the next tab we are going to worry about, everything listed under this tab modifies the music in some way.
Amplify Amplifying a song gives it a more full sound. Original Amplified