Download
1 / 24
240 likes | 251 Views
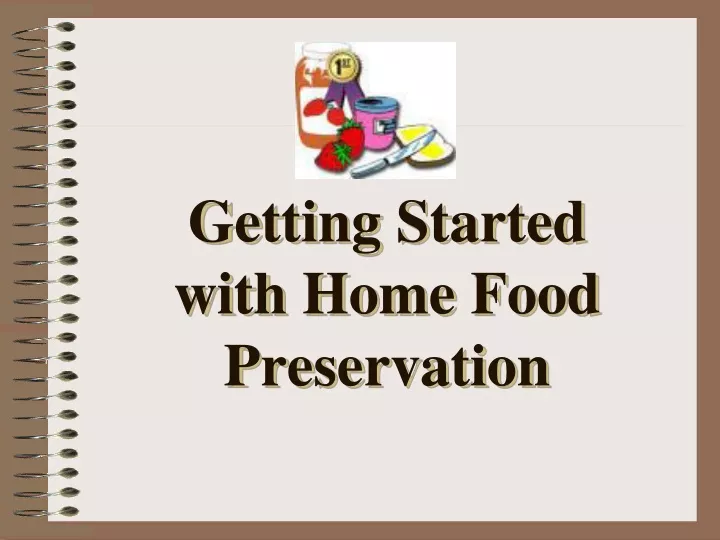
Getting Started with Home Food Preservation. Take a minute to consider… Why do we preserve foods?. Canning, Freezing & Drying. Which method will you choose? Our aim: safe, high quality food. 3. Methods in Food Preservation. Refrigeration & Freezing Fermentation or Acidification

E N D
Take a minute to consider… Why do we preserve foods?
Canning, Freezing & Drying • Which method will you choose? • Our aim: safe, high quality food. 3
Methods in Food Preservation • Refrigeration & Freezing • Fermentation or Acidification • Control of Moisture: • Drying • Adding sugar or salt • Heat Processing: • Blanching, pasteurization, canning
Two Types of Canning Boiling Water Canning (212°F) – fruits and acidified foods Pressure Canning (240°F or above) – meats and vegetables Remember…adjust for elevation! 5
Getting Started…Equipment • Boiling Water Canner with rack • Inspect jars, rims & lids • Supplies – measuring cups/spoons, spatula, jar/lid lifter, funnel, other “nice to haves” 6
Don’t Forget Process at the correct temperature Follow an up-to-date, research tested recipe Adjust for elevation 7
Jams and Jellies As Easy As 1, 2, 3, 4…. • Fruit – adds flavor! • Pectin – natural carbohydrate that causes fruit to gel • Acid – needed for gel formation • Sugar – preserves jellied fruit, helps form a gel & adds flavor
Fruit Fresh, Canned, Frozen, Dried Use just-ripe fruit for best flavor and quality Mix ripe and unripe fruit if you don’t use added pectin Overly ripe fruit will taste great, but may fail to set
Freezing Fruits • Freeze unsweetened for greatest flexibility • Individually quick-freeze on trays • Thaw almost completely before making jam • Or freeze juice for making jelly
Preparing Fruit Jam: • Rinse – don’t soak • Remove stems, pits, or cores • Prepare fruit according to recipe: crush or chop (with skin on) • Pack tightly into measuring cup
Preparing Fruit Jelly: • Juicy berries – Crush without heating • Firm fruit – Crush, boil, then simmer • Apples: add water only to cover, cook until soft (20-25 minutes) • Grapes: only enough water to prevent scorching, until soft (10-minutes) • Strain in jelly bag or cheesecloth
Pectin Can use natural pectin in apples, plums, grapes, currants Add pectin to other fruits (plus canned & frozen) to ensure a good gel Add pectin to fully ripe fruit
More about Gels Liquid and powered pectin are not interchangeable Low-methoxyl pectins for low- or no sugar products Powdered gelatin for refrigerator products
Acid and Sugar Added acid for gelling Measure sugar carefully Use honey or corn syrup sparingly Sugar substitutes can be used only in special recipes (refrigerator jelly–www.uga.edu/nchfp OR www.splenda.com/index.jhtml)
Water Bath Canning… • A Must for jams and jellies • Helps form a seal • Destroys yeast and mold • Is required for • the Fair!
Basic Steps • Wash ½ pint jars in warm, soapy water; then boil for 10 minutes (until filled) • Prepare jam/jelly and pour into jars leaving ¼ inch headspace • Remove bubbles between jam/jelly and jar • Wipe jar rims and put on lids/bands
Basic Steps • Place jars in canner – boiling water 1-2 inches above jar lid • Start counting processing time when water returns to a boil • Process in boiling water 5+ minutes • Cool jars for 12-24 hours then check for seal, remove bands, wipe jars
When things just don’t work… Mold – imperfect seal, too large jar Failure to set – too large a batch, incorrect proportions of ingredients Fading – storage place too warm or too light; stored too long Fruit floats – Stir fruit mixture for 5 min. before ladling into hot jars
When things just don’t work… Use for syrup Refrigerate up to 3 weeks Freeze – ½ inch headspace Re-process- darker, cooked
When things just don’t work… Re-make Instructions Work in small batches Carefully measure all ingredients Add pectin to product while re-cooking
For Goodness Sake Jams and jellies are shelf stable for at least 1 year Store opened jars in the refrigerator Don’t consume product that has molded or that appears spoiled
Resources USDA Complete Guide to Home Canning (1994 or later),National Center for Home Food Preservation: www.uga.edu/nchfp Wisconsin First:www.wisc.edu/foodsafety/ (see Making Jams and Jellies) So Easy to Preserve – University of Georgia (1999 or later) Ball Blue Book (1997 or later)