Download
1 / 27
270 likes | 479 Views
Literature and Visual Arts by Nika Norman. Billy Mack’s War (Ray James) Tiff and Trout (David Metzzenthen) Mr Noah and the Cats (Vastti Farrer) Where is the Green Sheep? Mem Fox Silver Donkey (Sonya Harnett) A Horse Called Elvis (John Heffernam) Heritage and Places (Helen Chapman)

E N D
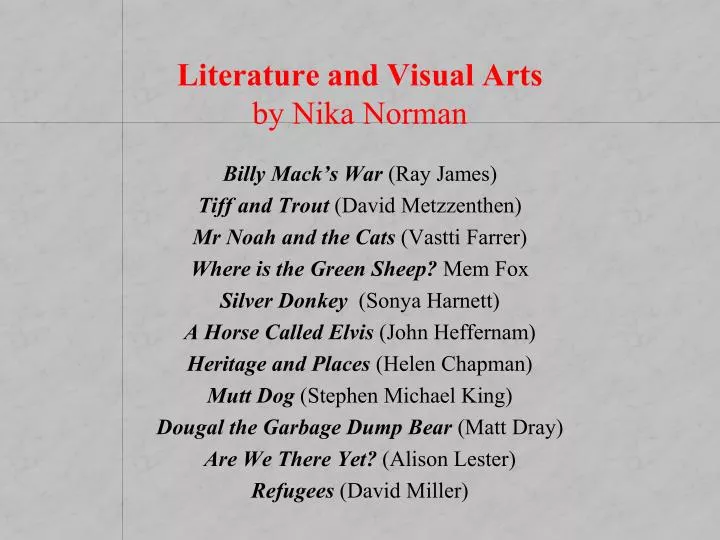
Literature and Visual Arts by Nika Norman Billy Mack’s War(Ray James) Tiff and Trout(David Metzzenthen) Mr Noah and the Cats(Vastti Farrer) Where is the Green Sheep?Mem Fox Silver Donkey(Sonya Harnett) A Horse Called Elvis(John Heffernam) Heritage and Places(Helen Chapman) Mutt Dog(Stephen Michael King) Dougal the Garbage Dump Bear(Matt Dray) Are We There Yet?(Alison Lester) Refugees(David Miller)
Reading Rocks Book Week 2005 by Nika Norman
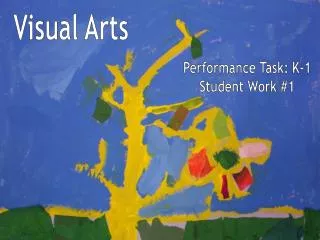
Billy Mack’s WarRay James • Sculpture - war medals: Students design a medal. This is to be a sculpture that can be pinned to someone. It will be made from materials that you have available for the students, so they need to be aware of what methods they can use to join the objects.
Tiff and TroutDavid Metzzenthen • Alfoil Fish Students draw parts of a fish on cardboard. Cut out and re-assemble overlapping the shapes onto another piece of cardboard. Other features could be added from cut cardboard or wool, such as waves, hooks etc. Place a sheet of aluminium foil over the top. Gently rub the alfoil around the shapes so that they show up. Fold over the edges of the alfoil onto the back. Cover the picture with black ink. Gently rub the surface with a tissue, shining the raised images.
Tiff and TroutDavid Metzzenthen • Fishing Flies Research trout fishing and fishing flies on the internet. These are made to resemble insects to lure fish. Making flies is an art form. Students construct a a series of 6 flies from a variety of materials. Feathers, wire, string, silver paper are materials that can be used. Glue onto boards and display.
Mr Noah and the CatsVastti Farrer • Mono prints Draw a picture of the cats on the piece of art paper. Using a rubber roller spread ink over a smooth flat surface such as perspex or thick plastic taped to a desk. Place the drawing, picture side facing you, onto the ink and carefully trace the lines. Dark areas can be achieved by rubbing with a finger. When dry, paint with water paints.
Mr Noah and the CatsVastti Farrer • Printing 1. Mattboard (lino) prints: Draw a picture of the cats on a piece of matt board and cut sections with a stanley knife, flicking top layers away. Remember to cut towards a point. Any wanted sections that come off can be glued with pva. 2. Polystyrene prints: Draw a picture of the cats on a piece of polystyrene with a pop stick or blunt pencil. Used (clean) meat trays are good for this. Print both as for Mono Prints.
Mr Noah and the CatsVastti Farrer • Animals Create the animals with pieces of polystyrene foam. Legs and necks from pop sticks or skewers can be pushed into the foam. Then paint. Make the ark from a cardboard box.
Mr Noah and the CatsVastti Farrer The Dove Cut the shape of a dove from gutter guard (a $3 roll from a hardware store should be enough for 20 students). Use material that has been torn into strips to weave the bird. Attach wire or fishing line to hang.
Where is the Green Sheep?Mem Fox • Collage • Tear sheets of green paper into arcs and glue onto art paper to form hills. Cut a piece of of foam sponge into the shape of a cloud, this is the sheep. Print with desired colour onto the art paper. • When dry apply the features of the sheep with textas or crayons. • Add to the work by tearing shapes from coloured paper. Examples, seesaw, bath, swing etc. • Sculpture • Form a mini football sized ball with chicken wire. Cut crepe paper into 2cm pieces. Students push the paper into the wire ball. Paint 4 popsticks in desired colour and push into the base for legs.
Silver DonkeySonya Harnett Read the description of the donkey to the students. Students make a small donkey from alfoil. Cut the alfoil into 10cm wide strips x 5 per student. Fold 3 in half and squeeze. These are the legs and body. Fold two of these in half over the body and bend the body to form the head and neck. Tear 5cm wide pieces of the strips to mold around the body, attaching the legs and building up the body. Form the ears and tail and attach by using strips to mold the body.
A Horse Called ElvisJohn Heffernam Pet Sculptures: Students create a wire sculpture of their pet. Students draw their designs first, so that they have a plan of what and how they are to construct the sculpture. Provide students with easily manageable lengths of wire -(30 - 40 cms of 0.9mm wire is best). Encourage students to make their sculptures 3D and not flat.
Heritage and PlacesHelen Chapman • Luna Park Design and make a new face for Luna Park. Use plaster bandages over a plastic mask. Remove the plastic mask after about 20 minutes. Place plaster mask onto thick cardboard for a base and add side towers using cardboard strips. Attach with PVA and add a few extra strips of plaster bandage. Paint.
Heritage and PlacesHelen Chapman • Coopers Creek Flood Plain Create an aerial picture of the flood plain. Use PVA glue, sand, twigs and paint. Draw the waters path with a finger in the wet PVA and sand. Paint the trail blue and the trees green. Note: ‘budgie’ sand is best.
Mutt DogStephen Michael King • Names: Photocopy the page with the names, cover these names. Students look at the picture of the dogs and choose one to give it a name. On an outline of the dogs the students paint and add textures with various materials such as cardboard print, dry brush technique, splotching, gluing wool scraps. Paint a background.
Mutt DogStephen Michael King • At Home: Paint a big picture of a chair. Either cut pictures from magazines or photocopy and colour dogs from the book or draw a dog. Cut this out and glue onto the painting of the chair.
Dougal the Garbage Dump BearMatt Dray • Collage: Collect pictures of bears. (google is good) Copy and enlarge these and paint or colour in with crayons. Create a collage of a garbage dump using magazine or newspaper pictures or actual food labels. Place the cut out bears in the garbage dump.
Are We There Yet?Alison Lester • Mixed Media: Bungle Bungles - Draw with orange, red and yellow crayons. Apply a wash of blue paint over the top. • The Pinnacles Paint with inks. Allow drying. Apply chalk pastels to add texture and definition. As in the illustrations in the book the students could imagine what lies beneath the earth. • The 12 Apostles: Mix PVA and plaster into a smooth paste and apply to paper in the shape of the rocks. This will give texture to the work. Paint when dry. Add pastels or oil crayons.
Are We There Yet?Alison Lester • Collage: 1. Collect and make available various textured and coloured materials (hessian, corduroy etc)as well as paperbark and bark from trees. 2. Draw an outline of the picture. Cut out material, glue tissue paper, add sand and any other materials and glue to the board. When dry, paint. A spray of clear lacquer will stabilise the collage and make it shine.
RefugeesDavid Miller 3D Birds: Draw the outline of a bird and the wings and cut out. Save the scraps. Fringe paper in the appropriate colours and glue on starting at the tail so that the fringes overlap. Fringe the wings. When complete staple the wings onto the body. Paint a place where the birds would find peace. Glue the birds onto the painting. Shooting Gallery: Paint stripes of colour across the page. Draw and cut out birds and glue across the strips.Paint clown faces and cut out. Glue small pieces of cardboard, folded like a concertina, on the back of these and glue onto the picture.
With thanks to Calare Public School July 2005 Nika Norman