Download
1 / 27
270 likes | 349 Views
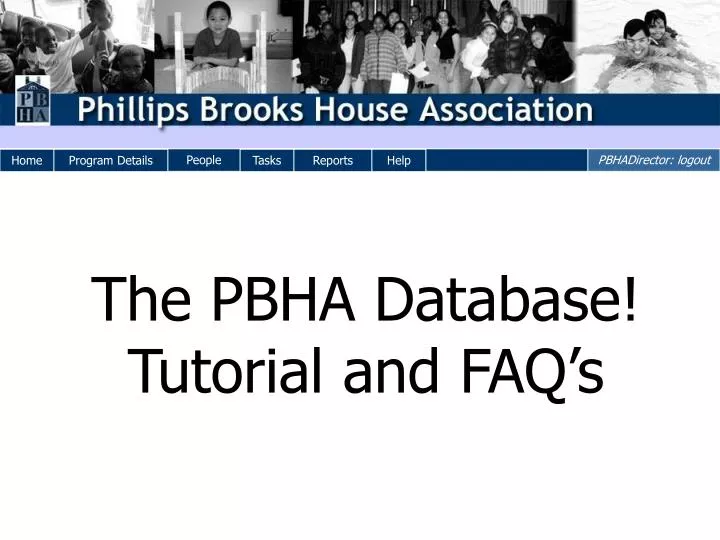
The PBHA Database! Tutorial and FAQ’s. Directory. If you are just getting started, Click Here If you need help with: Your login or password Click Here Entering program details Click Here Entering volunteer information Click Here Entering incident reports Click Here

E N D
Directory If you are just getting started, Click Here If you need help with: • Your login or password Click Here • Entering program details Click Here • Entering volunteer information Click Here • Entering incident reports Click Here • Downloading information from the database Click Here • Read the section you have questions about, then Click Here
The Power of the Relational Database • PBHA Database was 5 years in the making • Launched in the fall of 2007! • Tracks critical data: • program history and logistics • volunteer and constituent information • community partnerships • and more! • Sample applications: • contacting former volunteers for program fundraising efforts • tracking youth participation in programs—year-round and longitudinally • recording best practices for future directors
The Power of the Relational Database Mission Hill After School Program Prisoner Education--Suffolk Tyler (Vol.) Anita (Vol.) Other Volunteers Sarah the Volunteer Blue Group! Jose (Youth Tutee) Red Group! Drew (Wed. night tutor) John (Kid) Darrel (Kid) Kenisha (Kid) Brandon (Kid) Map relationships over time!! Youth Participants Siblings
Keeping Up to Date • At the beginning of each semester, the PBHA Database Administrator resets the database for the new term • Data from the previous term appears • Directors are asked to check/update the data so that it is accurate for the new term • The more accurate the data, the more useful the tool! Please keep your programs’ information up to date.
Getting Started • Use Firefox • Will not function if you use Internet Explorer • Download Firefox at: www.mozilla.com/firefox/ • Enable Pop-ups • In Firefox: • Click on the “Tools” menu • Choose “Options” • Click the “Content” icon • Click the “Exceptions” button next to “Block pop-up windows” • Type “www.pbha.org” in the box under “Address of website” then click “Allow”
Login • Go to www.pbha.org/db • Username and Password • Each director for your program should have a username and password • If you are a new director, and do not yet have a password, or if you have lost your password, email a PBHA Programming Chair to retrieve them (programming@pbha.org) • Both the username and password are case sensitive • You can change your login and password in the “Tasks” section. Click Here for more information.
Home Page Welcome, Student Director Use the navigation bar above to navigate through the different sections available to you. Program Details -Site information -Program logistics -Participant groups -Emergency protocols -Money -Community partners People -Volunteer information -Participant information -Link participants with volunteers! Tasks -Incident reports -Change password Reports -Download data into an excel worksheet
Program Details • A window will pop-up when you click “Program Details” • To update information at any time, click “next step” until you reach the applicable page (listed in order below) • Basic Info • Sites Add one or multiple sites • Hours, Dates and Plans Program logistics: includes vans! • Participant Groups If applicable, create sub-categories for volunteers and participants (e.g. “Red Group” or “Thursday night supervisors”) • Emergency Protocols • Money Track budget and grants • Community Partners Keep contact information and historical details about key relationships
Spotlight on Participant Groups The database allows you to match individual volunteers and participants (e.g. Susie mentors Annelyse), but you can also assign people to groups! You must create groups under the program details section to be able to later assign volunteers and participants to the group.
People Overview • When adding a person, you will add Basic Info, then Type Specific Info, then Term Info. Definitions below: 1) Basic Info When you add a person, you will add basic information, (the same for all person types) then designate a person Type: -Volunteers -Adult Participants -Youth Participants 2) Type Specific Info This information is different for each category of people. For example: -Volunteers college info, CORI certification -Adult Participants no additional information requested -Youth Participants elementary school, siblings, emergency contact info 3) Term Info is specific to your program for each term. This structure allows us to record changes in people’s interaction with PBHA over time. For example: -Sarah the Volunteer works with John in Blue Group this semester. Next year, she becomes a coordinator and works with Red Group. In four years, there will be a record of each kid she worked with during college!
People Overview -Click here to add volunteers or participants -Click here if person may already be in database (e.g. Senior who has volunteered with other programs in the past, youth who was recruited for after school through SUP) -Click the plus sign next to each category to see all of the individuals linked to your program for the current semester
People—Add a Person -Choose a category for “Field 1” (e.g. Last Name). Type in the name of the person you wish to add.
People—Add a New Person -If no matches exist, create a new person! NOTE: Please double check for accuracy! Search by both first and last name and by any nicknames. The person may have been entered incorrectly. If you do find the person under the wrong name, please correct their information!
People—Add a New Person -Fill in as much Basic Info as possible -At the bottom of the screen, choose person type -Volunteer (includes program leaders) -Adult Participant -Youth Participant (under 18) -Staff (DO NOT USE--paid adult staff ONLY) -Click “Next Step”
People—Add a New Person -A new page pops up, specific to the person type indicated (Volunteer page shown here) -Fill in Type Specific Info as desired -Click “Next Step”
People—Add a New Person -Other programs the person is involved with appear here A button will appear for the appropriate term (e.g. Volunteer Term for a volunteer, Youth Participant Term for a Youth Participant). Fill in Term Info to designate how the person is involved with your program this semester NOTE: If you click “Finish” before you add a Term for your program, the person will be added to the database, but will not be added to your program this term. If this happens, follow steps to Add an Existing Person to your program.
People—Add a New Person -A new page will pop up -Add Term Info about the person’s interaction with your program this semester! NOTE: You will only be able to assign the person to a site or group if you have added sites and groups in the Program Details section. -Once you click “Add Term Info” the person is assigned to your program
People—Add a New Person -Click “Finish”. The person will be added to the Database and to your program NOTE: If you click “Finish” before you add a Term for your program, the person will be added to the database, but will not be added to your program this term. If this happens, follow steps to Add an Existing Person to your program.
People—Add an Existing Person Sample: Searched for First Name “David” -If you are unsure which David is the Correct person, click “View details” for more information -If none of these people are the correct “David”, click “create a new person” -If David Gonzalez works for your program, highlight his name, then click “Add this person to the program”
People—Add an Existing Person -Other programs the person is involved with appear here Fill in Term Info to designate how the person is involved with your program this semester -If the person is a volunteer, click here NOTE: Program leaders count as volunteers. You will designate their position within the program later! -If the person is a youth (under 18) or adult participant, click the appropriate button
People—Add an Existing Person -A new page will pop up -Add Term Info about the person’s interaction with your program this semester! NOTE: You will only be able to assign the person to a site or group if you have added sites and groups in the Program Details section. -Once you click “Add Term Info” the person is assigned to your program
People—View or Revise Information -Return to the “People” home page by clicking on the yellow-highlighted button at the top of the page -Determine the person’s Type (e.g. Volunteer) and click the plus sign next to that person type -Locate the person and click the “View/Edit” button next to their name
People—View or Revise Information -To change Basic Info, just type changes! To save changes, click “Update Basic Info” at the bottom of the page -For Term Info about the person’s interaction with your program this term (e.g. day they come, participant they work with) click here -For Type Specific Info (e.g. Volunteer College Address or Kid’s Elementary School) click here -Add notes here
Tasks Incident Reports -If an incident occurs at your program (an injury, van accident, etc.) fill out your report here. The report will be sent to your DoP. You should also call or follow up with your DoP in person! Change Password -Change your password to something more memorable here!
Reports Reports Generation -Here you can download all of the information you inputted into an excel worksheet. Select the information you want to download and click “make report”. The excel sheet will open on your computer with the data! If the report does not open correctly, you probably need to update your version of Excel (see yellow box at top of screen)
Troubleshooting • If you click on the “Help” button at any time, this PowerPoint will appear • Are you getting “error on page” messages? Does nothing happen when you click on a button? Try using Firefox and be sure to turn off your popup blocker. Click Here for more information. • Did you click “finish”? If you closed a window without clicking “finish”, the database may not have saved your work. • Did you click “refresh”? Sometimes the information you just entered will not show up until you click “refresh”. • If you cannot find an answer in this PowerPoint, and these solutions do not fix your problem, contact Ariel Harms at harms@fas.harvard.edu.