Download
1 / 5
50 likes | 59 Views
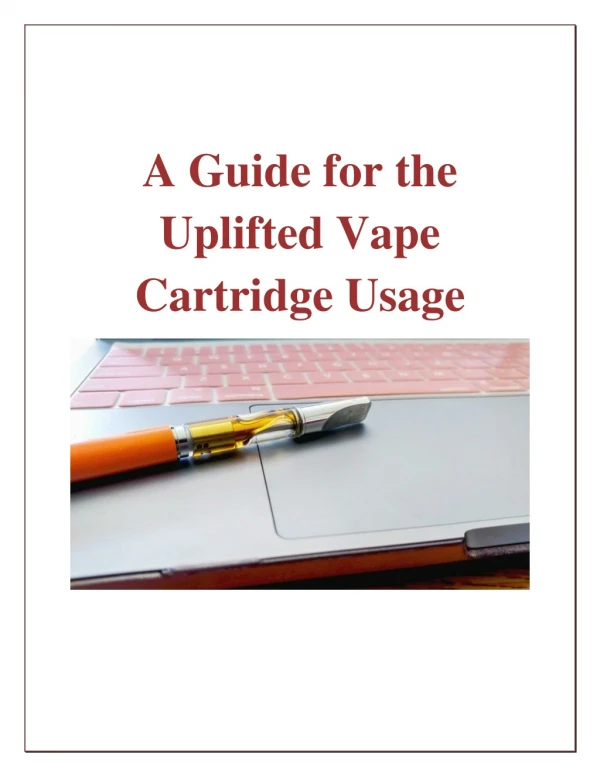
Unlock the secrets to a pristine vaping experience! Dive into our expert guide on how to clean a vape cartridge like a pro. From insider tips to step-by-step instructions, discover the ultimate cleaning techniques and unleash the full potential of your vape. Elevate your vaping pleasure with a cartridge that sparkles, shines, and delivers impeccable flavor every time. Get ready to embark on a journey of pure vaping perfection!

E N D
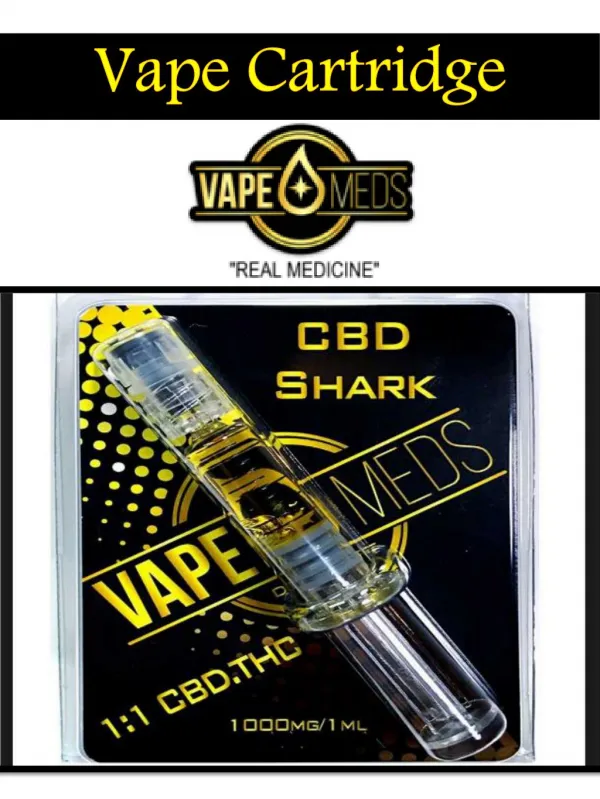
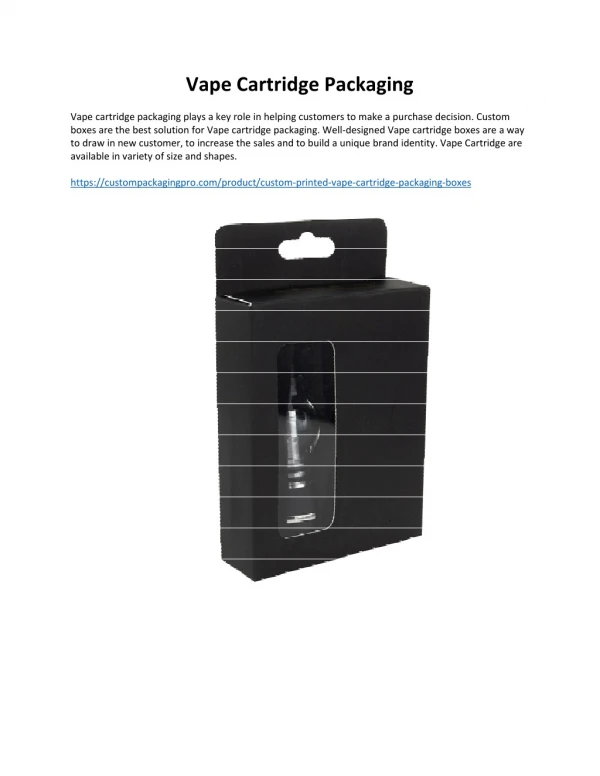
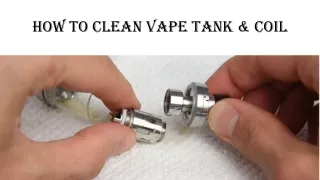
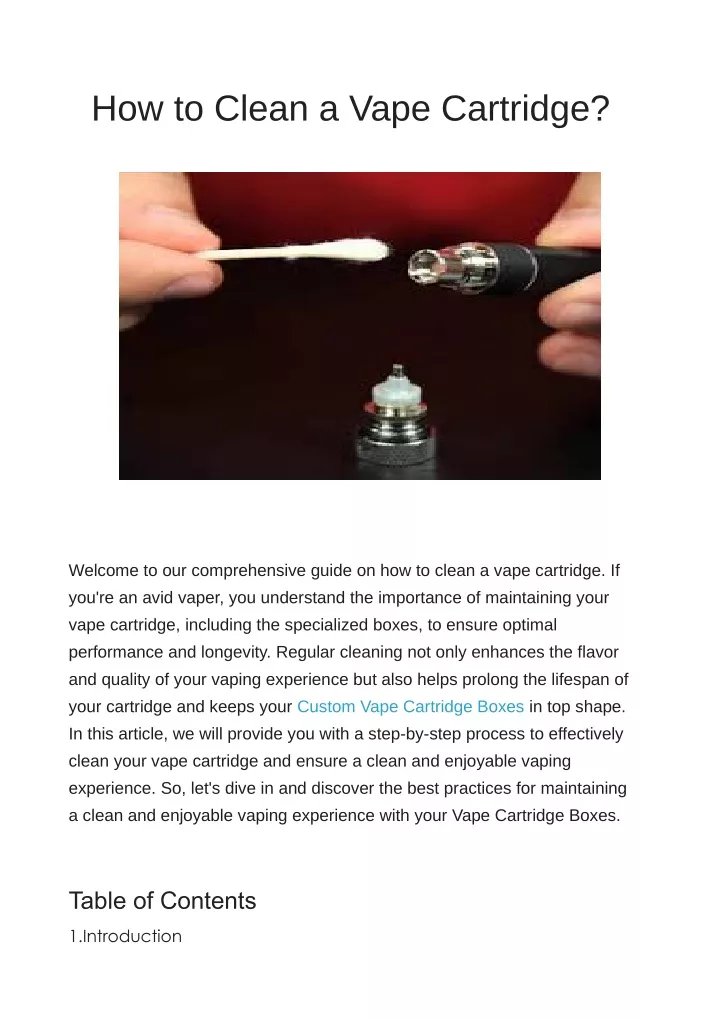
How to Clean a Vape Cartridge? Welcome to our comprehensive guide on how to clean a vape cartridge. If you're an avid vaper, you understand the importance of maintaining your vape cartridge, including the specialized boxes, to ensure optimal performance and longevity. Regular cleaning not only enhances the flavor and quality of your vaping experience but also helps prolong the lifespan of your cartridge and keeps your Custom Vape Cartridge Boxes in top shape. In this article, we will provide you with a step-by-step process to effectively clean your vape cartridge and ensure a clean and enjoyable vaping experience. So, let's dive in and discover the best practices for maintaining a clean and enjoyable vaping experience with your Vape Cartridge Boxes. Table of Contents 1.Introduction
2.Importance of Cleaning 3.Supplies Needed 4.Cleaning Process 5.Maintenance Tips 6.Conclusion Understanding the Importance of Cleaning Before we delve into the cleaning process, let's discuss why cleaning your vape cartridge is essential. Over time, residue, debris, and even e-liquid buildup can accumulate inside the cartridge. This buildup can negatively impact the flavor and overall performance of your vape. Moreover, a dirty cartridge can lead to clogging, and leakage, and potentially affect your health. By cleaning your vape cartridge regularly, you ensure that each hit is as smooth, flavorful, and enjoyable as the first. Supplies You Will Need To clean your vape cartridge effectively, gather the following supplies: 1.Isopropyl alcohol (preferably 90% concentration or higher) 2.Distilled water 3.Cotton swabs or Q-tips 4.Paper towels 5.Small container or dish 6.A clean, dry cloth
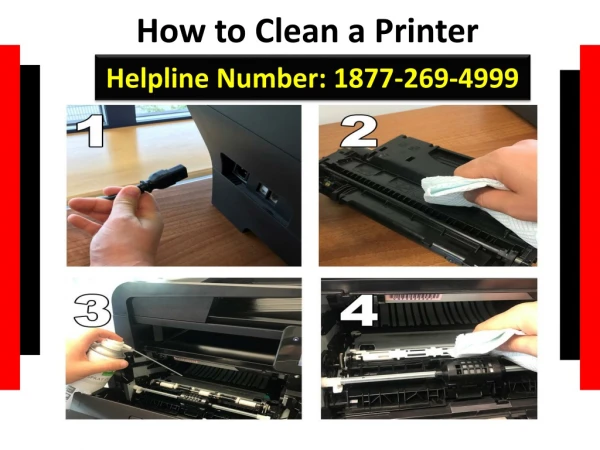
Step-by-Step Cleaning Process Step 1: Disassembling Your Vape Cartridge Start by disassembling your vape cartridge. Unscrew the mouthpiece, remove the cartridge from the battery, and separate any additional components. Carefully set them aside for now. Step 2: Removing Residue and Debris Take a cotton swab or q-tip and dip it in isopropyl alcohol. Gently clean the exterior of the cartridge, removing any visible residue or debris. Be cautious not to saturate the cotton swab to prevent excess liquid from seeping into the cartridge. Step 3: Cleaning the Cartridge Connection Moisten another cotton swab or q-tip with isopropyl alcohol. Clean the connection points where the cartridge screws onto the battery. This step ensures a proper electrical connection and prevents any potential issues caused by dirt or grime buildup. Step 4: Soaking the Cartridge Fill a small container or dish with isopropyl alcohol, ensuring it's deep enough to submerge the cartridge completely. Carefully place the cartridge into the container, making sure it's fully immersed. Allow it to soak for approximately 15-20 minutes. This soaking process will help dissolve any stubborn residue inside the cartridge.
Step 5: Cleaning the Cartridge Internally After the soaking period, remove the cartridge from the isopropyl alcohol and use a cotton swab or q-tip to clean the inside of the cartridge. Be gentle yet thorough, ensuring you remove any remaining residue or buildup. Step 6: Rinsing with Distilled Water Once you've cleaned the cartridge with isopropyl alcohol, rinse it thoroughly with distilled water. This step removes any leftover alcohol residue. Make sure to rinse both the exterior and interior of the cartridge to guarantee a clean and fresh vaping experience. Step 7: Drying and Reassembling After rinsing, carefully dry the cartridge using a clean, dry cloth. Ensure that no moisture remains before reassembling the cartridge. Once completely dry, reattach any additional components and screw the cartridge back onto the battery. Maintenance Tips for Longevity To keep your vape cartridge clean and functioning optimally for an extended period, here are some additional maintenance tips to consider: 1.Clean your cartridge regularly, ideally once every one to two weeks or whenever you notice a decrease in performance.
2.Avoid using excessive force when screwing the cartridge onto the battery to prevent damage to the connection points. 3.Store your vape cartridge in a cool and dry place to prevent exposure to extreme temperatures or humidity. 4.Use high-quality e-liquids and avoid using thick or sticky substances that can clog the cartridge. 5.Replace your vape cartridge periodically, as they have a limited lifespan. Conclusion Properly cleaning your vape cartridge is essential for maintaining a satisfying vaping experience. By following the step-by-step process outlined in this guide, you can ensure that your cartridge remains clean and functional, and provides you with the best flavor possible. Remember to clean your cartridge regularly, use high-quality materials, and practice proper maintenance to maximize its longevity. Now that you have all the necessary information, it's time to enjoy your vaping sessions with a clean and well-maintained cartridge. For more information visit our blog