Download
1 / 139
1.4k likes | 1.56k Views
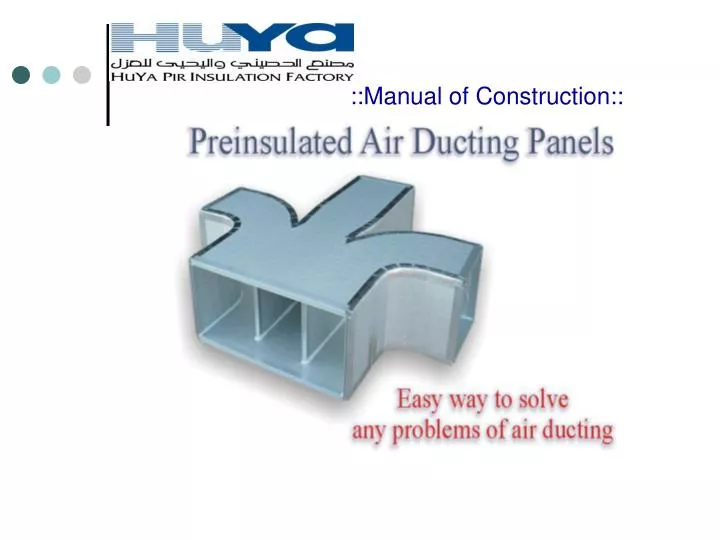
::Manual of Construction::. MENU OF THE MANUAL. ::CHAPTER CONTENT::. ::CHAPTER CONTENT::. 01 Bases of the system. 12 Tee branch: static derivation. 02 Tools. 13 Plenum. 03 Cutting the panels. 14 Offset. 04 Type of strips. 15 Square elbow with turning vanes.

E N D
MENU OF THE MANUAL ::CHAPTER CONTENT:: ::CHAPTER CONTENT:: 01 Bases of the system 12 Tee branch: static derivation 02 Tools 13 Plenum 03 Cutting the panels 14 Offset 04 Type of strips 15 Square elbow with turning vanes 05 Cross joints fit 16 Reinforcements 06 Longitudinal joints 17 Access door 07 Straight duct 18 Hangers and supports 08 Elbow 19 Outdoor duct 09 Reduction or transition 20 Unit conections 10 End cap 21 Installation of dampers & V.C.D. 11 Wye: dynamic derivation 22 Grilles, diffusers and flexible duct
THE BASES OF THE SYSTEM 4.000mm 1º • Size of the panels: 3.000x1.200x20mm or 4.000x1.200x20mm
THE BASES OF THE SYSTEM 4.000mm 2º • Cut of the longitudinal strips at 45º
4.000mm THE BASES OF THE SYSTEM 3º • Ducts assembled with four separate faces.
Aluminium tape THE BASES OF THE SYSTEM Glue Silicone • Lengthwise glued, • Aluminium tape in trhe external longitudinals angles, • Silicone in the longitudinal internal angles.
mm. 150 200 250 300 400 500 600 800 1000 1200 International Standards Standard Competitive • Cost control • Ex stock • Available with distributor Readiness • With the norms • With the environment Respectful Easy to build Construction • Assembling • Own workers • DID ADVANTAGES OF THE SYSTEM Practical Economical
Code: TM0090VV Application No. 1: Single Cut 45º “V” SHAPE CUTTER Module only 1th. cut 45º Right 45º Left 45º Right Remove the Module
Code: TM0090VV Application No. 2: Double Cut 90º “V” SHAPE CUTTER 4 3 5 2 1 Double Cut Double Cut Double Cut Double Cut Single Cut
::45º RIGHT JACK PLANE:: Code: TM0045RT 45º RIGHT JACK PLANE 45º Right
Code: TM0090ST ::90º STRAIGHT JACK PLANE:: 90º STRAUGHT JACK PLANE 45º Straight
Code: TM0045LT 45º LEFT JACK PLANE 45º Left
CUT OF THE PANELS 4.000mm
CUT OF THE PANELS 4.000mm
::CUT OF THE PANELS:: CUT OF THE PANELS Module 1th. cut Module 1th. cut
45ºLeft 45ºRight ::STRIP NORMAL :: STRIP NORMAL 1 • To build ducts with section =<1.200mm
45ºRight 45º Right STRIP SPECIAL 2 • To build ducts with section >1.200mm
300 mm Plenums 45º Right 90º Straight SPECIAL STRIP 3 • To build elbows, wye and special shares. Fixed meassure: 300mm
Glue CROSS JOINTS: MALE & FEMALE FIT Air Flow Glue Figure 1
Aluminium tape CROSS JOINTS: MALE & FEMALE FIT Air Flow Aluminium tape Figure 2
Female CROSS JOINTS: MALE & FEMALE FIT Internal faces of the four strips
Male CROSS JOINTS: MALE & FEMALE FIT Four sides of the external duct
LONGUITUDINAL JOINTS Glue Aluminium tape Figure 1
LONGUITUDINAL JOINTS Silicone Aluminium tape Figure 2
STRAIGHT DUCT 4.000mm 1 • Select the four sides and to make the female before gluing.
STRAIGHT DUCT Glue Glue 2 • Glue all the sides cut at 45º
Aluminium tape STRAIGHT DUCT External face Level 3 • Unite the four sides with aluminum tape for the exterior.
STRAIGHT DUCT Interior face 4 • Rotate the duct in position with the interior face up.
PRÁCTICA: Construcción STRAIGHT DUCT 1 5 • Close the first side in position 90º vertical.
STRAIGHT DUCT 2 6 • Also close the second side in position 90º vertical.
STRAIGHT DUCT 3 7 • Close the third side.
STRAIGHT DUCT Pressing 8 • Pressing the closing joint with the help of a piece of PVC pipe.
Aluminium tape Silicone inside STRAIGHT DUCT 9 • Place the aluminum tape in the closing angle and the silicone.
Aluminium tape Aluminium tape W+200mm ELBOW W+350mm W+350mm Cover bottom Cover top 1 • Draw the template of the cover bottom and cut toward “EXTERNAL”.
Cover top ELBOW Cover bottom 2 • Copy the template and to cut on the contrary: toward the “INTERIOR”.
50mm 50mm BENT OF THE PANELS Interior face 20mm 50mm 50mm Exterior face 20mm
BENT OF THE PANELS • Possibility to bend with different forms.
ELBOW 3 • Cut the walls and make the female before of to glue.
ELBOW Glue 4 • Glue all the sides cut at 45º
ELBOW 5 • Paste the covers on the external wall.
ELBOW 6 • Rotate the piece slowly on the external wall...
ELBOW 7 • ...until the end.
ELBOW 8 • Paste the internal wall beginning with the same place.
Pressing Aluminium tape Silicone inside ELBOW 9 • To press, to tape, to clip and to make the male.
1:4 REDUCTION 4.000mm 1 • Select the four sides, draw and to cut the reduction.
REDUCTION 2 • To make the female before gluing.
REDUCTION Glue 3 • Glue all the sides cut at 45º
Aluminium tape REDUCTION External face Level 4 • Unite the four sides with aluminum tape for the exterior.
REDUCTION Interior face 5 • Rotate the duct in position with the interior face up.
REDUCTION 1 6 • Close the first side in position 90º vertical.