Download
1 / 13
130 likes | 479 Views
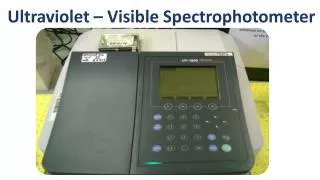
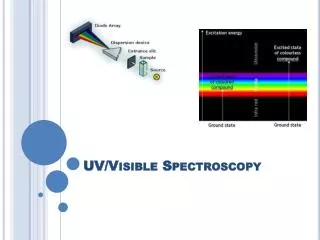
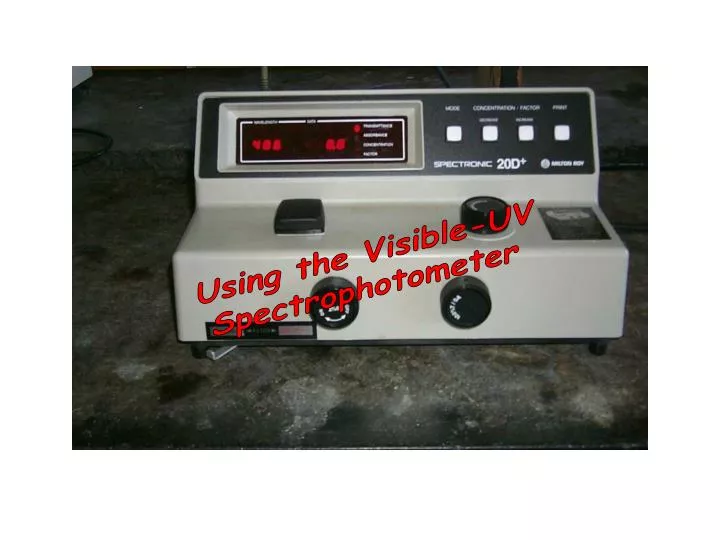
Using the Visible-UV Spectrophotometer. The visible-UV spectrometer we use permits the quantitative determination of the absorption and transmission of light in the wavelength range 200 nm * - 900 nm by a clear liquid sample. The device consists of simple components.

E N D
Using the Visible-UV Spectrophotometer
The visible-UV spectrometer we use permits the quantitative determination of the absorption and transmission of light in the wavelength range 200 nm* - 900 nm by a clear liquid sample. The device consists of simple components. * We actually encounter a lower wavelength limit of ~350 nm due to the use of glass sample containers. Glass absorbs significant amounts of radiation below 350 nm.
The Apparatus mode switch display sample compartment wavelength adjustment zero adjustment 100%transmittanceadjustment wavelengthswitch
Variations in Spectrometers Some models of spectrometers include other switches and capabilities which do not play a role in our exercises, e.g., mode switches labeled • “concentration” or “factor” • Some models of spectrometers do not include the wavelength switch shown in the preceding picture. • A few of the spectrometers have an analoginstead ofdigital output. wavelengthswitch While the details may differ slightly, the basic procedures described herein are the same for all the models.
Step 1 - Set Wavelength wavelength reading Adjust wavelength using wavelength adjustment knob If spectrometer has wavelength switch, be sure is it set properly
Initializing the Spectrometer Once the desired wavelength is set, we adjust the electronics at the selected wavelength. We must set (or confirm) that spectrometer displays: • 0% transmittance when no light reaches the detector • When sample compartment cover is closed with no sample in chamber, the light beam is interrupted internally. • 100% transmittance when the sample absorbs no light at the given wavelength • This latter step requires the preparation of a BLANK, • BLANK: a solution containing all the substances in the solution except the one whose absorption we seek to determine.
Step 2 - Set/Check 0% Transmittance Mode switch set to transmittance transmittance reading EMPTY SAMPLE CHAMBER Sample compartment cover closed Adjust transmittance to zero
Having adjusted the electronics so the detector reads 0 (zero) percent transmittance when no light reaches it, We next want to insure that the detector reports 100 percent transmittance (at the appropriate wavelength) when the blank, but no sample, is in the beam. The setting of 100% is a critical reference point. It does not mean that the blank does not absorb light at this wavelength, but that we will measure only the absorption due to the sample.
Step 3 - Set/Check 100% Transmittance Mode switch set to transmittance transmittance reading Place blank in sample compartment. Cover closed Adjust transmittance to 100% DO NOT TOUCH THIS SETTING
Initializing the Spectrometer • Major changes in the 0% or 100% controls may require repeating both settings to be sure that adjusting one of them has no effect on the other • I.e., confirm that transmittance is 0% with no sample after setting 100% with blank • If 0% or 100% have changed, repeat the initialization steps In principle, the 0% setting should need no adjustment after the spectrophotometer electronics have stabilized. In practice, small adjustments may be required.
Step 3a – Re-Check 0% Transmittance Mode switch set to transmittance transmittance reading Remove Blank Sample compartment cover closed Re-Adjust transmittance to zero ONLY if necessary
After the Spectrometer is Initialized Once the 0% and 100% settings are stable, the spectrometer is ready to measure samples at the setwavelength the subsequent steps depend on whether the spectrometer will be used: • to change wavelength (e.g., to determine the absorption spectrum of a sample) • to make a series of measurements at the same fixed wavelength • (e.g., in a Beer’s Law determination) OR The 100% setting must be readjusted each time the wavelength is changed Only periodic checks of the 0 and 100% settings are necessary
Summary • Prepare Blank • Turn on spectrophotometer • Adjust wavelength setting • Adjust zero setting with empty sample compartment • Adjust 100% setting with blank in sample compartment • If working at fixed wavelength, check both zero and 100% settings periodically • If working at varying wavelengths, adjust 100% setting whenever wavelength is changed. Also check zero setting periodically.