Download

1 / 2
20 likes | 29 Views
Simple step by step instructions for How to setup hp deskjet 2600 printer guidelines.

E N D
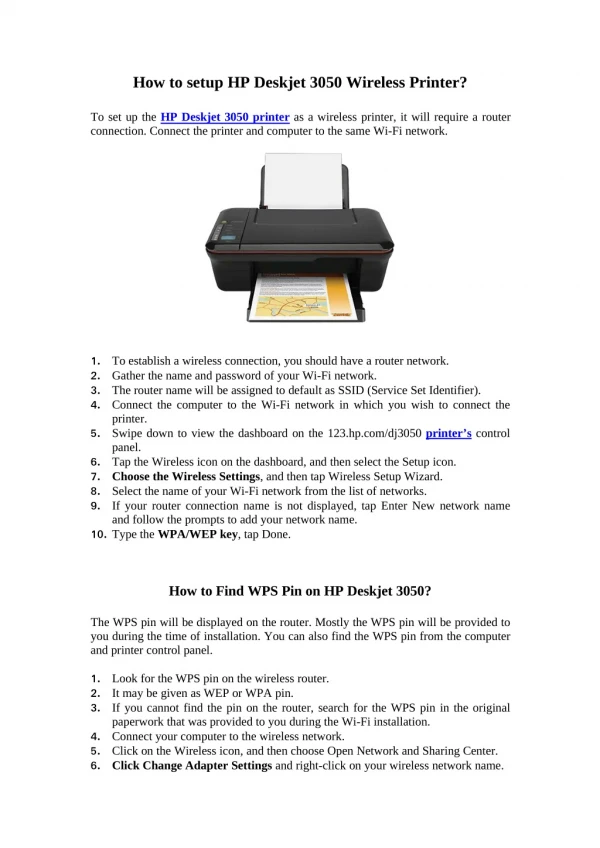
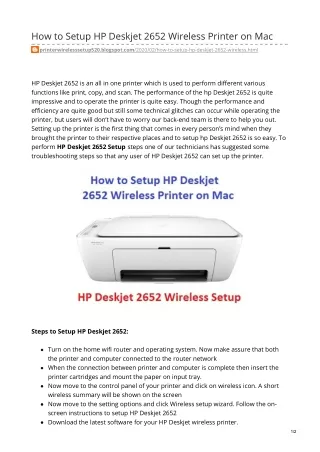
How to Setup HP Deskjet 2600 Printer How to Setup HP Deskjet 2600 Printer The Deskjet 2600 printer is compact and easy to handle. You can also perform wireless printing using this device. You can setup this printer easily by referring to the steps given below. The set up process begins with unboxing the printer, establishing a power connection, turning on the device, and installing cartridges. Steps to Unboxing setup Steps to Unboxing setup – – HP Deskjet 2600 Printer HP Deskjet 2600 Printer 1.Take the Deskjet 2600 printer out of the box and remove the packing materials and Styrofoam sheet that surrounds it. 2.Lower the output tray, grasp the handle, and lower the ink cartridge access door and open it. 3.Now peel off the tapes and packing materials that are inside the printer. 4.Take the power cord, installation disc, user manual and other materials from the packing and set them aside. 5.Link the plug end of the cord to a nearby wall outlet. 6.Connect the rectangular end of the cord to the rear of the printer. 7.The power button of the device needs to be pressed gently. 8.Now take the ink cartridges out of their packing by peeling the
tape off. 9.Take the orange tab on top of the cartridge and twist the cap at the bottom to remove it. 10.The carriage access door needs to be opened. 11.Hold it by its sides and ascertain that the contacts face down and push the cartridge into the slot. 12.Make sure a click sound is heard, this ascertains that it is properly installed. 13.Print a test page to ascertain that the connection is made successfully.