Download
1 / 24
240 likes | 594 Views
How to Use Stowe School District E-mail Open Internet Explorer. Outlook is optimized for Internet Explorer. Other browsers may not have advanced features. Kathleen Nann ©2005 Stowe School District Compose a New E-mail Message Open and Read an E-mail Message Reply to an E-mail Message

E N D
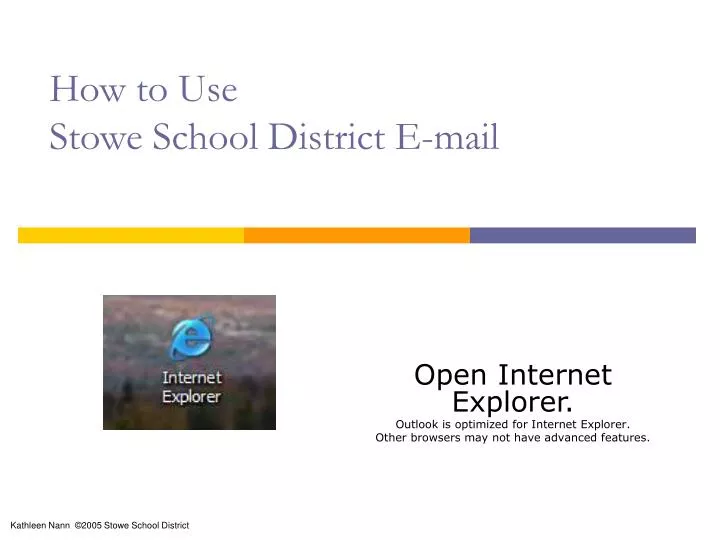
How to Use Stowe School District E-mail Open Internet Explorer. Outlook is optimized for Internet Explorer. Other browsers may not have advanced features. Kathleen Nann ©2005 Stowe School District
Compose a New E-mail Message Open and Read an E-mail Message Reply to an E-mail Message Log off the E-mail System Locate a Teacher’s Email Address Manage Pop-ups Learn about Contacts Add a Contact from a Sent Message Add a New Contact via the New Contact Form Learn about Advanced Features using the Help System Get Personalized Help from Tech Support Download this slide Show Access your E-mail from the Web Login to the E-Mail Server The Inbox Main Toolbar Inbox Tools Table of Contents Click the button on any page to return to this Table of Contents. Overview of Outlook Web Mail How To:
Access and Login to your Email 1. Go to the District Web Site http://www.stowe.k12.vt.us 2. Click the link: Stowe School District E-mail You can access your e-mail from school, home, or any place where you have an internet connection.
Login to the E-mail Server 1. Type your network login id 2. Type your network login password 4. Click the button 3. Do not change these options. HINT: You will next see security window asking if you are sure you want to continue. You must click Yes to log in to your mailbox.
Folder Pane Toolbar Main Window Outlook Inbox As soon you login in, your mailbox will open to the INBOX
Main Toolbar Scroll Arrows Displays the folder that is active # of Messages/Pages Log Off Button Displays available tools for the Active Folder
Inbox Tools Delete the selected E-mail message Turn off Preview Panein all folders! Learn about using the e-mail program Move or copy Reply Checks for New Mail Forward Click to compose a New e-mail message Reply All HINT: Hover your mouse over the icons to see the name of the tool. b
Compose a New E-mail Message 5. Click the send button 1.Click the NEW button 2. Type the e-mail recipient 3. Add a subject line 4. Type in the message box HINT: Hold down the Shift key and press 2 to type the @ symbol.
Read an E-mail Message Double click the message The e-mail message will open in a new window
Reply to an E-mail Use the toolbar to reply, forward, print, or delete the message This message shows that I have already sent a reply
Type your Reply Message Toolbar Save draft Spell check Font Formatting Toolbar When finished, click The recipient’s address and subject line are completed automatically. Type your response above the copy of the previous message..
Log Off the Mail Server When you are finished with your e-mail, click the log off button. You will return to this screen. You can now close the browser. HINT: If you are idle too long, you will be logged of the system automatically. Just log in again to get back to your mail box.
Locating a Teacher’sE-mail Address Check Names button 1. Type the first initial and the first few letters of the last name. EX. For Ms. May, Type in the TO: box sgua 2. Click the Check Names Icon 2. If the name is found, Madame Guazzoni’s first and last name will appear in the TO: box:
Managing Pop-Up Blocker: Part 1 • Pop-ups are automatically disabled on our computers, but you need the POP-UPS in your email for it to work properly. • Follow these instructions to set up your email to allow pop-ups: 2. • Click CHECK NAMES 1. • In a new message, type any name in the TO: box 3. • This window appears: 4. Continued • CHECK THIS BOX!!!! • Click OK 5.
Managing Pop-Up Blocker: Part 2 • Look for the Pop-Up Banner at the top of the message window 6. Click on the Banner. • A list of options appear: 7. Click ALWAYS ALLOW Pop-ups from This Site.
About the Contacts Folder The contact folder is your e-mail address book. Click in the Folder Pane to open your Contacts. This contact folder Is empty.
Contacts should only be added for people not already in the Global directory (i.e., teachers and staff). Only add student e-mail addresses to your contacts. Adding New Contacts the Easy Way!Part 1 • Ask a classmate to send you an email. • Open the email message. • Right click on the sender’s email address. • Choose Add to Contacts • A new window opens. Continued
Adding New Contacts the Easy Way!Part 2 • Complete the form as shown below: • Click Save and Close
Add a New Contact from Scratch! You can a new Contact directly in the Contacts folder. 1. Click Contacts in the Folder Pane 2. Click the New Button
Add the Information to the Contact Form • Step 1: • You only need to • complete the following • Information: • Last Name • First Name • Display Name • No LAST NAMES in the display name! • E-mail Address • Step 2: • Click Save and Close • On the toolbar • Step 3: Send an Email • Type the display name in the To: box • Click Check Names button
Learn More E-mail Features To learn more advanced features of the e-mail system, click the Help Button on the main tool bar. The Help page will open in a separate window. Some features you may find useful include: • Distribution Lists: Create a group list of e-mail recipients (a group of students you are working with on a project: Ex.: Boat Project). • Appointments: Create a new appointment (eg. “science lab due” which is automatically added to the calendar. Receive a reminder when you log in to your e-mail. • Use rules to send e-mail to a specified folder. • Learn how to block senders and manage junk mail. • Look in the Help Contents to explore other features. • If you Create a signature file (DO NOT ADD ANY PERSONAL INFORMATION( ie last name, address, phone numbers.) • Manage Deleted Messages---You have to empty the trash in the deleted messages folder.
Contact Tech Support If you need more help with email, or have a question about appropriate use: • Ask your teacher • Email me: Type knann and click check names • Email tech support: Type tech and click check names Example: tech knann
Download this Tutorial Click here Click here Click here