Download
1 / 45
490 likes | 614 Views
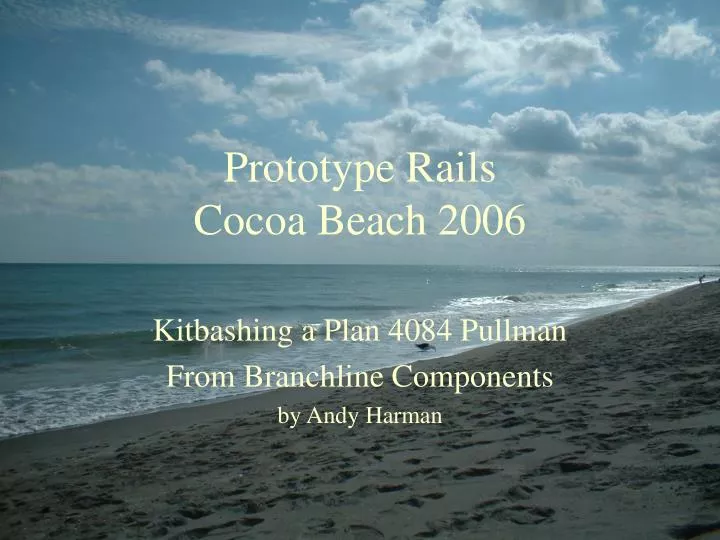
Prototype Rails Cocoa Beach 2006. Kitbashing a Plan 4084 Pullman From Branchline Components by Andy Harman. Dean Hale Photo. Dean Hale Photo. Mainline Modeler drawing by George Trager. Pullman 6 section, 6 bedroom plan 4084A Rebuilt from plan 3410 Single vestibule/blind end

E N D
Prototype RailsCocoa Beach 2006 Kitbashing a Plan 4084 Pullman From Branchline Components by Andy Harman
Mainline Modeler drawing by George Trager • Pullman 6 section, 6 bedroom plan 4084A • Rebuilt from plan 3410 • Single vestibule/blind end • 6 sections remain in the same place - not much else does! • Roof ducting is completely different • Bedrooms are split fore and aft of the sections
Floor plan shows the bedroom placement relative to the sections • Men’s lounge extends to the blind end of the car • Women’s lounge similar to 3410 • Bedrooms are on opposite sides of the car • Section passengers get the smoothest ride • Staggered placement creates a challenging asymmetrical window arrangement • This is called fun
Beginning the build with the men’s side, right to left • Starting with Branchline 3410 side • X-Acto miter box, but the X-Acto saw is too coarse • Zona is the thing - fine teeth • No filler here - would do more harm than good
The drawing is sized “almost” HO scale - best I could do • I use the drawing as a build guide but the finished side must fit the Branchline core • There is a slight “drift” as we build, which we have to correct at some point
The side grows - the three section pairs come from the 3410 12-1 intact • I did not make a cutting diagram, I cut each piece as I went from stock sides • I used some part of all eight available Branchline sides! • The key is making every joint as clean and square as possible - easier said than done! • The miter box is not that accurate. Need a cutting jig with no wobble.
From here on forget the drawing… the side length has to match my stock Branchline side
I use Zap-A-Gap CA to fill the cracks on the back of the side, then sand it down level with some coarse sandpaper. This reinforces the strength of the pieced-together side effectively.
Notice distance between 3rd and 4th window from left is too long • This is the correction for the “drift” • First three windows are men’s hopper/lounge/lounge • 4th and 5th window are bedroom A and B • Then the sections • The windows to the right of the sections are all aisle
Side One after painting with Scalecoat II Pullman Green Can you spot the joints? Microscale Decals and Dullcote Overspray
My standard rework of a Branchline frame end. Cover up the recess for the swivel coupler. • We’ll add I-beams to extend the frame.
Walthers heavyweight diner end - blind but not pedimented Branchline Pullman end - pedimented but not blind
File To Fit Cut Close Not Bad!
Nature’s Clamp Use extra stock Branchline sides and roof to hold the body together in form, while attaching the modified Walthers end Note plastic I-beam to close up the frame gap from the coupler swing arm
See how nicely the modified end fits the dummy roof We won’t be this lucky with the “real” roof….
Tom Madden sent me these photos of another techniquefor making a blind end by modifying the Branchline endin place.
The 4084A has a dual brake cylinder arrangement. The components are fairly standard and can be found in the Branchline kits mostly. And the underframe starts out completely bare – nothing to grind off!
The sills, The sills, crossmembers, and brake cylinders have been installed. The mounting pad for the second cylinder chiseled from another Underframe and trimmed to fit in the location between the ribs.
The brake chain, rod, and wheel are Branchline parts. The chain will sag appropriately with the car right side up.
I-beams to extend the frame up to the coupler pocket. Notice the Proto87 pivot washer. The other end will have the washer turned 90 degrees. Trimming the ends of the sills is necessary to clear the truck’s brake beam and center slab.
One of my favorite things – the 3-piece Branchline stepwell. This photo doesn’t do it justice.
AMB Laserkit makes a “Common” Pullman glass kit, which yousee here, and separate etched class sets for the lounge windows.
I have placed the 6 sections from a 12-1 interior in the properposition. Unfortunately I didn’t have the time or parts to completethe interior. Inside walls are Pollyscale Sand (beige).
Pardon my sanding dust. Is it looking like a passenger car yet?
Ouch… vertical seam kind of stands out but, this is at major magnification. And with a stand-in roof.
Look at the difference between gloss and Dullcoated Pullman green
Oh yeah, the roof.Actually about 60% of the12-1 roof can be kept, andthe modifications madeat the blind end only. Dremel on low speed withcutting disc and steady handsand don’t forget the goggles.
Cut close, file to fit… cut close, file to fit… except this is oneweird filing job. Especially after midnight on the night beforethe flight to Orlando. Fly Delta… they need the business.
This shows what I missed at the time. My first attempt at the ductedpiece was warped. Guess what… styrene warped tends to stay warped.I messed things all up with glue trying to force it before throwing thispiece away.
Ahh, much better. These are very well made parts, and evenwhen chopped and diced, if they don’t fit back together, somethingis wrong. The side is a stand-in here, in fact the whole body is a“seamstress dummy”, a nice way to prevent jabbing somethingprecious with something sharp.
Now what… this needs to be a “turtle” end on just thiscorner… maybe the NERS part will work - ?
Around to the other side… the duct transition was cut from anotherroof. Twice. I had to thin down the vertical part a lot, just leavingthe rivet line/bead.
Other side needs plain clerestory and 2 vents…cut close and…. well, you know…
Eeew. NERS end cap plus styrene plus Zap-A-Gap. Sanded and morestyrene. More Zap. More sanding. Today a sculptor, tomorrow… musician?
I’m often asked, “How do you go about getting a nice junkbox?Well….. I think this is a pretty good start.
Self discipline is also very important. Only workon one project at a time…..
P U L L M A N T H E E N D (well almost…. Still have to finish the interior…and the end details… and the pongers… and thewindow shades… and people…) See you next year!!