Download
1 / 47
470 likes | 481 Views
Chapter 10: Flexibility. Lesson 10.1: Flexibility Facts Self-Assessment 10: Arm, Leg, and Trunk Flexibility. Lesson 10.1: Flexibility Facts. Lesson Objectives: Describe the characteristics of flexibility. Explain how you benefit from good flexibility.

E N D
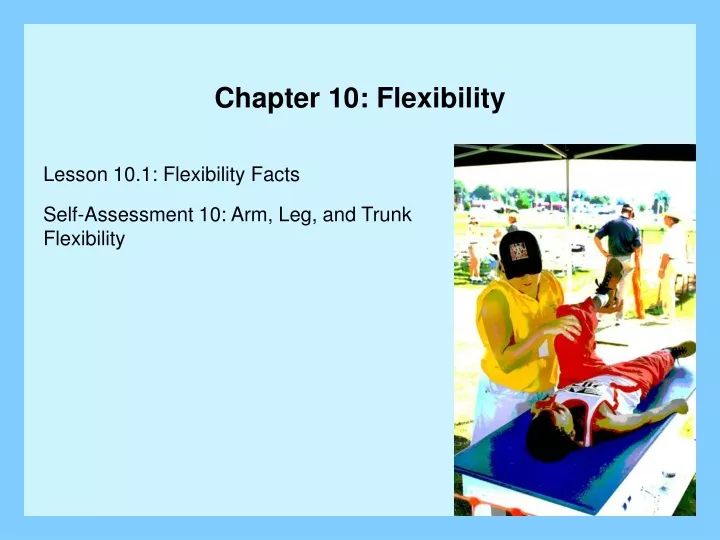
Chapter 10: Flexibility Lesson 10.1: Flexibility Facts Self-Assessment 10: Arm, Leg, and Trunk Flexibility
Lesson 10.1: Flexibility Facts Lesson Objectives: • Describe the characteristics of flexibility. • Explain how you benefit from good flexibility. • Explain why it is important to balance strength and flexibility exercises. • Explain how the fitness principles of overload, progression, and specificity apply to flexibility.
Lesson 10.1: Flexibility Facts Question What is meant by the term flexibility?
Lesson 10.1: Flexibility Facts Answer Flexibility is • the elasticity or compliance of muscles when stretching. • the ability to move joints through a full range of motion. • A joint is a place in the body where bones come together • Examples of joints: • the ankles, knees, hips, wrist, elbows, shoulders
Lesson 10.1: Flexibility Facts Question What is meant by the term range of motion (ROM)?
Lesson 10.1: Flexibility Facts Answer • ROM means the degree of movement you have. • Gymnasts have a large range of motion around the shoulder joint. • Hurdlers have a large range of motion around the hip joint.
Lesson 10.1: Flexibility Facts Question What primary joints in the body benefit from a greater range of motion, particularly when it comes to sports participation?
Lesson 10.1: Flexibility Facts Answer Joints that benefit from a good range of motion: • The ankle, hip, and shoulder joints • Note that these are known as ball-and-socket joints • They permit movement in many directions (rotation, flexion, extension)
Lesson 10.1: Flexibility Facts Question How do the knee joints and elbow joints move?
Lesson 10.1: Flexibility Facts Answer • The knee and elbow are known as hinge joints. • They allow only an opening and closing of a joint.
Lesson 10.1: Flexibility Facts Question Which muscle groups require good flexibility? What are the reasons for this?
Lesson 10.1: Flexibility Facts Answer • For sports performance, it is important for major muscle groups to be flexible: • The hamstrings • The calf muscles • The muscles of the lower back • The hip flexors • The muscles of the shoulder • Flexibility in these areas enhances performance and reduces risk of injury.
Lesson 10.1: Flexibility Facts Question What specific health and wellness benefits do stretching exercises provide?
Lesson 10.1: Flexibility Facts Answer Health benefits of stretching: • Stretching short muscles helps improve posture. • Good posture helps prevent or relieve back pain and reduces fatigue. • Flexibility helps reduce risk of injury. • For elderly people, flexibility helps prevent joint aches and pains.
Lesson 10.1: Flexibility Facts Question What groups of people tend to be more flexible than others?
Lesson 10.1: Flexibility Facts Answer The following people are more flexible: • Athletes: because they practice stretching often. • Young people tend to be more flexible than older people.
Lesson 10.1: Flexibility Facts Question What does the term hypermobility mean?
Lesson 10.1: Flexibility Facts Answer Hypermobility: • When a person is unusually flexible in certain joints • Examples: • When a person can extend the knee, elbow, thumb, or wrist joint past a straight line, as if the joint could bend backwards.
Lesson 10.1: Flexibility Facts Question Is hypermobility a problem?
Lesson 10.1: Flexibility Facts Answer Hypermobility can be a problem: • People with hypermobile joints are prone to joint injuries. • Arthritis may develop (a disease in which the joints become inflamed).
Lesson 10.1: Flexibility Facts Question What is the problem with doing little or no flexibility exercises but lots of muscle strengthening exercises?
Lesson 10.1: Flexibility Facts Answer If you do not do flexibility exercises and do only strength exercises • this will lead to decreased range of motion. • this condition is sometimes called being muscle-bound.
Lesson 10.1: Flexibility Facts Question Why is it important to strengthen the muscles of the back (posterior) of the body?
Lesson 10.1: Flexibility Facts Answer The back muscles are important to strengthen because • the back is very important for posture. • sports performance is improved (strengthening the abdominal area is also important).
Lesson 10.1: Flexibility Facts Question How does the principle of overload relate to flexibility?
Lesson 10.1: Flexibility Facts Answer You need to stretch your muscles longer than normal to increase your flexibility.
Lesson 10.1: Flexibility Facts Question How does the principle of progression relate to flexibility?
Lesson 10.1: Flexibility Facts Answer You need to gradually increase the intensity of exercise. Intensity can be increased by stretching farther as you gain flexibility.
Lesson 10.1: Flexibility Facts Question How does the principle of specificity relate to flexibility?
Lesson 10.1: Flexibility Facts Answer Flexibility exercises improve only the specific muscles at the specific joints that you stretch.
Self-Assessment 10: Arm, Leg, and Trunk Flexibility Question How do you perform the arm lift assessment of flexibility?
Self-Assessment 10: Arm, Leg, and Trunk Flexibility Answer Arm Lift: • Lie facedown. Hold a ruler or stick in both hands. Keep fists tight, palms facing down.
Self-Assessment 10: Arm, Leg, and Trunk Flexibility Answer (continued) • Raise your arms and the stick as high as possible. Keep your forehead on the floor and your arms and wrists straight. • Hold this position while your partner checks the height of the stick with a ruler.
Self-Assessment 10: Arm, Leg, and Trunk Flexibility Question How should you perform the assessment of arm and shoulder flexibility (the zipper test)?
Self-Assessment 10: Arm, Leg, and Trunk Flexibility Answer Zipper: • Reach your right arm and hand over your right shoulder and down your spine, as if you were pulling up a zipper.
Self-Assessment 10: Arm, Leg, and Trunk Flexibility Answer (continued) • Hold this position while you reach your left arm and hand behind your back and up the spine to try to touch or overlap the fingers of your right hand. • Hold while your partner checks. • Repeat, reaching your left arm over your shoulder.
Self-Assessment 10: Arm, Leg, and Trunk Flexibility Question How should you perform the trunk rotation and wrap around assessments of trunk flexibility?
Self-Assessment 10: Arm, Leg, and Trunk Flexibility Answer Trunk Rotation: • Stand with your toes on the designated line. Your right shoulder should be an arm’s length (fist closed) from the wall, and directly on a line with the target spot.
Self-Assessment 10: Arm, Leg, and Trunk Flexibility Answer (continued) • Drop your right arm and extend your left arm to your side at shoulder height. Make a fist, palm down. • Without moving your feet, rotate your trunk to the left as far as possible. Your knees may bend slightly to permit more turn, but don’t move your feet. Try to touch the target spot or beyond with a palm-down fist.
Self-Assessment 10: Arm, Leg, and Trunk Flexibility Answer (continued) Wrap Around: • Raise your right arm and reach behind your head. Try to touch the left corner of your mouth. You may turn your head and neck to the left. • Hold while your partner checks. • Repeat with your left arm.
Self-Assessment 10: Arm, Leg, and Trunk Flexibility Question How should you perform the knee to chest assessment of leg flexibility?
Self-Assessment 10: Arm, Leg, and Trunk Flexibility Answer Knee to Chest: • Lie on back. Extend left leg. Bring right knee to chest. Place hands on back of right thigh. Pull knee down tight to your chest.
Self-Assessment 10: Arm, Leg, and Trunk Flexibility Answer (continued) • Keep your left leg straight and both the leg and lower back flat on the floor.
Self-Assessment 10: Arm, Leg, and Trunk Flexibility Answer (continued) • Hold. Your partner checks that your knee is on your chest and uses a ruler to measure the distance that your left calf is from the floor. • Record score. Repeat with your left knee. Record 1 checkmark for each side.
Self-Assessment 10: Arm, Leg, and Trunk Flexibility Question How should you perform the ankle flex assessment of ankle flexibility?
Self-Assessment 10: Arm, Leg, and Trunk Flexibility Answer Ankle Flex: • Sit erect on the floor with your legs straight and together. You may lean backward slightly on your hands if necessary. • Flex your ankles by pulling your toes toward your shins as far as possible.
Self-Assessment 10: Arm, Leg, and Trunk Flexibility Answer (continued) • Hold this position while your partner checks the angle that the soles of your feet make with the floor. The partner will align a T-square or a book with the floor and see whether the soles are at least perpendicular to the floor. • Record 1 checkmark in the correct column. • Pass = soles angled 70° or more