Download
1 / 19
190 likes | 286 Views
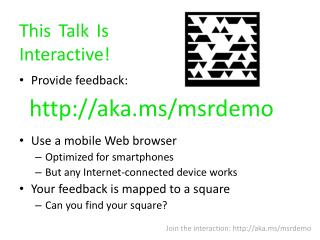
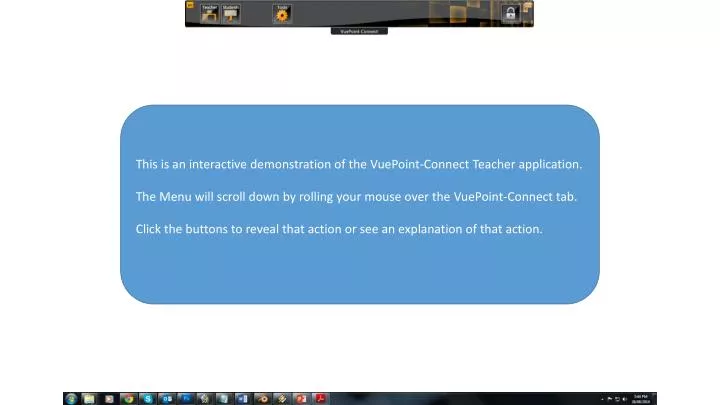
This is an interactive demonstration of the VuePoint -Connect Teacher application. The Menu will scroll down by rolling your mouse over the VuePoint -Connect tab. Click the buttons to reveal that action or see an explanation of that action.

E N D
This is an interactive demonstration of the VuePoint-Connect Teacher application. The Menu will scroll down by rolling your mouse over the VuePoint-Connect tab. Click the buttons to reveal that action or see an explanation of that action.
The student screen is now blocked with a full screen graphic and the keyboard has been locked. Click again to unblock. The Teacher screen is now being sent to all Students. Click again to stop sending.
The student screen is now blocked with a full screen graphic and the keyboard has been locked. Click again to unblock. This enables/disables the menu buttons for the students. This enables/disables the “Me To All” button on the student menu.
The student screen is now blocked with a full screen graphic and the keyboard has been locked. Click again to unblock.
Student screen controls. Click to explore. Send this student screen to all other students. The Pen allows for annotation over the student screen.
Student screen controls. Click to explore. Send this student screen to all other students. The Pen allows for annotation over the student screen.
Student screen controls. Click to explore. Send this student screen to all other students. The Pen allows for annotation over the student screen.
Student screen controls. Click to explore. Send this student screen to all other students. The Pen allows for annotation over the student screen.
The student screen is now blocked with a full screen graphic and the keyboard has been locked. Click again to unblock. If any files may be missing, the “Refresh” button will update all uploaded files. “My Files” reflects all files uploaded by the Teacher. “Student Files” reflects all files uploaded by the Students.
The student screen is now blocked with a full screen graphic and the keyboard has been locked. Click again to unblock. You can now hold “Shift” and drag and drop each video to be played on each Student PC.
The student screen is now blocked with a full screen graphic and the keyboard has been locked. Click again to unblock. YouTube videos can be saved to the library for easy access to frequently used videos.
The student screen is now blocked with a full screen graphic and the keyboard has been locked. Click again to unblock. This will send the poll to the student PC’s. They receive a popup with the question and multiple choice answers to select and send back. The Graph view will reflect the percentage of correct and incorrect answers.
The student screen is now blocked with a full screen graphic and the keyboard has been locked. Click again to unblock. This will send the poll to the student PC’s. They receive a popup with the question and multiple choice answers to select and send back. The Student view will list all students and reflect the time it took to answer.
The student screen is now blocked with a full screen graphic and the keyboard has been locked. Click again to unblock. Double click listed files to open in your pre-selected order. Use these buttons to create your lesson plan.
The student screen is now blocked with a full screen graphic and the keyboard has been locked. Click again to unblock. The Teacher can set countdown timers for each individual Student. This appears as a popup for the Student and will flash for the last 20 seconds. The box around each Student above will show red when the countdown has finished. Each timer can be paused as required.
The student screen is now blocked with a full screen graphic and the keyboard has been locked. Click again to unblock. A popup appears on the student screen as the Teacher chats are broadcast to all. Students can reply and chats are visualised by name.
The student screen is now blocked with a full screen graphic and the keyboard has been locked. Click again to unblock. The Student number and name are now displayed on all Student machines for easy visual identification.
Starts a StormCloud Session. Use “Send Request” to invite students to join the session. “Join Session” allows the Teacher to join any sessions in progress. StormCloud drawing buttons. StormCloud application buttons. There are 20 frames that can be navigated and included in the session.