Download
1 / 32
450 likes | 1.24k Views
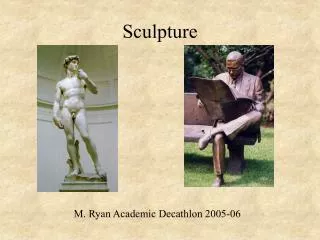
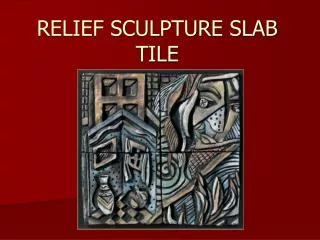
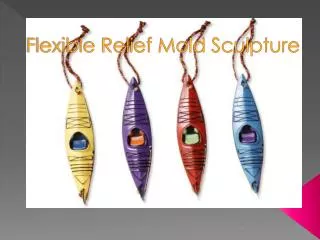
Repetitious Paper Relief Sculpture. Relief Sculpture: To give the impression that the sculpted material has been raised above the background plane. Relief Sculpture. Types of Relief. Intaglio Relief: -Also known as Sunken Relief

E N D
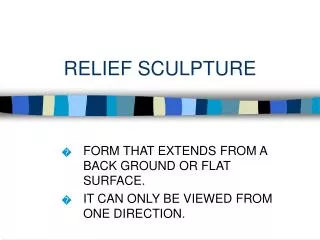
Relief Sculpture: To give the impression that the sculpted material has been raised above the background plane. Relief Sculpture
Types of Relief Intaglio Relief: -Also known as Sunken Relief -The carving is sunk below the level of the surrounding surface and is contained within a sharply incised boundary line that frames it with a powerful line of shadow. -This kind of carving is found exclusively in ancient Egyptian art. Karnak Temple
Types of Relief Bas Relief: -Also known as Low Relief -The sculpture projects partly from the background surface. -The image is with a shallow overall depth, for example used on coins.
Types of Relief Mezzo Relievo: -Also known as Middle Relief. -It’s a style in between Bas and Alto Relief. Qajar relief in Tang-e Savashi
Types of Relief Alto Relief: -Also known as High Relief -The sculpture projects at least half or more of its natural circuit from the background and may sometimes be detached from the ground. “Imagination” by Bill Mack
Ancient Reliefs -Reliefs were commonly seen on the surfaces of stone buildings in ancient Egypt, Assyria and other Middle Eastern cultures. -High reliefs did not become common until Classical Antiquity (500 BCE) when Ancient Greek sculptors began to explore the genre more . Frieze of the Parthenon
Medieval Reliefs -In Europe during the period 1000-1400, the main emphasis was on relief sculpture in Romanesque cathedrals in France, Germany, England and other countries. Romanesque Cathedral
Renaissance Relief -The Italian Renaissance (1400-1600) brought a noticeable change, as illustrated by the famous bronze doors that Lorenzo Ghiberti made for the Baptistry of Florence Cathedral. Bronze Doors – Lorenzo Ghiberti
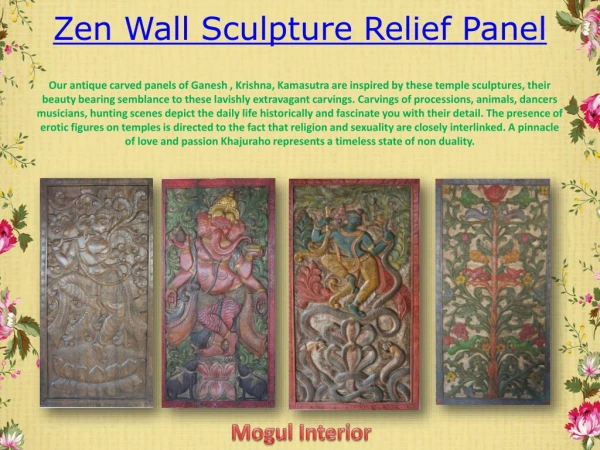
Contemporary Reliefs -Today, reliefs are still used by many artists such as Jose Santamarina, Jeff Nishinaka, and Charles Clary. -These two particular artists focus on paper reliefs… Charles Clary
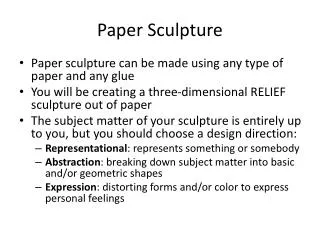
Goal: To create an ASSYMETRICAL relief sculpture of multiple levels using interesting, repetitious paper forms in order to create unity, movement, and rhythm. The finished sculpture should include some negative space as well as a center of interest or focal point. Repetitious Paper Relief
1.) Begin this project by viewing the examples passed around in class as well as the examples above. Please don't copy these ideas, but use them as inspiration to create your own unique relief sculpture. 2.) You may choose to use black or white paper for this project, or a combination of two. Please do not include any color in the project. We are focusing on repetition, not color. Please only use the paper provided. Process
3.) Begin by exploring shape and form. Experiment with various shapes of paper and create forms from them. You may experiment with origami techniques if you wish. I, however, will not be demonstrating origami. 4.) Please try to keep the forms fairly simple as you will need to create anywhere from 35-70 total forms for your final project. I will discuss a few techniques in class, then you can expand on those techniques. Process
5.) Create at least 5 DIFFERENT, INTERESTING forms. Once you have 5, choose one to work with. Please make sure that I see your five different forms so that I can give you credit. 6.) Using your chosen form as a guideline, create 35-70 of this same form. Please vary the size (large, medium, small)(short or tall)(thin or thick). Process
7.) Once you have at least 35 finished forms, you should begin to think about the construction of the finished sculpture You will need to create a relief ASSYMETRICAL sculpture. There should be multiple levels in the sculpture in order to achieve depth. This means there should be low areas, high areas, as well as levels in between. 8.) Experiment with putting forms together in different ways. Create a center of interest or focal point. This is where the viewers eye will go first. The center of interest should stand out or be emphasized by contrasting large and small, short and tall, or by a change in direction. Process
9.) Repetition and rhythm are the keys to this project. Please also consider both positive and negative space. The negative is just as important as the positive. 10.) Once you have an interesting design in mind, and you have considered center of interest, asymetricaldesign, contrast, repetition, rhythm, and positive/negative space, you may begin gluing your forms together using Elmer's glue or hot glue. NO TAPE!! Process
11.) As you begin gluing, make sure you pay attention to craftsmanship. Try not to use too much glue. Construction of this project will be a big part of your final grade. If the sculpture is not put together well, it doesn't matter how interesting the design is. Make sure that your piece will stay together! Process