Download
1 / 10
100 likes | 102 Views
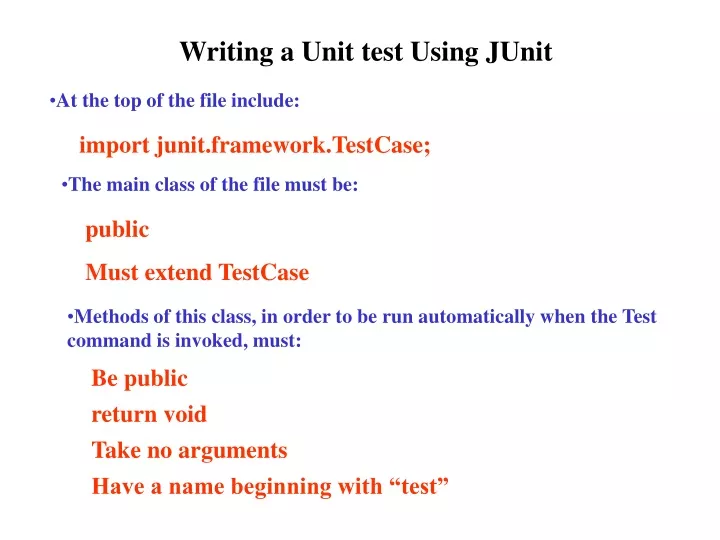
Writing a Unit test Using JUnit. At the top of the file include:. import junit.framework.TestCase;. The main class of the file must be:. public Must extend TestCase. Methods of this class, in order to be run automatically when the Test command is invoked, must:. Be public return void

E N D
Writing a Unit test Using JUnit • At the top of the file include: import junit.framework.TestCase; • The main class of the file must be: public Must extend TestCase • Methods of this class, in order to be run automatically when the Test command is invoked, must: Be public return void Take no arguments Have a name beginning with “test”
Writing a Unit test using JUnit • Test methods in this class can call any of the following methods (among others): void assertTrue(String, boolean) void assertEquals(String, int, int) void fail(String) Issues an error report with the supplied String if the boolean is false Issues an error report with the supplied String if the two integers are not equal. The first int is the expected value, the second, the actual (tested) value. This method can be called with primitive or Objects (using their equals( ) method for comparison. This immediately causes the test to fail and issue an error report with the supplied String.
Writing Unit Tests using JUnit Example: Suppose we are writing a Calculator class that operates on pairs of numbers. Before writing the class, write some tests for it. Then write the Calculator class, compile it and the test class, and see if your Calculator code passes the tests you have set for it. If so, add more tests to check other cases that you discover in the process of writing and validating your code. Continue until you are satisfied that your code is correct and complete.
Test class extends TestCase Find actual result returned by Calculator method Example of using JUnit import junit.framework.TestCase; public class CalculatorTest extends TestCase { public voidtestAddition( ) { Calculator calc = new Calculator( ); // add 3 + 4 int expected = 7 int actual = calc.add(3, 4); assertEquals(“Adding 3 + 4 “, expected, actual); } public void testDivision( ) { Calculator calc = new Calculator( ); try { calc.divide(2, 0); fail(“Should have thrown an Exception”); } catch(ArithmeticException e) { System.out.printLine(“Good! Divide by aero exception caught”); } Use method assertEquals to compare expected and actual results
Compile All Reset Test Javadoc Interactions Console Compiler Output Test Output Running the Test Once the test code and the unit (class) to be tested have been written and compiled, you can run the test in DrJava by simply clicking on the Test button in the top Toolbar. Die (test code is located in this window) DieTest Test Progress All tests completed successfully. Die Test testRoll Show Stack Trace
Running the Test Alternatively, one can manually control the execution of the test program and select which of the test methods to select by including the following method: publicstatic Test suite( ) { TestSuite suite = new TestSuite( ); suite.addTest(new <class name>(“<method name>”) ); ………………………………… return suite; } Must import Test and TestSuite from junit.framework package Additional information about using JUnit can be found in the JUnit Cookbook at http://junit.sourceforge.net/doc/cookbook/cookbook.htm
If the Test Fails A list of test failures is displayed in the Test Output tab in the bottom window similarly to compiler errors. To view a Stack Trace, right-click on the failure in the Test Output tab and select the Show Stack Trace button.
Test Driven Development (TDD) • Always write the test before writing the code! • The tests will actually get written – It is human nature to avoid writing unit tests after the code has been written. The programmer may rationalize that the code is correct and a time consuming test program is not needed. • Programmer satisfaction – If the test is written first the programmer feels a need to write code to “pass the test” and gets a satisfaction out of doing so. • Clarification of detailed interface and behavior – As you write the test code you must imagine that the code for the class you are testing actually exists. This makes you think through the details of the public view of the method. • Provable, repeatable, automated verification – Over time the test base builds. The early investment in writing tests first pays dividends later as the size of the application grows. • The confidence to change things – If a developer needs to change one of the existing classes, there are unit tests available that can be run to provide immediate feedback of whether the change produced an error.
Application under test Understanding Software’s Environment kernel Operating System UI API File System
Understanding Software’s Environment If an application makes a request of the OS – for example, to allocate memory – it must check that that request has been successfully completed, and assert the appropriate error condition if it has not. Disks can get full and networks congested. What happens to our software system when the expected resources are not available? Software must be tested under normal operating conditions, not in a vacuum. Normal operating conditions include situations in which the external environment becomes stressed.