Download
1 / 10
110 likes | 317 Views
Rainforests. Karen Bova, Dana Falls, and Amber Spaulding ED 417-01 Instructor: Dr. Helms. Rainforests. Grade Level-Third Unit-Geography Lesson-Rainforests. Objectives. The third grade students will be able to do the following:

E N D
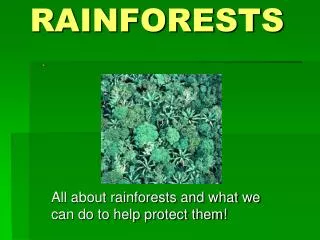
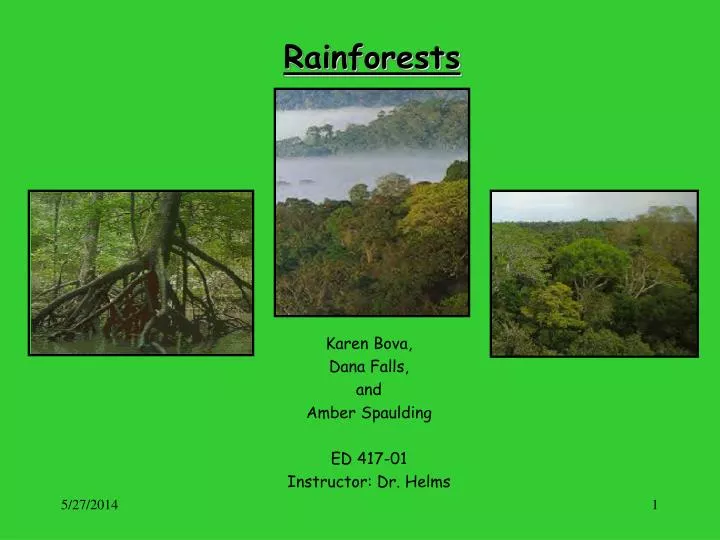
Rainforests Karen Bova, Dana Falls, and Amber Spaulding ED 417-01 Instructor: Dr. Helms
Rainforests • Grade Level-Third • Unit-Geography • Lesson-Rainforests
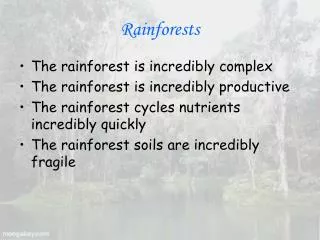
Objectives • The third grade students will be able to do the following: • 1. Identify the key components and characteristics of the rainforest. • 2. Construct a classroom replica of the different layers in the rainforest. • 3. Compare and contrast the positive and negative effects humans have on the rainforest. • 4. Create and observe their own living rainforest. • 5. Discuss and debate, through a mock trial, the key issues involving the rainforest.
Student computers with internet access PowerPoint accessibility and PowerPoint projector Television set and VCR Movie-Fern Gully: The Last Rainforest Writing paper Pens and pencils Markers, crayons, and colored pencils Paint CD player CD with rainforest sounds Colored butcher paper and crepe paper (ex. brown and green) Chart paper Construction paper Blue cellophane Masking tape Scissors Stapler and staples Small sponge Wire or clothesline Pictures of different native rainforest animals and plants Mason jars with lids Potting soil and gravel Large spoons Small plants (ex. mosses, ferns, and house plants of various heights. Water Nametags (see activity number five for details) Materials Needed:
Web Sites • Toucan Sam & the Rainforest http://www.toucansam.kelloggs.ca/ • The Bronx Zoo-Rainforest http://www.congogorillaforest.com/ • Learning About Rainforests http://www.srl.caltech.edu/personnell/krubal/rainforest • Rainforest-Alliance http://www.rainforest-alliance.org/kids&teachers/kids/activities • Science In The Rainforest http://www.pbs.org/tal/costa_rica/layers.html • Corbis.com http://www.corbis.com
Student Activity #1 • Field Report-After viewing the PowerPoint presentation, students will take an imaginary journey through the rainforest. • Procedure- • Turn off lights and begin playing rainforest CD of jungle sounds. Have students close their eyes and begin to imagine hiking through the rainforest. Ask students, “How do you imagine the rainforest looks, feels, sounds, and smells?” “What animals and plants live there?” “Why are rainforest endangered?” • Have students record their thoughts on writing paper, creating a field report of their visit to the rainforest. • Have students share and discuss their thoughts and ideas on the rainforest. • Post field reports in the hallway for display of student work.
Student Activity #2 • Classroom Rainforest Replica- Students will construct, with available materials, the different layers, animals, and plants of the rainforest. • Procedure- • Cover the left and right side of the classroom with blue butcher paper. • On the left and right side of the classroom staple/tape lengths of brown butcher paper to represent trees. Tear tree branches from another piece of brown butcher paper and staple/tape them to the top of the trees. • Cut vines of various lengths of spiral shapes from green butcher paper. Wrap some vines around tree trunks; allow others to dangle down freely. • Cut leaves from green paper. Using pictures of rainforest vegetation as a guide, cut long, thin, pointy leaves for the Upper Canopy, large, broad leaves for the Lower Canopy, and smaller leaves for the Emergent Layer. Staple/tape to the trees. • At the right side of the room, place labels indicating the four layers of the rain forest: The Forest Floor 0-30 feet; The Understory 30-60 feet; The Canopy 60-90 feet; The Emergent Layer 90-120 feet.
Student Activity #2 contd. • Procedure contd.- • Have students, using provided materials, create animals for each level of the rainforest and write facts that pertain to each animal on the display. • Using sponge and the following colored paint create: white-for clouds above Emergent Layer, green-for moss on tree trunks at Understory and Canopy Layers, yellow-for sunlight at Emergent and Canopy Layers, and dark brown-for forest floor. • Scrunch and tape the length of cellophane along the floor of the forest to simulate a rainforest river. • Secure two or three lengths of wire across the ceiling in parallel lines approximately three feet apart. • Cut leaves from green paper. Using pictures of rainforest vegetation as a guide, cut smaller leaves for the Emergent Layer. Staple/tape to the trees. • Cut vines of various lengths from the crepe paper to wrap around the ceiling wire; allow some to dangle down.
Student Activity #3 • Compare and Contrast- Students will be exposed to technology, found in the classroom, by playing an internet board game on the Bronx Zoo-Rainforest web site. As a class, also have students view the film Fern Gully: The Last Rainforest. After playing the game and viewing the film they will then compare and contrast the effects humans have on the rainforest. • Procedure- • Have students play “Bronx Zoo-Rainforest” board game on the web site http://www.congogorillaforest.com/ • Have students, as a class, view the film Fern Gully: The Last Rainforest. • As a class, compare and contrast the effects humans have on the rainforest. Record student responses on chart paper and post in the classroom.
Student Activity #4 • Rainforest In A Jar- The students will make a miniature living rainforest in a jar. • Procedure- • Have each student put a layer of gravel in the bottom of their jar. • Then add several inches of soil. • Each student will get three plants. The student will need to plant the smallest plant first, then the next biggest one and so on. Tell the students to push their finger dome into the soil to make a hole and then place the plant inside it. The hole and roots should be filled in with dirt. • Have the students water their plants lightly and then put the lid on the jar tightly and do not remove. • Have the students keep journals on there plant growth and other happenings that they see inside their jar. NOTE: Make sure that the students pick up on the moisture that gathers around the inside of the jar. This is where a lesson on plant transpiration can be taught. This explains the plentiful plant life of the rain forest and how it generates.