Download
1 / 9
100 likes | 254 Views
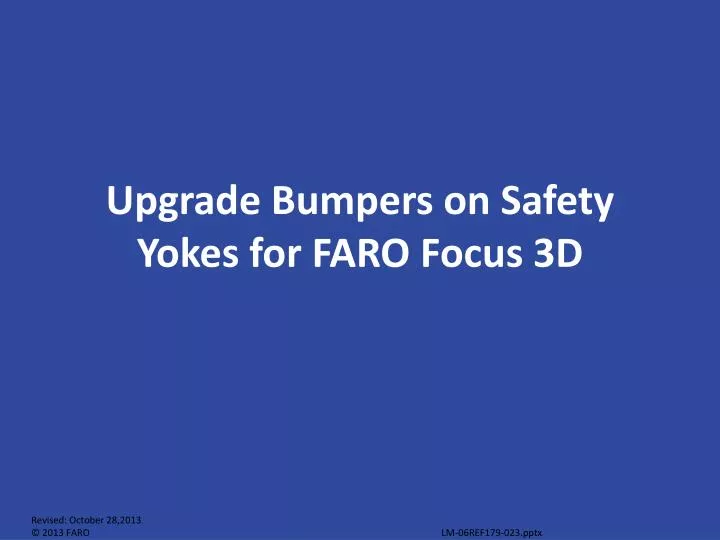
Upgrade Bumpers on Safety Yokes for FARO Focus 3D. Components. Needed Tools: Torque Screw Driver TX6 an TX10 Instructions (pages to follow). ESD Precautions.

E N D
Components • Needed Tools: • Torque Screw Driver TX6 an TX10 • Instructions (pages to follow)
ESD Precautions Make sure environment is ESD safe and it is recommended that you use an ESD strap during this process. ESD damage incurred while performing the following steps is not covered under warranty.
Instructions • Remove Cover from upper screw from “Safety Yoke Mirror Side” • Remove Cover from upper screw from “Safety Yoke Sensor Side”
Instructions • Remove 2x H0015 (M2x8) with TX6 screwdriver on top side as pictured. Screwdriver: T6 • Remove 4x H0056 (M3x8) with TX10 screwdriver on bottom side as pictured. Screwdriver: T10 • Remove the “Safety Yoke Mirror Side” carefully. Don’t scratch the surface when you remove the Safety Yoke!
Instructions • Note: Gluing areas must be degreased with Isopropanol first. • Mount both Bumpers V0191 on P0140 • Glue the bumpers on the Yoke as shown in picture. • Note: gluing areas must be degreased with Isopropanolfirst. • Mount both Bumpers V0191 on P0139 • Glue the Bumpers on the Yoke as shown in picture.
Instructions • Mount the “ P0256 - Safety Yoke Mirror Side” carefully. Be careful not to scratch the surface when removing cover. • 2x H0015 M2x8 with TX6 on top side Screwdriver: T6 Torque: 0.24 Nm 2.83 In-lb • 4x H0056 M3x8 with TX10 on bottom sideSecure the Screws with Loctite 222 Screwdriver: T10 Torque: 1 Nm 8.85 In-lb
Instructions • Fix Cover from upper screw from “Safety Yoke Mirror Side” • Fix Cover from upper screw from “Safety Yoke Sensor Side” • If the Cover is loose, replacement covers will need to be ordered - “Cover Safety Yoke” P0163
Revision History 11/10/13 – Document created