Download

1 / 13
150 likes | 410 Views
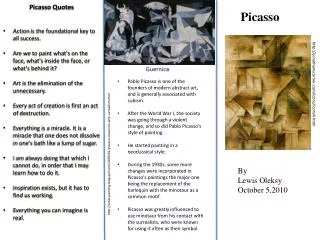
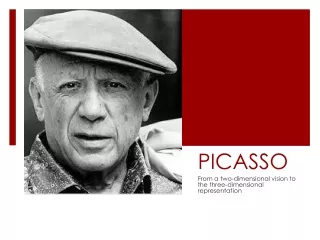
1-Picasso Flowers. Materials: white paper 12x18 pencil Sharpie marker oil pastels Objectives: To introduce students to the artwork of Pablo Picasso. Practice large format, freehand drawing without any pencil lines To teach students color theory.

E N D
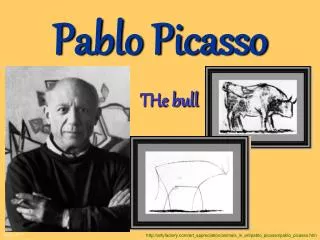
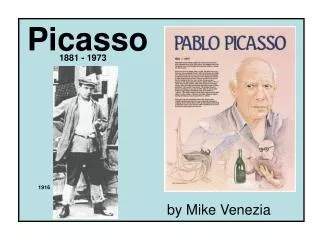
1-Picasso Flowers Materials: white paper 12x18 pencil Sharpie marker oil pastels Objectives: To introduce students to the artwork of Pablo Picasso. Practice large format, freehand drawing without any pencil lines To teach students color theory After reading a short story about the life of Pablo Picasso, students will create a simple painting inspired by his work. Keep the hands in a basic outline and added only minimal detail, similar to his painting titled "Hand with Flowers"
Reinforce working BIG - FILL THE SPACE. Procedure (print this to teach with) Talk to the students about composition or the layout. Think about where the hand will be drawn on the paper - how close to the hand the flowers will be - how far below the hand will the stems go - where to place your signature. Think about the space around all of these things. Show the color wheel and talk to the students about complimentary colors. colors that are directly opposite each other on the color wheel, such as red and green, blue and orange, and violet and yellow. They really POP when next to one another. Step 1 With the paper in vertical format - Using a pencil, carefully trace your right hand coming in from the left side of the paper. (or left hand vice versa) Make sure your hand is a little lower than centered in the paper (we need to fit the flowers - think composition) Make sure your fingers are slightly apart to trace in between each finger.Step 2 Go over the outline of the hand with a Sharpie marker *** These are permanent - please be careful! Sign you name (like Picasso did), underline and write the date.
Reinforce working BIG - FILL THE SPACE. • Procedure • (print this to teach with) • Step 3 WORKING BIG - use 4 different colors • Think COMPOSITION • don’t put all four flowers in a line • leave lots of space around them for the petals • Starting with the two center flowers - create the center of the flowers first. • Step 4 Create the petals - • Use the complimentary color of the center of the flower - for the petals of the flowers • Refer to the color wheel • red and green, blue and orange, and violet and yellow • Step 5 Create the stems • You can have more stems than there are flowers (like in Picasso’s painting) • Use the different shades of green - even the tan color • Step 6 Sign and date your work with a Sharpie
Hand with Flowers by Picasso Picasso’s signature
sign and date your work Picasso’s signature
vocabulary • vertical - The direction going straight up and down • composition - arranging several things to form a unified whole - make it appealing to the eye • complementary colors - colors that are directly opposite each other on the color wheel, such as red and green, blue and orange, and violet and yellow. They really POP when next to one another.