Download
1 / 40
400 likes | 404 Views
This article provides construction ideas, suggestions, and design considerations for building a BalloonSat, a functional model of a satellite carried by a weather balloon into near space. Learn about the necessary tools, materials, and techniques to construct a BalloonSat that can carry out experiments, collect and return data, and withstand the near space environment. The article also includes tips for testing and tethering the BalloonSat, as well as data analysis and recovery after the mission.

E N D
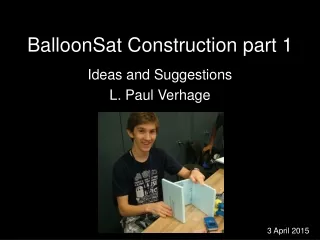
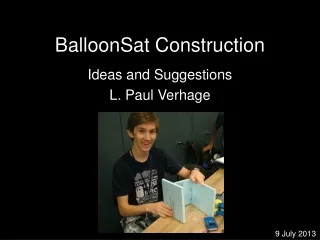
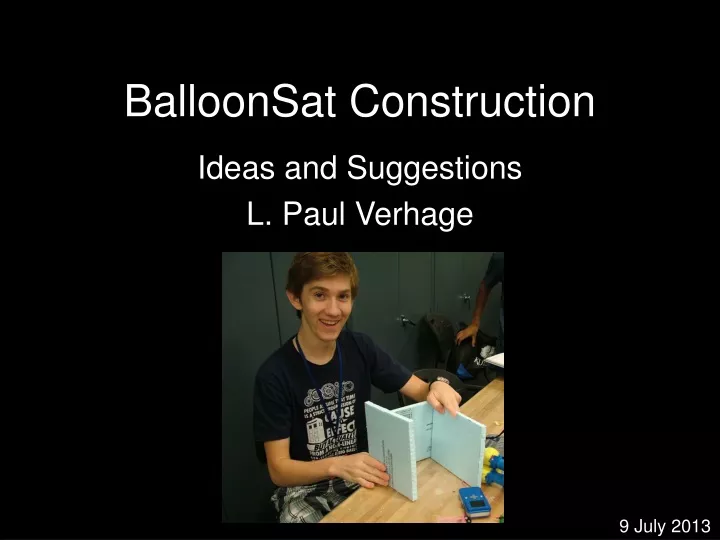
BalloonSat Construction Ideas and Suggestions L. Paul Verhage 9 July 2013
What is a BalloonSat? • Functional Model of a Satellite • Carried by Weather Balloon into Near Space (> 60,000 Feet) • Carries Experiments (active and/or passive) • Collects and Returns Data • Designed for Launch and Descent Conditions • Exposed to the Near Space Environment
Parts of a BalloonSat Airframe Avionics
Possible Design Limitations • Maximum Weight • Experiment Requirements • Minimum Amount of Data and Frequency of Data Collection • Available Design and Build Time • Maximum Dimensions
Tools • Exacto Knife • Metal Straight Edge • Right Angle (Triangle or T-Square) • Ball Point Pen • Felt-tip Marker • Hot Glue Gun and Glue Sticks • Files/Emory Board • Circle Template • Screwdriver/pliers • Hot Knife
Materials • Styrofoam (various thicknesses) • Plastic Tubes • Plastic Lids • Tape • Rubber Bands • Nuts, Bolts, and Washers
Some Design Considerations • Sufficient volume for datalogger and experiments • Securely attach components to airframe • Multiple plastic tubes for tether lines • Easy access to interior through hatch(es) • Hatch placement on the side of the airframe, not the top where tethers are located
More Design Considerations • Minimize airframe openings to minimize cold air infiltration • Minimize bolt hole diameter and use washer and nylock • No window over camera opening • Must function during all phases of the mission • Quick and simple hatch closure that uses rubber bands • Cameras do not time-out and switch off
Keep in Mind • Be aware of design specifications • Paper design before cutting • Measure twice, cut once • Watch glue temperature, don’t melt Styrofoam • Styrofoam has thickness • Let function determine shape of BalloonSat
Physical Layout • Connect and position the components, then measure dimensions
Styrofoam has Thickness • Take Styrofoam thickness into account when designing the airframe
Use a Sharp Exacto Knife Rough Edge vs Smooth Edge
Use a Metal Straight Edge • Wood and plastic rulers get nicked and the lines aren’t as straight
Files and Emery Board • Smoothes and shapes • Don’t inhale Styrofoam dust
Cutting Slots • Two parallel lines • Chip out and file flat
Embed Tubes • Embed and glue into place for strength • Interior slots for tether tubes and exterior slots for hatches
Extend Tether Tube to Airframe Faces • Tubes protect Styrofoam from being cut by tether
Use Four Tether Tubes • BalloonSats spin less when they have more than one tether line
Include Battery Box • Confine battery so it doesn’t bounce into items inside the BalloonSat • Add block of foam rubber inside battery box to fill empty volume and absorb motion
One or Two Hatches? • May be easier to reach into a BalloonSat with two hatches
Hatch Closure • Stretch rubber band over hatch and wrap around tube(s) extending from airframe
Hatch Closures • Wrap a rubber band around tubes glued into hatch
Permanent Airframe Holes • Passes bolts and rubber bands through wall • Insert and glue a plastic tube
Alignment Blocks on Hatches • Positive lock • Prevents hatch from sliding around
Wrap Airframe in Tape • Compression helps hold airframe together • Adds color to BalloonSat
Colored Mailing Tape • Lighter than aluminum duct tape • Multiple colors
Plastic Lids can Shield Sensors from Direct Sunlight • Bolt to airframe • Add air openings
Cut Open Tubing • Cutting away the tape covering tubes makes it easier to pass the tether though the tube
Hand Warmer as a Heat Source • Design a space inside the BalloonSat for a hand warmer
Camera Brace • Glue a Styrofoam strip to the airframe and against the edge of the camera for bracing
Camera Lens Opening • Make holes larger than lens to accommodate the camera’s angle of view • Make opening for light meter (if necessary)
Darken Camera Openings • May reduce glare
Testing • Weight Test • Shake Test • Drop Test • Cold Test • Function Test
Tethering BalloonSats • Use wire hook to pull tether through tube
Tethering BalloonSats • Use split rings to prevent tether from pulling out
Recovery • The mission’s not over yet