Download
1 / 48
530 likes | 572 Views
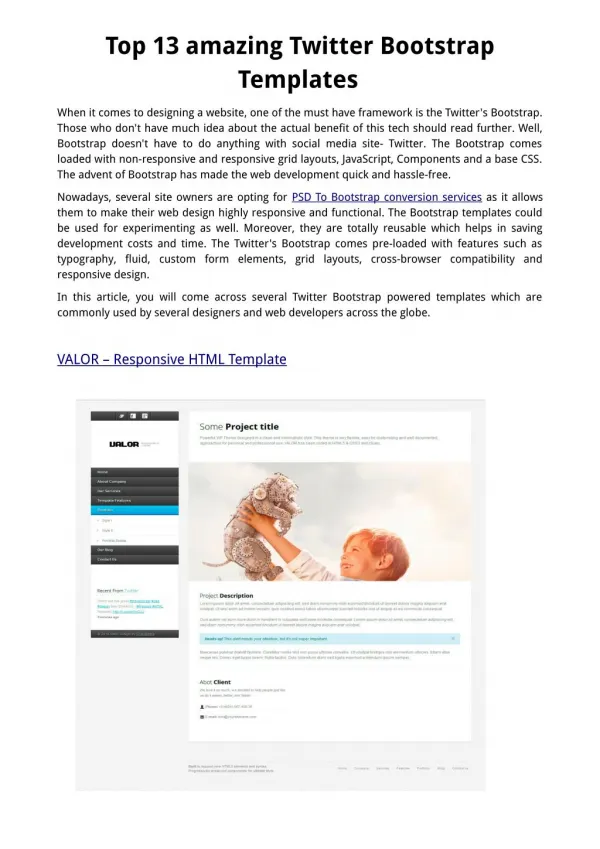
TWITTER BOOTSTRAP. By, K. Ranjith Kumar. SYNOPSIS. Bootstrap Overview – Introduction File Structure Grid System CSS Overview Typography Tables Forms Buttons Images Helper Class. What is Twitter Bootstrap?.

E N D
TWITTER BOOTSTRAP By, K. Ranjith Kumar
SYNOPSIS • Bootstrap Overview – Introduction • File Structure • Grid System • CSS Overview • Typography • Tables • Forms • Buttons • Images • Helper Class
What is Twitter Bootstrap? Bootstrap is a powerful mobile first front-end framework for faster and easier web development. It uses HTML, CSS and JavaScript.
History Bootstrap was developed by Mark Otto and Jacob Thornton at Twitter. It was released as an open source product in August 2011 on GitHub.
Why use Bootstrap? • Mobile first approach: Since Bootstrap 3, the framework consists of Mobile first styles throughout the entire library instead of in separate files. • Browser Support: It is supported by all popular browsers.
Why use Bootstrap? • Easy to get started: With just the knowledge of HTML and CSS anyone can get started with Bootstrap. Also the Bootstrap official site has a good documentation. • Responsive design: Bootstrap's responsive CSS adjusts to Desktops, Tablets and Mobiles. More about responsive design in the chapter Bootstrap Responsive Design Provides a clean and uniform solution for building an interface for developers.
What Bootstrap Package Includes? • Scaffolding: Bootstrap provides a basic structure with Grid System, link styles, background. This is covered in detail in the section Bootstrap Basic Structure • CSS: Bootstrap comes with feature of global CSS settings, fundamental HTML elements styled and ehancedwith extensible classes, and an advanced grid system. This is covered in detail in the section Bootstrap with CSS. • Components: Bootstrap contains over a dozen reusable components built to provide iconography, dropdowns, navigation, alerts, popovers, and much more. This is covered in detail in the section Layout Components.
What Bootstrap Package Includes? • JavaScript Plugins: Bootstrap contains over a dozen custom jQuery plugins. You can easily include them all, or one by one. This is covered in details in the section Bootstrap Plugins. • Customize: You can customize Bootstrap's components, LESS variables, and jQuery plugins to get your very own version. • You can download the latest version of Bootstrap from http://getbootstrap.com/. Download Bootstrap
File structure • PRECOMPILED BOOTSTRAPOnce the compiled version Bootstrap is downloaded, extract the ZIP file, and you will see the following file/directory structure: As you can see there are compiled CSS and JS (bootstrap.*), as well as compiled and minified CSS and JS (bootstrap.min.*). Fonts from Glyphicons are included, as is the optional Bootstrap theme.
Basic HTML Template using Bootstrap: <!DOCTYPE html> <html> <head> <title>Bootstrap 101 Template</title> <meta name="viewport" content="width=device-width, initial-scale=1.0"> <!-- Bootstrap --> <link href="css/bootstrap.min.css" rel="stylesheet"> <!-- HTML5 Shim and Respond.js IE8 support of HTML5 elements and media queries --> <!-- WARNING: Respond.js doesn't work if you view the page TUTORIALS POINT Simply Easy Learningvia file:// --> <!--[if lt IE 9]> <script src="https://oss.maxcdn.com/libs/html5shiv/3.7.0/ html5shiv.js"></script> <script src="https://oss.maxcdn.com/libs/respond.js/1.3.0/ respond.min.js"></script> <![endif]--> </head>
Basic HTML Template using Bootstrap: <body> <h1>Hello, world!</h1> <!-- jQuery (necessary for Bootstrap's JavaScript plugins) --> <script src="https://code.jquery.com/jquery.js"></script> <!-- Include all compiled plugins (below), or include individual files as needed --> <script src="js/bootstrap.min.js"></script> </body> </html>
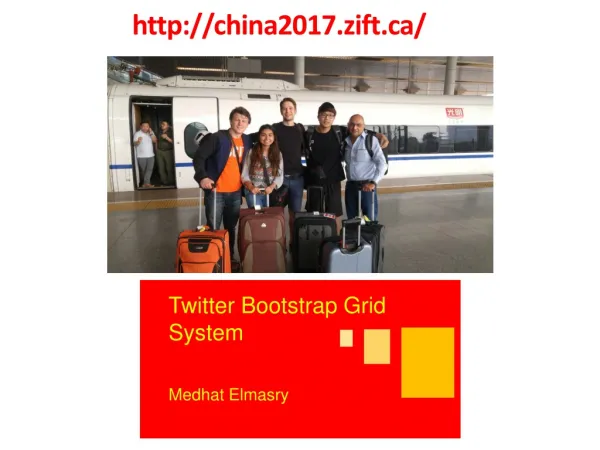
What is Bootstrap Grid System? As put by the official documentation of Bootstrap for grid system: Bootstrap includes a responsive, mobile first fluid grid system that appropriately scales up to 12 columns as the device or view port size increases. It includes predefined classes for easy layout options, as well as powerful mixins for generating more semantic layouts. Let us understand the above statement. Bootstrap 3 is mobile first in the sense that the code for Bootstrap now starts by targeting smaller screens like mobile devices, tablets, and then “expands” components and grids for larger screens such as laptops, desktops.
Working of Bootstrap Grid System Grid systems are used for creating page layouts through a series of rows and columns that house your content. Here's how the Bootstrap grid system works: • Rows must be placed within a .container class for proper alignment and padding. • Use rows to create horizontal groups of columns. • Content should be placed within columns, and only columns may be immediate children of rows. • Predefined grid classes like .row and .col-xs-4 are available for quickly making grid layouts. LESS mixins can also be used for more semantic layouts. • Columns create gutters (gaps between column content) via padding. That padding is offset in rows for the first and last column via negative margin on .rows. • Grid columns are created by specifying the number of twelve available columns you wish to span. For example, three equal columns would use three .col-xs-4.
Media Queries : Media query is a really fancy term for "conditional CSS rule". It simply applies some CSS based on certain conditions set forth. If those conditions are met, the style is applied. Media Queries in Bootstrap allow you to move, show and hide content based on viewport size. Following media queries are used in LESS files to create the key breakpoints in the Bootstrap grid system.
Media Queries : Occasionally these are expanded to include a max-width to limit CSS to a narrower set of devices.
Grid options: The following table summarizes aspects of how Bootstrap grid system works across multiple devices:
BASIC GRID STRUCTURE Following is basic structure of Bootstrap grid:
BASIC GRID STRUCTURE • Let us see some simple grid examples: • Example: Stacked-to-horizontal • Example: Medium and Large Device • Example: Mobile, tablet, desktops
Bootstrap Grid System Example: Stacked-to-horizontal Let us see a simple grid example with simple layout: two columns <div class="container"> <div class="row"> <div class="col-md-6"> <p>Lorem ipsum dolor sit...</p> <p>Sedutperspiciatis...</p> </div> <div class="col-md-6"> <p>Sedutperspiciatisunde ...</p> <p> Nequeporroquisquam est...</p> </div> </div>
OUTPUT: Details: • <div class="container">...</div> element is added to ensure proper centering and maximum width for layout. • Once container is added, next you need think in terms of rows. Add <div class="row">...</div>and columns <div class="col-md-6"></div> inside rows. • Every row in the grid is made up of 12 units and you can define the desired size of your columns using those units. In our example we have two columns each made of 6 units wide i.e 6+6=12. You can try some more options like <div class="col-md-3"></div> and <div class="col-md-9"></div>or <div class="col-md-7"></div> and <div class="col-md-5"></div>
Bootstrap Grid System Example: Medium and Large Device Here we had used 2 divs and gave them the 50%/50% split at the medium viewport width: <div class="container"> <div class="row"> <div class="col-md-6 col-lg-4"> <p>Lorem ipsum dolor sit ...</p> <p>Sedutperspiciatisunde ...</p> </div> <div class="col-md-6 col-lg-8"> <p>Sedutperspiciatis un ...</p> <p> Nequeporroquisquamest ...</p> </div> </div>
OUTPUT: • But at large design could really be better as a 33%/66%. • In this case, our 2 divs will go from a 50%/50% split and then up to a 33%/66%. Check it out in the above example.
Bootstrap Grid System Example: Mobile, Tablet, Desktops Now this gives us 3 different column layouts <div class="container"> • On a phone, it will be 25% on the left, and 75% on the right. • On a tablet, it will be 50%/50% again, • Large viewport, it will be 33%/66%. • 3 different layouts for each of the 3 responsive sizes. Check it out in the following example.
OUTPUT: <div class="container"> <div class="row"> <div class="col-sm-3 col-md-6 col-lg-8"> <p>Lorem ipsum dolor sit amet ...</p> <p>Sed ut perspiciatis unde ...</p> </div> <div class="col-sm-9 col-md-6 col-lg-4"> <p>Sed ut perspiciatis unde ...</p> <p> Neque porro quisquam est ...</p> </div> </div>
CSS Overview HTML5 doctype: Bootstrap makes use of certain HTML elements and CSS properties that require the use of the HTML5 doctype. Hence include the below piece of code for HTML5 doctype at the beginning of all your projects using Bootstrap. <!DOCTYPE html> <html> .... </html>
Responsive images Bootstrap 3 allows to make the images responsive by adding a class .img-responsive to the <img>tag. This class applies max-width: 100%; and height: auto; to the image so that it scales nicely to the parent element. <img src="..." class="img-responsive" alt="Responsive image">
Containers: Use class .container to wrap a page's content and easily center the content's as shown below. <div class="container"> ... </div> Take a look at the .container class in bootstrap.css file: .container { padding-right: 15px; padding-left: 15px; margin-right: auto; margin-left: auto; } Note that, due to padding and fixed widths, containers are not nestable by default. Take a look at bootstrap.css file: @media (min-width: 768px) { .container { width: 750px; }
Typography Bootstrap uses Helvetica Neue, Helvetica, Arial, and sans-serif in its default font stack. Using typography feature of Bootstrap you can create headings, paragraphs, lists and other inline elements. Headings: All HTML headings (h1 to h6) are styled in Bootstrap. An example is as shown below: <h1>I'm Heading1 h1</h1> <h2>I'm Heading2 h2</h2> <h3>I'm Heading3 h3</h3> <h4>I'm Heading4 h4</h4> <h5>I'm Heading5 h5</h5> <h6>I'm Heading6 h6</h6>
Typography INLINE SUBHEADINGS: To add an inline subheading to any of the headings, simply add <small> around any of the elements or add .small class and you will get smaller text in a lighter color as shown in the example below: <h1>I'm Heading1 h1. <small>I'm secondary Heading1 h1</small></h1> <h2>I'm Heading2 h2. <small>I'm secondary Heading2 h2</small></h2> <h3>I'm Heading3 h3. <small>I'm secondary Heading3 h3</small></h3> <h4>I'm Heading4 h4. <small>I'm secondary Heading4 h4</small></h4> <h5>I'm Heading5 h5. <small>I'm secondary Heading5 h5</small></h5> <h6>I'm Heading6 h6. <small>I'm secondary Heading1 h6</small></h6>
Typography LISTS: Bootstrap supports ordered lists, unordered lists, and definition lists. • Ordered lists: An ordered list is a list that falls in some sort of sequential order and is prefaced by numbers. • Unordered lists: An unordered list is a list that doesn’t have any particular order and is traditionally styled with bullets. If you do not want the bullets to appear then you can remove the styling by using the class .listunstyled. You can also place all list items on a single line using the class .list-inline.
Typography Code with Example for Lists: <h4>Example of Ordered List</h4> <ol> <li>Item 1</li> <li>Item 2</li> <li>Item 3</li> <li>Item 4</li> </ol> <h4>Example of UnOrdered List</h4> <ul> <li>Item 1</li> <li>Item 2</li> <li>Item 3</li > <li>Item 4</li> </ul> OUTPUT:
Tables Basic Table: If you want a nice, basic table style with just some light padding and horizontal dividers, add the base class of .table to any table as shown in the following example: <table class="table"> <caption>Basic Table Layout</caption> . . . </table>
Tables STRIPED TABLE : By adding the .table-striped class, you will get stripes on rows within the <tbody> as seen in the following example: <table class="table table-striped"> <caption>Striped Table Layout</caption> . . . </table>
Tables BORDERED TABLE : By adding the .table-bordered class, you will get borders surrounding every element and rounded corners around the entire table as seen in the following example: <table class="table table-bordered"> <caption>Striped Table Layout</caption> . . . </table>
Tables HOVER TABLE : By adding the .table-hover class, a light gray background will be added to rows while the cursor hovers over them, as seen in the following example: <table class="table table-hover"> <caption>Striped Table Layout</caption> . . . </table>
Tables RESPONSIVE TABLES: By wrapping any .table in .table-responsive class, you will make the table scroll horizontally up to small devices (under 768px). When viewing on anything larger than 768px wide, you will not see any difference in these tables. <div class="table-responsive"> <table class="table"> <caption>Responsive Table Layout</caption> . . . </table> </div>
Forms Here we will discuss, how to create forms with ease using Bootstrap. Form Layout: Bootstrap provides you with following types of form layouts: • Vertical (default) form • Inline form • Horizontal form
Forms VERTICAL OR BASIC FORM: • Add a role form to the parent <form> element. • Wrap labels and controls in a <div> with class .form-group. This is needed for optimum spacing. • Add a class of .form-control to all textual <input>, <textarea>, and <select> elements. <form role="form"> <div class="form-group"> <label for="name">Name</label> <input type="text" class="form-control" id="name" placeholder="Enter Name"> </div> </form>
Forms VERTICAL OR BASIC FORM: • Add a role form to the parent <form> element. • Wrap labels and controls in a <div> with class .form-group. This is needed for optimum spacing. • Add a class of .form-control to all textual <input>, <textarea>, and <select> elements. <form role="form"> <div class="form-group"> <label for="name">Name</label> <input type="text" class="form-control" id="name" placeholder="Enter Name"> </div> </form>
Forms INLINE FORM : To create a form where all of the elements are inline, left aligned and labels are alongside, add the class .forminline to the <form> tag. <form class="form-inline" role="form"> <div class="form-group"> <label class="sr-only" for="name">Name</label> <input type="text" class="form-control" id="name" placeholder="Enter Name"> </div> </form>
Forms HORIZONTAL FORM: • Add a class of .form-horizontal to the parent <form> element. • Wrap labels and controls in a <div> with class .form-group. • Add a class of .control-label to the labels. <form class="form-horizontal" role="form"> <div class="form-group"> <label for="firstname" class="col-sm-2 control-label">First Name</label> <div class="col-sm-10"> <input type="text" class="form-control" id="firstname“ placeholder="Enter First Name"> </div> </div> </forms>
Buttons Here we will discuss about how to use Bootstrap button with examples. Anything that is given a class of .btn will inherit the default look of a gray button with rounded corners.
Buttons Following example demonstrates all the above button classes: OUTPUT:
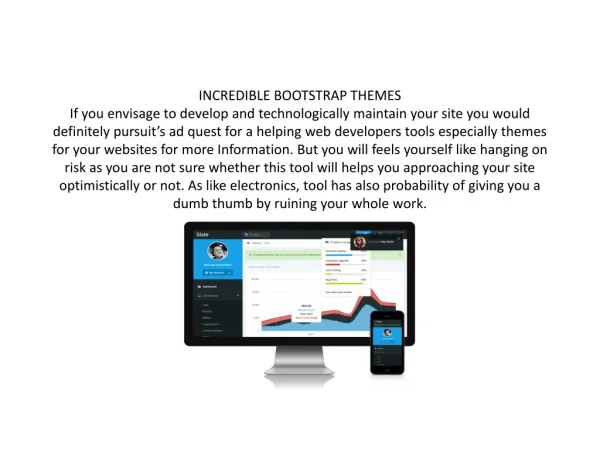
Images Bootstrap provides three classes that can be used to apply some simple styles to images: • .img-rounded: adds border-radius:6px to give the image rounded corners. • .img-circle: makes the entire image round by adding border-radius:500px. • .img-thumbnail: adds a bit of padding and a gray border:
Images The following example demonstrates this: OUTPUT:
Helper Classes Close icon : Use the generic close icon for dismissing content like modals and alerts. Use the class close to get the close icon. Carets: Use carets to indicate dropdown functionality and direction. To get this functionality use the class caretwith a <span> element.