Download
1 / 11
130 likes | 329 Views
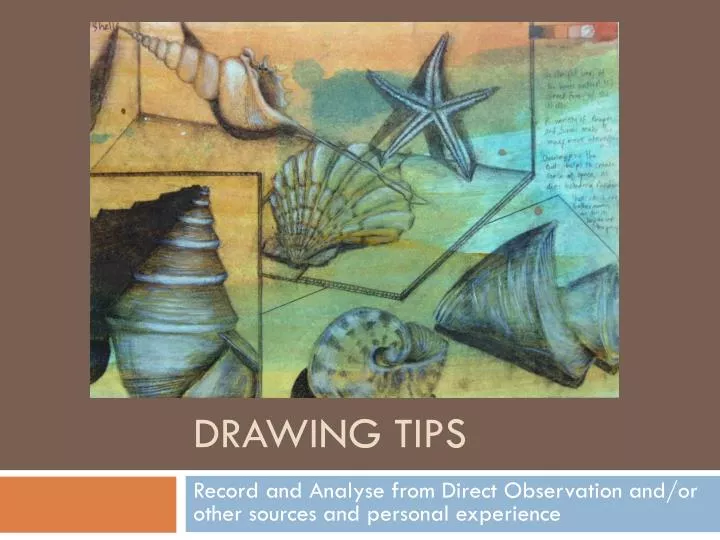
Drawing Tips. Record and Analyse from Direct Observation and/or other sources and personal experience. Consider what you are drawing on. Different surfaces give different textures to your drawing and can provide life and soul to an artwork. Be careful to choose appropriately.

E N D
Drawing Tips Record and Analyse from Direct Observation and/or other sources and personal experience
Consider what you are drawing on Different surfaces give different textures to your drawing and can provide life and soul to an artwork. Be careful to choose appropriately.
Draw from real objects whenever possible You are provided with a wealth of visual information…changing light conditions; rich textures; views of the subject from alternate angles; as well as information from other sense…smells and noise from the surroundings etc. Transcribing from three-dimensions to two is ultimately much harder than drawing from a photograph, but it often results in drawings that are ‘richer’ and more authentic.
Use grids, guidelines or rough forms to get the proportions right before you add details Draw rough shapes first A grid can help to enlarge
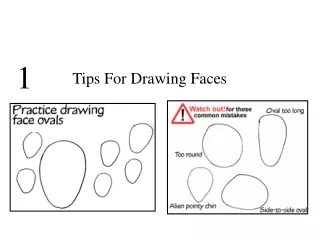
Be wary of ellipses Ellipses – the oval shapes that are visible at the top of cylindrical objects such as bottles or jars – frequently ‘trip up’ a weak drawer. They can send an immediate signal that a student is not looking at what they are drawing. All ellipses, no matter what angle they are viewed from, should be rounded (not pointed) at the ends, as illustrated in the image to the left and below.
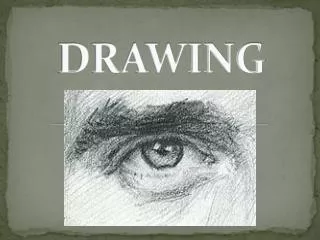
Real objects do not have dark lines running around every edge. Edges should instead be defined by a change in tone and/or colour, as in the beautiful graphite drawing by an IGCSE Art student shown to the left. Keep the outlines light As your drawing is fleshed out in more detail, with attention given to the subtle variations in shape and form, the natural inclination – especially of the novice drawer – is to want to darken in the outlines, to help ensure they are visible. Do not do this.
Have a good range of tone When it comes to applying tone to your drawing, as with everything else, look at the object. Observe where the light and dark areas are and copy what you see. In almost all cases, your drawing should have a full range of tone, from black, through a multitude of greys (or coloured mid-tones) through to white.
Use mark-making to convey surface quality and texture When producing an observational drawing, the mark-making used should help to convey the texture(s) of the subject matter. There are a multitude of different ways a pencil can strike paper – hatching / dashes / smudges / dots… think carefully before you decide which technique to use.
Include / Omit detail as necessary When drawing trees, plants and bushes, it is not necessary to replicate every leaf or stick. When drawing a person, it is not necessary to depict every strand of hair. The artist is always in a position to pick and choose what goes in their artwork. As long as the decision is based on what is aesthetically best for the work (rather than wanting to leave out something that is hard to draw) there is nothing wrong with omitting certain details from a drawing. In fact, often the composition is less cluttered and easy on the eye because of it.
Insert your own soul Although observational drawings are usually expected to be realistic in nature, they do not need to be hyper realistic (in other words, they don’t have to look exactly like a photograph). Often, it is the unrealistic parts: the crazy marks…the gap between the real object and what is drawn, where the soul sneaks in. It is the beauty in smudges and irregularities and artistic interpretation. Even an IGCSE or A Level Art student is an artist. Don’t be afraid to be a bit crazy.
Other Tips At the Beginning sketch quickly, smoothly and lightly Don’t Trace – You show no skill Be aware of perspective Look at the object you are drawing, don’t guess ALWAYS KEEP OUR PENCIL SHARP!