Download
1 / 115
1.16k likes | 1.18k Views
Learn how to configure GPIO in Zynq processor systems through Xilinx drivers and structs. Understand the initialization process and access device ID information for effective application development.

E N D
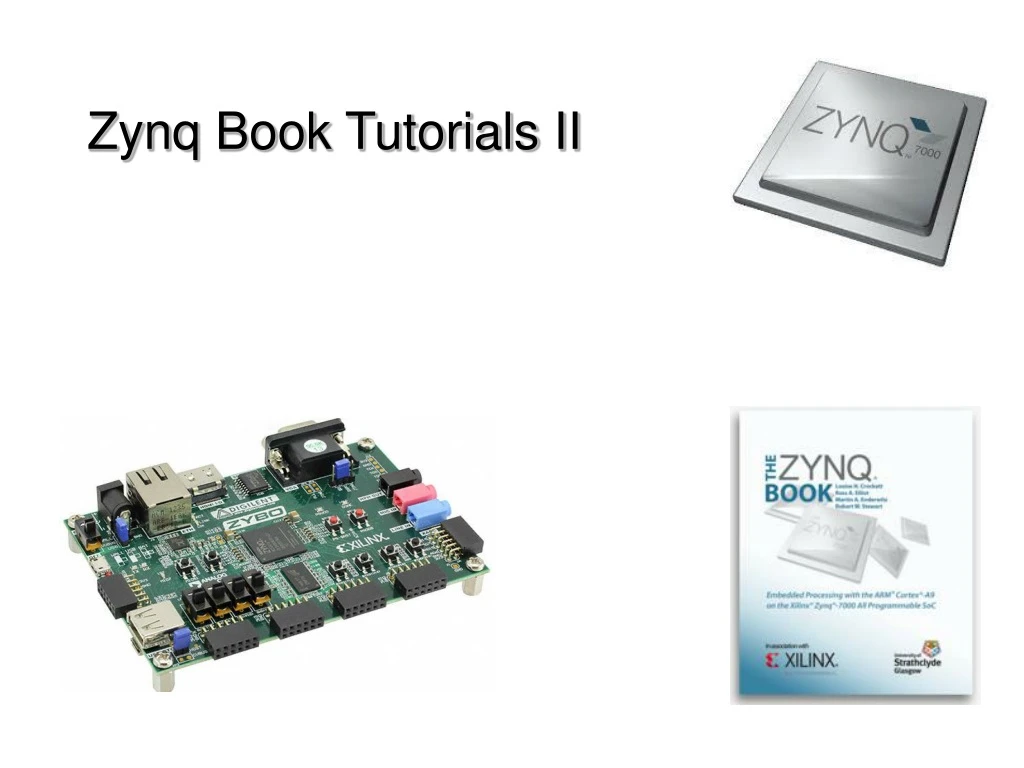
ECE3622 Embedded Systems Design Zynq Book Tutorials II Zynq Processor System - GPIO. The xgpiops.h header file is shown on the Outline pane. All #define statements (Macro definitions) are listed with a # icon.All type definitions are shown with ayellow circular T icon. All structs are shown with a circularblue S icon. All function prototypes are shownwith circular icons with a greenhatch pattern.
ECE3622 Embedded Systems Design Zynq Book Tutorials Zynq processor System - GPIO. In order to use these functions in our application, we first need to include them in our C code. The #include “xparameters.h” gives access to the predefined #define macros which are provided in the Xilinx Board Support Package (BSP) for the Digilent Zybo Board.
ECE3622 Embedded Systems Design Zynq Book Tutorials II Zynq processor System - GPIO. Although we have added the #include “xparameters.h”, we might not know where the file is located in the tree of sources or what is in it. But the SDK will find it for us. Hold down the Ctrl key on and hover your mouse over the #include line and the line of C hasbecome a link. Click the link and the xparameters.hsource file will be open in the editor.
ECE3622 Embedded Systems Design Zynq Book Tutorials II Zynq processor System - GPIO. All Xilinx drivers use the same principles of operation and require that the driver be initialized before use. All Xilinx drivers have a struct (structure) which holds all of the various setup values which will be needed by the peripheral. A struct is merely a collection of variables / data types, wrapped and bundled together which allows access to manyvariables using just one name.
ECE3622 Embedded Systems Design Zynq Book Tutorials II Zynq processor System - GPIO. In declaring an instance of a struct, values are not assigned to the variables inside it. The struct represents various operating parameters and in the case of complex peripherals there may be a very large number of variables inside the struct.
ECE3622 Embedded Systems Design Zynq Book Tutorials II Zynq processor System - GPIO. Fortunately in the case of the GPIO it is relatively simple and there are only a few variables. Here is the declaration of an instance of the struct and called it my_Gpio. There are four variables inside the struct. The first is called “GpioConfig” and is of data type XGpioPs_Config. This data type isactually another struct used to configure the my_Gpio instance.
ECE3622 Embedded Systems Design Zynq Book Tutorials II Zynq processor System - GPIO. The remaining three variables are all of different data types. Xilinx supplies a function in C which does the initialization of the variables called XGpioPs_CfgInitialize. This function automatically configures everything because all of the variables inside are uninitialized when the structis declared.
ECE3622 Embedded Systems Design Zynq Book Tutorials II Zynq processor System - GPIO. The function requires three inputs: the instance of my_Gpio that was declared, the GPIO_Configstruct,and a base address which can be extracted from the GPIO_Config struct.
ECE3622 Embedded Systems Design Zynq Book Tutorials II Zynq processor System - GPIO. The output of the XGpioPs_CfgInitializefunction is a status value which Indicates whether theinitialization was successful.
ECE3622 Embedded Systems Design Zynq Book Tutorials II Zynq processor System - GPIO. However, there is a problem as the GPIO_Configstructhasn’t been initialized. Another automated function called XGpioPs_LookupConfig provides the initialization.
ECE3622 Embedded Systems Design Zynq Book Tutorials II Zynq processor System - GPIO.The output of theXGpioPs_LookupConfigfunction is therefore fedinto the XGpioPs_CfgInitialize function.
ECE3622 Embedded Systems Design Zynq Book Tutorials II Zynq processor System - GPIO. The information is required is the Device ID, and that comes from the xparameters.h file
ECE3622 Embedded Systems Design Zynq Book Tutorials II Zynq processor System - GPIO. To employ the Xilinx GPIO driver two structs are declared: XGpioPs_Config and XGpioPs which is used to control the GPIO. int main() pointer { XGpioPs_Config *GPIO_Config; XGpioPsmy_Gpio; int Status, Temp; GPIO_Config = XGpioPs_LookupConfig(XPAR_PS7_GPIO_0_DEVICE_ID); Status = XGpioPs_CfgInitialize(&my_Gpio, GPIO_Config, GPIO_Config->BaseAddr); These are listed in the Outline view of SDK when xgpiops.his selected.
ECE3622 Embedded Systems Design Zynq Book Tutorials II Zynq processor System - GPIO. The function XGpioPs_LookupConfig needs the DEVICE ID parameter passed to it which is in the xparameters.h file and automatically generated for the design by Xilinx. int main() { XGpioPs_Config *GPIO_Config; XGpioPsmy_Gpio; int Status; GPIO_Config = XGpioPs_LookupConfig(XPAR_PS7_GPIO_0_DEVICE_ID); Status = XGpioPs_CfgInitialize(&my_Gpio, GPIO_Config, GPIO_Config->BaseAddr); GPIO_Config is the instance name for the XGpioPs_Configstruct data type.
ECE3622 Embedded Systems Design Zynq Book Tutorials II Zynq processor System - GPIO. The XGPioPs_Configstructcontains two variables: a 16-bit device ID called DeviceId, and a 32-bit base address called BaseAddr. int main() { XGpioPs_Config *GPIO_Config; XGpioPsmy_Gpio; int Status; GPIO_Config = XGpioPs_LookupConfig(XPAR_PS7_GPIO_0_DEVICE_ID); Status = XGpioPs_CfgInitialize(&my_Gpio, GPIO_Config, GPIO_Config->BaseAddr); SDK can determine the definition of any function or data type by using the Open Declaration feature from the Right-Click menu.
ECE3622 Embedded Systems Design Zynq Book Tutorials II Zynq processor System - GPIO. Discovering the base address for the GPIO is by using the GPIO_Config->BaseAddr notation. The compiler to looks inside the GPIO_Configstructfor a variable called BaseAddr by using the -> syntax. int main() { XGpioPs_Config *GPIO_Config; XGpioPsmy_Gpio; int Status; GPIO_Config = XGpioPs_LookupConfig(XPAR_PS7_GPIO_0_DEVICE_ID); Status = XGpioPs_CfgInitialize(&my_Gpio, GPIO_Config, GPIO_Config->BaseAddr);
ECE3622 Embedded Systems Design Zynq Book Tutorials II Zynq processor System - GPIO.The XGpioPs_CfgInitialize function returns a value to the variable Status. Success is a returned value of 0 int main() { XGpioPs_Config *GPIO_Config; XGpioPsmy_Gpio; int Status; GPIO_Config = XGpioPs_LookupConfig(XPAR_PS7_GPIO_0_DEVICE_ID); Status = XGpioPs_CfgInitialize(&my_Gpio, GPIO_Config, GPIO_Config->BaseAddr);
ECE3622 Embedded Systems Design Zynq Book Tutorials II Zynq processor System - GPIO. The XGpioPs_SetDirectionPin and the XGpioPs_WritePin functions send values to the various registers within the GPIO peripheral. XGpioPs_SetDirectionPin(&my_Gpio, 7, 1); while(1) { XGpioPs_WritePin(&my_Gpio, 7, 0); XGpioPs_SetDirectionPin sets the direction of the GPIO to be an output, but only for a specific pin 7. XGpioPs_WritePin writes a value to pin 7 as either 0 or 1.
ECE3622 Embedded Systems Design Zynq Book Tutorials II Zynq processor System - GPIO. The C language code snippet excuted then is: while(1) { XGpioPs_WritePin(&my_Gpio, 7, 0); //OFF for (Temp=0; Temp< 20000; Temp++) { xil_print("."); //delay } XGpioPs_WritePin(&my_Gpio, 7, 1); //)N for (Temp=0; Temp< 20000; Temp++) { xil_print("."); //delay } } return 0; }
ECE3622 Embedded Systems Design Zynq Book Tutorials II Zynq Processor System - Memory. Memory is not only used to store software in an embedded system but as the interface between the embedded processor system and some custom hardware in the FPGA design. The On Chip Memory (OCM) inZynq behaves like a dual portBlockRAM memory.
ECE3622 Embedded Systems Design Zynq Book Tutorials II Zynq Processor System - Memory. External DDR memory works in much the same way as BlockRAMM. The difference is that the memory controller interprets the request from the processorand generates a transactionfor the external memory whichuses the correct protocol ofsignals used by the DIMM.
ECE3622 Embedded Systems Design Zynq Book Tutorials II Zynq Processor System - Memory. To employ the external DDR memory, drivers thathave been generated by the LibraryGenerator are used. The drivers are not associated withany peripheral, but are in the EDKin all processor designs in the include directory under the name of the processor instance.
ECE3622 Embedded Systems Design Zynq Book Tutorials II Zynq Processor System - Memory. The Library Generator has also created otherheader files that do not relateto any particular peripheral. The xil_io.h header file has various functions designed specifically for reading from and writing to memory, in various byte widths.
ECE3622 Embedded Systems Design Zynq Book Tutorials II Zynq Processor System - Memory. These functions include: Xil_In8 Xil_In16 Xil_In32 Xil_Out8 Xil_Out16 Xil_Out32 The processor works on byte (8 bit) address boundaries. If an address in memory is specified, it refers to a number of bytes.
ECE3622 Embedded Systems Design Zynq Book Tutorials II Zynq Processor System - Memory. Writing byte-wide data values into the first four consecutive locations in memory starting at DDR_BASEADDR is accomplished by writing to: DDR_BASEADDR + 0 DDR_BASEADDR + 1 DDR_BASEADDR + 2 DDR_BASEADDR + 3
ECE3622 Embedded Systems Design Zynq Book Tutorials II Zynq Processor System - Memory. Writing 16 bit-wide data values into the first four consecutive locations in memory starting at DDR_BASEADDR is accomplished by writing to: DDR_BASEADDR + 0 DDR_BASEADDR + 2 DDR_BASEADDR + 4 DDR_BASEADDR + 6
ECE3622 Embedded Systems Design Zynq Book Tutorials II Zynq Processor System - Memory. Writing 32 bit-wide data values into the first four consecutive locations in memory starting at DDR_BASEADDR is accomplished by writing to: DDR_BASEADDR + 0 DDR_BASEADDR + 4 DDR_BASEADDR + 8 DDR_BASEADDR + 12
ECE3622 Embedded Systems Design Zynq Book Tutorials II Zynq Processor System - Memory. The xil_io.h header file has functions for reading and writing from memory in 8 bit, 16 bit and 32 bit transactions.
ECE3622 Embedded Systems Design Zynq Book Tutorials II Zynq Processor System - Memory. An example of accessing the Zynq OCM:
ECE3622 Embedded Systems Design Zynq Book Tutorials II Zynq Processor System - Memory. Question: what is the value of result1?:
ECE3622 Embedded Systems Design Zynq Book Tutorials II Zynq Processor System - Memory. Question: what is the value of result2?:
ECE3622 Embedded Systems Design Zynq Book Tutorials II Zynq Processor System – Polled Timers. Loops are effective for implementing delays but they are extremely inefficient in terms of processor time. All of the time that we spent wastefullygoing around in the loop doing nothing could be better spent executing real code and producing useful results.
ECE3622 Embedded Systems Design Zynq Book Tutorials II Zynq Processor System – Polled Timers. Rudimentary loops have no real control over the amount of delay time that would be produced by the delay. The size of the loop can be adjusted, butthis is a trial and error process and has no precise correlation to predictable and measurable units of time.
ECE3622 Embedded Systems Design Zynq Book Tutorials II Zynq Processor System – Polled Timers. It is possible to accurately measure time using a hardware-based timer peripheral. This gives much greater flexibility in the designs, considerably more control and avoids wasting the processor's time. The timer will decrement once per clock cycle until it reaches zero and then stop. While counting down the timer will be polled.
ECE3622 Embedded Systems Design Zynq Book Tutorials II Zynq Processor System – Polled Timers. #include <stdio.h> #include "xscutimer.h" #include "xparameters.h" int main() { // Declare variables int Status; inttimer_value; int counter = 0; // Declare two structs for the timer instance and timer config XScuTimermy_Timer; XScuTimer_Config *Timer_Config;
ECE3622 Embedded Systems Design Zynq Book Tutorials II Zynq Processor System – Polled Timers. // Look up the theconfig information for the timer Timer_Config = XScuTimer_LookupConfig(XPAR_PS7_SCUTIMER_0_DEVICE_ID); // Initialize the timer using the config information Status = XScuTimer_CfgInitialize(&my_Timer, Timer_Config, Timer_Config->BaseAddr); // Load the timer with a value that represents one second // The timer is clocked at half the frequency of the CPU (processor) XScuTimer_LoadTimer(&my_Timer, XPAR_PS7_CORTEXA9_0_CPU_CLK_FREQ_HZ / 2); // Start the timer running (it counts down) XScuTimer_Start(&my_Timer);
ECE3622 Embedded Systems Design Zynq Book Tutorials II Zynq Processor System – Polled Timers. while(1) // An infinite loop { // Read the value of the timer timer_value = XScuTimer_GetCounterValue(&my_Timer); // If the timer has reached zero if (timer_value == 0) { // Re-load the original value into the timer and re-start it XScuTimer_RestartTimer(&my_Timer); // Write something to the UART (and count the seconds) printf("Timer has reached zero %d times\n\r", counter++); }
ECE3622 Embedded Systems Design Zynq Book Tutorials II Zynq Processor System – Polled Timers. else { // Show the value of the timer's counter value, for debugging purposes //xil.print("Timer is still running (Timer value = %d)\n\r", timer_value); } } return 0; }
ECE3622 Embedded Systems Design Zynq Book Tutorials II Zynq Processor System – Interrupt Timers. In the ARM Cortex-A9 processor of the Zynq all interrupts are managed by and connected via the general interrupt controller.
ECE3622 Embedded Systems Design Zynq Book Tutorials II Zynq Processor System – Interrupt Timers. Instances of the general interrupt controller (GIC) and the timer are created and initialized using the Lookup_Config and CfgInitialize functions. XScuTimermy_Timer; XScuTimer_Config *Timer_Config; XScuGicmy_Gic; XScuGic_Config *Gic_Config; Gic_Config = XScuGic_LookupConfig(XPAR_PS7_SCUGIC_0_DEVICE_ID); XScuGic_CfgInitialize(&my_Gic, Gic_Config,Gic_Config->CpuBaseAddress); Timer_Config = XScuTimer_LookupConfig(XPAR_PS7_SCUTIMER_0_DEVICE_ID); XScuTimer_CfgInitialize(&my_Timer, Timer_Config, Timer_Config->BaseAddr);
ECE3622 Embedded Systems Design Zynq Book Tutorials II Zynq Processor System – Interrupt Timers. The Cortex-A9 CPU cores have internal exception handing logic which is disabled and initialized at power-up. There is one standard interrupt pin on the Cortex-A9 core, and there is a master interrupt handler which the CPU executes when receiving any interrupt request (IRQ). The handler is unassigned.
ECE3622 Embedded Systems Design Zynq Book Tutorials II Zynq Processor System – Interrupt Timers. The General Interrupt Controller (GIC) has the ability to manage many interrupt inputs and has a table which allows interrupt handlers to be assigned to each incoming interrupt.
ECE3622 Embedded Systems Design Zynq Book Tutorials II Zynq Processor System – Interrupt Timers. Each interrupt input on the GIC has an enable switch that is disabled by default.
ECE3622 Embedded Systems Design Zynq Book Tutorials II Zynq Processor System – Interrupt Timers. Eachperipheral / interruptsource has an output enable switch that is disabled by default.
ECE3622 Embedded Systems Design Zynq Book Tutorials II Zynq Processor System – Interrupt Timers. Initialize the exception handling features on the ARM processor using a function call from the xil_exception.h header file.
ECE3622 Embedded Systems Design Zynq Book Tutorials II Zynq Processor System – Interrupt Timers. When aninterrupt occurs, the processorhas to interrogate the interruptcontroller to find out which peripheral generated the interrupt. Xilinx provides an interrupt handler to do this automatically: and it is called XScuGic_InterruptHandler
ECE3622 Embedded Systems Design Zynq Book Tutorials II Zynq Processor System – Interrupt Timers. Initialize the exception handling features on the ARM processor using a function call from the xil_exception.h header file.
ECE3622 Embedded Systems Design Zynq Book Tutorials II Zynq Processor System – Interrupt Timers. The supplied handler has to be assigned it to the interrupt controller using the GIC instance at the end of the function: &my_Gic.
ECE3622 Embedded Systems Design Zynq Book Tutorials II Zynq Processor System – Interrupt Timers. The interrupt handler has to be assigned to the timerperipheral and is named: my_timer_interrupt_handler.