Download
1 / 3
30 likes | 42 Views
How Did We Get Here? The History of Bedroom Furniture Told Through Tweets

E N D
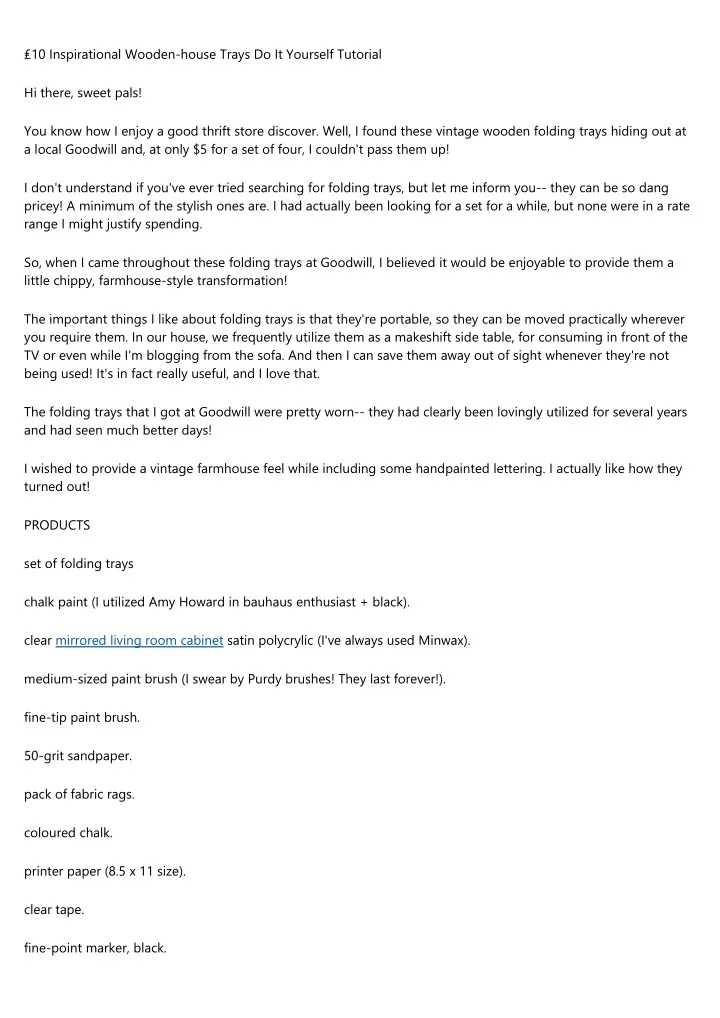
₤10 Inspirational Wooden-house Trays Do It Yourself Tutorial Hi there, sweet pals! You know how I enjoy a good thrift store discover. Well, I found these vintage wooden folding trays hiding out at a local Goodwill and, at only $5 for a set of four, I couldn't pass them up! I don't understand if you've ever tried searching for folding trays, but let me inform you-- they can be so dang pricey! A minimum of the stylish ones are. I had actually been looking for a set for a while, but none were in a rate range I might justify spending. So, when I came throughout these folding trays at Goodwill, I believed it would be enjoyable to provide them a little chippy, farmhouse-style transformation! The important things I like about folding trays is that they're portable, so they can be moved practically wherever you require them. In our house, we frequently utilize them as a makeshift side table, for consuming in front of the TV or even while I'm blogging from the sofa. And then I can save them away out of sight whenever they're not being used! It's in fact really useful, and I love that. The folding trays that I got at Goodwill were pretty worn-- they had clearly been lovingly utilized for several years and had seen much better days! I wished to provide a vintage farmhouse feel while including some handpainted lettering. I actually like how they turned out! PRODUCTS set of folding trays chalk paint (I utilized Amy Howard in bauhaus enthusiast + black). clear mirrored living room cabinet satin polycrylic (I've always used Minwax). medium-sized paint brush (I swear by Purdy brushes! They last forever!). fine-tip paint brush. 50-grit sandpaper. pack of fabric rags. coloured chalk. printer paper (8.5 x 11 size). clear tape. fine-point marker, black.
ballpoint pen. measuring tape. TOOLS. orbital palm sander. printer. PicMonkey (complimentary online photo modifying tool). BlockPosters (free poster making tool). GUIDELINES. 1. Wipe down each folding tray with a damp cloth rag for a clean surface area. Apply two coats of Bauhaus enthusiast (or another white) chalk paint, and let dry. (NOTE: With chalk paint, there's no requirement to sand the surface prior to painting.). 2. As the chalk paint is drying, measure the length and width of the tray top. Use those measurements to develop a typography style on PicMonkey. To do this, you'll select "Design," then "Custom" and enter your dimensions in pixels (I utilized unitconversions.org to transform from inches to pixels). Next, you'll pick your fonts (mine were Black Jack, Special Elite and Quicksand) and produce your style, conserving it as a JPG. 3. Publish your design to BlockPosters by picking "Create Your Poster." Then, pick "Upload Your Image" and customise your poster to be two pages large, picture, letter and have a border. Select "Create My Poster" and print on two pieces of 8.5 x 11 paper, which you'll then tape together on the back so that the words line up on each page. 4. When the chalk paint has thoroughly dried, rub the coloured chalk onto the BACK of the printed poster (not the design side), and location it chalk side down centred on the tray top so that the design side is facing up. Next, tape the edges of the poster down onto the tray, and trace the outline of the design with a ballpoint pen. This will transfer the chalk to the tray top. Thoroughly get rid of the poster, and reserved. 5. Trace the chalk outline with a fine-point marker. As soon as the ink is dry, utilize a somewhat wet fabric rag to remove the chalk outline so that just the marker outline remains. 6. Fill out the chalk outline with black chalk paint utilizing a fine-tip brush. Let dry. 7. Then, utilize an orbital sander to (gently) smooth out the handpainted lettering and distress the edges of each folding tray. Clean down with a slightly damp cloth rag to remove any remaining dust residue. 8. Lastly, apply one or two coats of polycrylic, and let dry overnight.
And there you have it-- your really own distressed farmhouse trays for a fraction of the rate! I currently had most of the supplies on hand, so this project cost me less than $10 to make. What do you think? Would you make over a set of folding trays for your home? You can find the step-by-step tutorial on the blog site!


![Web Design For Today's Modern Businesses[INFOGRAPHICS]](https://cdn4.slideserve.com/7429339/slide1-dt.jpg)