Download
1 / 40
400 likes | 514 Views
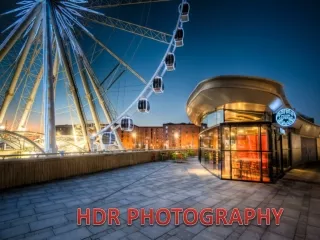
HDR PHOTOGRAPHY. BY PHILIP VENABLE. WHAT IS HDR?. HDR- H igh D ynamic R ange A process to accurately represent the wide range of intensity levels found in real scenes, ranging from bright sunlight to deep shadows. WHAT YOU WILL LEARN. How to bracket exposures in the camera

E N D
HDRPHOTOGRAPHY BY PHILIP VENABLE
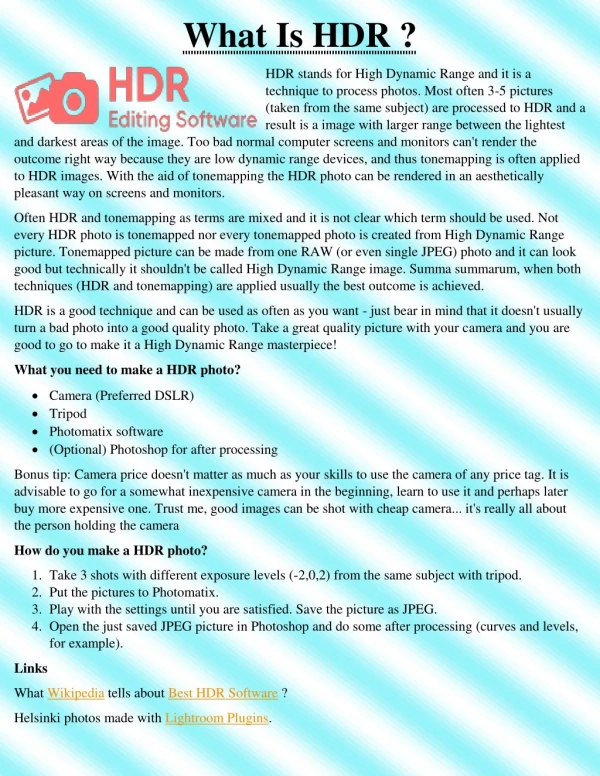
WHAT IS HDR? HDR-High Dynamic Range A process to accurately represent the wide range of intensity levels found in real scenes, ranging from bright sunlight to deep shadows.
WHAT YOU WILL LEARN How to bracket exposures in the camera Use software to combine a series of images into a single image Use software to manipulate the single image into a work of art
TOOLS NEEDED A camera that allows you to bracket exposures, either automatically or manually. Photos captured in camera should be RAW or TIFF. JPEG captures tend to lose image quality when manipulated and resaved. A tripod Software-Photomatix, Nik Software HDR Efex Pro, Topaz Adjust HDR, Photoshop, Photoshop Elements Photomatix can be used as a standalone product, then the resulting image can be imported into Photoshop or Elements, or exported directly from Lightroom. The Nik and Topaz products are plugins for Photoshop.
TYPES OF SCENES FOR HDR TO WORK BEST High contrast scenes-lots of highlights and shadows High detailed scenes-lots of textures such as brick or wood grain Any scene you want to bring out as much detail , color, or texture in regardless of lighting
HDR GETS A BAD RAP Most people tend to shy away from HDR due to a “cartoonish” look as a result from bad software rendering, or over manipulation of the image. The end result can look like:
SET UP CAMERA Use a tripod-compose your image Set optimum exposure-Photo was set at ISO 200, F11, 1/200 sec Use finger as a marker to start series, snap two photos. First is your series marker, with finger, second is your median exposure image, without finger. Next image 1 stop under expose (adjust shutter speed only, leave at F11 through entire series), next image 2 stops under. Shoot another 1 stop over exposed, next shot 2 stops over. Then shoot another with your finger to mark the end of the series.
NOW WHAT? Upload photos to computer. Photomatix works as a standalone program Nik HDR Efex Pro works as a plugin within Photoshop We will start with Photomatix
TONE MAP VS EXPOSURE FUSION Exposure Fusion Combination of photos of the same scene taken under different exposure settings in such a way that highlight details are taken from the underexposed photos and shadow details from the overexposed ones. Tone Mapping Processing a 32-bit HDR image into an image that can be properly viewed on monitors and in prints.
COSTS Photomatix Pro $99 HDR Efex Pro $99.95