Download
1 / 8
80 likes | 178 Views
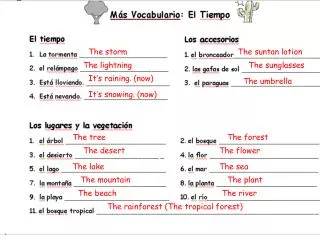
Flash Raining Text. Open Project. Create Project – Action Script 3 Select Text Tool Type in some text – From the Properties Menu Choose Font, Font Size, Color, Letter Spacing. Step 2 Turn the TEXT into a Movie Symbol . Select Text with the Selection Tool

E N D
Open Project • Create Project – Action Script 3 • Select Text Tool • Type in some text – • From the Properties Menu • Choose Font, Font Size, Color, Letter Spacing
Step 2 Turn the TEXT into a Movie Symbol • Select Text with the Selection Tool • Press F8 and select Movie Clip – Click OK • Double-click the text and open the Movie Clip
Step 3 – Break Apart • Press Ctrl + B to break apart the letters • Right-click on the letters and select Distribute to Layers (notice each letter is on it’s own layer)
Step 4 Motion Tween • Go out about 20 frames and select all the blank frames. (Click top frame –hold shift key and select last frame) • With the frames selected, press F6 and fill the column with keyframes • Select all the frames in Frame 1 column again. • Now click the Selection Tool • Move the text up using the Up Arrow Key on the Keyboard
Step 4 Motion Tween Continued • Select all the frames down the middle • Right-click and select Create Classic Tween • Motion Tween is working when it is BLUE • Press Ctrl +Enter to view your work • Change the Rotation and the Ease
Step 5 Stagger the Animation • Click the second layer • Click on the layer itself selects all the frames on that layer • Drag the whole of frames over 5 spaces. • Repeat the above process for all layers • Increasing the distance you drag the frames each time, until you have all the layers spaced out like stairs. • Press Ctrl + Enter to view your work
Step 6 But Wait • How do you keep the letters from disappearing after they’ve fallen? • Go out to the furthest frame and select the line of frames at the end of the animation • Then press the F5 and see how all the frames fill up. • Press Ctrl + Enter to view your work