Download
1 / 14
140 likes | 330 Views
Slicer3 Tutorial: Registration Library Case 15 AC-PC Alignment. Dominik Meier, Ron Kikinis April 2010. Overview. takes how long to do?. Introduction Prerequisites Modules Used Loading Example Dataset 2 min Viewing Input Data 3 min Selecting AC-PC Fiducials 5 min

E N D
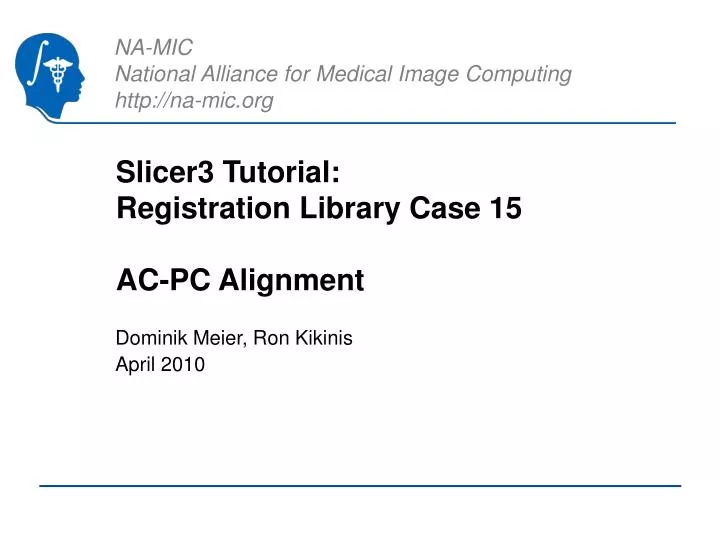
Slicer3 Tutorial: Registration Library Case 15AC-PC Alignment Dominik Meier, Ron Kikinis April 2010
Overview takes how long to do? • Introduction • Prerequisites • Modules Used • Loading Example Dataset 2 min • Viewing Input Data 3 min • Selecting AC-PC Fiducials 5 min • Selecting Midline Fiducials 2 min • Align with ACPC module 1 min • Resample & Save 3 min Note: if wish to skip parts of the tutorial, you will find the data generated by individual steps in the Example Data Folder. You may load these individually via the “File/Add Data…” menu. The SlicerScene file that comes with the tutorial will only load the initial volume data.
Introduction / Scenario • We have a single MRI scan that we would like to have rotationally aligned along the AC-PC axis and the interhemispheral midline. • This is a form of fiducial-based registration. We will use the dedicated “ACPC Transform” module for this. • The line connecting the anterior- (AC) and posterior commissure (PC) determines the rotation around the left-right axis, such that the AC-PC line becomes horizontal • The interhemispheral midline determines the rotation around the inferior-superior axis, such that this plane becomes vertical in the coronal and axial views. Brain Orientation before/after AC-PC alignmentanimated gif, view in presentation mode
Modules Used • To accomplish this task we will use the following modules: • Fiducials Module • “AC-PC Transform” Module • Data Module
Prerequisites • Slicer version 3.5 or later • Example Dataset: download and extract the dataset for this tutorial: RegLib_C14_BrainPET-MRI.zip, which should contain this tutorial and all original and intermediate solution data files. • Tutorials to complete first (optional): • Slicer3Minute Tutorial • Loading and Viewing Data
1. Loading Example Dataset To get the Example Dataset loaded into Slicer: • Menu: File: Load Scene… • Select the Slicer Scene file that comes with the downloaded example dataset, called: RegLib_…_SlicerScene.mrml • This will load all the necessary images. If this fails, use the “Add Data…” menu to load the files in the data directory. • Select Layout: If loading the scene file, the proper layout should be chosen automatically. To do this manually, from the icon bar, click on the Layout menu and select “Four-up Layout”. • Link Views: Click on the Ring Icon in any of the slice views to link all the views together. This will save you the work of making selections for each slice window separately. • Choose Background: MRI_T1
Build Fiducial List #1 • Click on the Fiducial Module Icon or select “Fiducials” from the module menu • From the “Fiducial List” menu, select “Create New Fiducial List” • From the same menu, select “Rename” • Rename the new list something like “fid_AC-PCLine”(Note that the tutorial dataset already contains such fiducial lists, so pick a different name so you can keep them apart)
Select AC & PC • Navigate to the posterior commissure • From the toolbar, click on the “Fiducial Selection Tool”. This will change the function of the left mouse button to select fiducials in the 2D and 3D views. • Left click on the location of the anterior commissure, near the midline. You may choose any convenient view for this. • You should see a fiducial marker being created. To adjust the position (move it), first turn off the selection tool, then place the mouse over the marker until it changes color. You can now drag it to a new location. • Switch back to the selection mode • Repeat the above for the posterior commissure. • You should now have 2 entries in your fiducial list. If you have more, delete the extra ones by first selecting them from the list and the clicking on the left trash-can icon:
Build Fiducial List #2 • Create a second fiducial list for the midline points. • From the “Fiducial List” menu, select “Create New Fiducial List” • From the same menu, select “Rename” • Rename the new list something like “fid_Midsagittal” or similar.(Note that the tutorial dataset already contains such fiducial lists, so pick a different name so you can keep them apart)
Select Midline fiducials • Navigate to slices where the midsagittal plane is well visible. Axial and coronal views are recommended. • From the toolbar, click on the “Fiducial Selection Tool”. This will change the function of the left mouse button to select fiducials in the 2D and 3D views. • Left click on a few locations of the midline. More than 3 is recommended to get a more robust result. • For each click you should see a fiducial marker being created. To adjust the position (move it), first turn off the selection tool, then place the mouse over the marker until it changes color. You can now drag it to a new location. • You should now have >3 entries in your fiducial list. To delete unwanted ones, first select them from the list and the click on the left trash-can icon:
AC-PC Module • Go to the “ACPC-Transform” module. You will find it in the alphabetical list under “All Modules” • Under the “Transform” tab, select the two fiducial lists created for the ACPC line and Midline • For “Output transform”, select “Create New Linear Transform” , then select “Rename” again from same menu and rename as desired. • Click “Apply”. • In the space right above the “Transform” tab, you should see “Status Completed” appear immediately after clicking Apply. • Go to the “Data” module. Drag the “MRI_T1” node onto the newly created transform. You should see the display update as shown below. animated gif, view in presentation mode
Apply & Save • To apply the transform and create a new resampled volume, right click on the “MRI-T1” node in the data menu and select “Harden Transforms”. This will move the node back to the root level and resample the volume in the new orientation. Alternatively you can use a resampling tool, such as the “Resample Scalar/Vector/DTI Volume” for more detailed control, e.g. to specify the interpolation method. • From the File menu, select “Save” • In the dialog box, check the boxes for the resampled MRI-T1 and the transform. • Be careful when saving not to overwrite the original: change the output filename. • Ensure directories are as desired. • Click on “Save Selected”.
What Next • Try the Manual Registration Tutorial or one of the tutorials from the Registration Case Library. • http://www.slicer.org/slicerWiki/index.php/Slicer3.4:Training • http://na-mic.org/Wiki/index.php/Projects:RegistrationDocumentation:UseCaseInventory • http://www.slicer.org/slicerWiki/index.php/Slicer3:Registration#Registration_in_3D_Slicer|Main • Feedback: anything amiss? If you have suggestions on how we can improve this and other documentation, please let us know: visit: • http://na-mic.org/Wiki/index.php/Projects:RegistrationDocumentation
Acknowledgements National Alliance for Medical Image Computing NIH U54EB005149 Neuroimage Analysis Center NIH P41RR013218 -12S1 (ARRA Suppl)