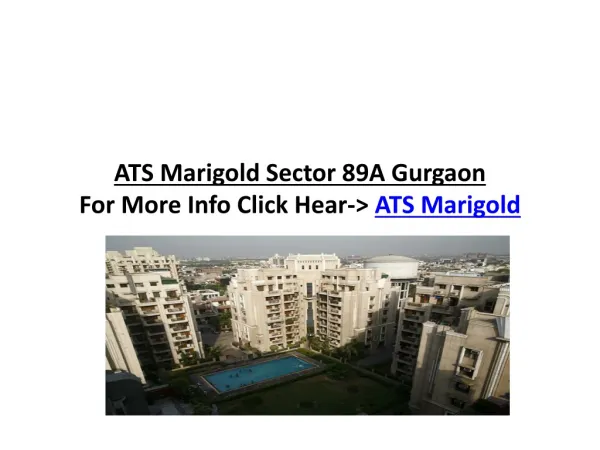
Download
1 / 2
20 likes | 177 Views
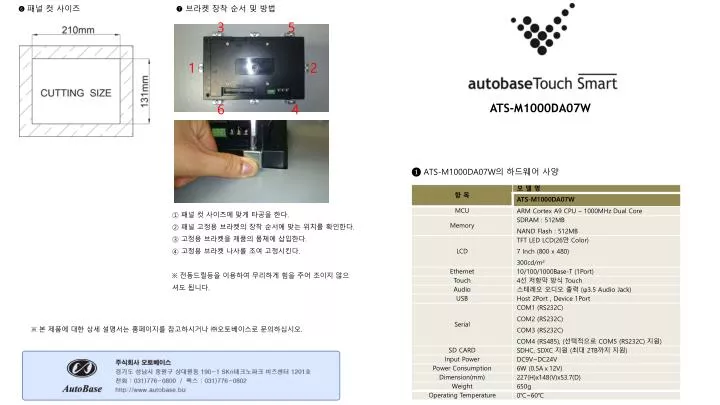
➏ 패널 컷 사이즈. ➐ 브라켓 장착 순서 및 방법. 3. 5. 1. 2. ATS-M1000DA07W. 6. 4. ❶ ATS-M1000DA07W 의 하드웨어 사양. ① 패널 컷 사이즈에 맞게 타공을 한다 . ② 패널 고정용 브라켓의 장착 순서에 맞는 위치를 확인한다 . ③ 고정용 브라켓을 제품의 몸체에 삽입한다 . ④ 고정용 브라켓 나사를 조여 고정시킨다 . ※ 전동드릴등을 이용하여 무리하게 힘을 주어 조이지 않으셔도 됩니다.

E N D
➏ 패널 컷 사이즈 ➐브라켓 장착 순서 및 방법 3 5 1 2 ATS-M1000DA07W 6 4 ❶ ATS-M1000DA07W의 하드웨어 사양 ① 패널 컷 사이즈에 맞게 타공을 한다. ② 패널 고정용 브라켓의 장착 순서에 맞는 위치를 확인한다. ③ 고정용 브라켓을 제품의 몸체에 삽입한다. ④ 고정용 브라켓 나사를 조여 고정시킨다. ※ 전동드릴등을 이용하여 무리하게 힘을 주어 조이지 않으셔도 됩니다. ※ 본 제품에 대한 상세 설명서는 홈페이지를 참고하시거나 ㈜오토베이스로 문의하십시오.
❷ 외관과 명칭 ❸ RS232C 입/출력 커넥터 (COM1, COM2, COM3) ⑮ ⑬ ⑭ ⑫ ⑪ ① ⑩ ② ❹ RS485 입/출력 커넥터 (COM4 RS485) ⑨ ⑧ ③ ⑤ ⑦ ④ ⑥ ❺ 모드 스위치 (1)Boot Mode Setting (2)COM3 Mode Setting (3)AutoRun Mode Setting