Download
1 / 61
610 likes | 816 Views
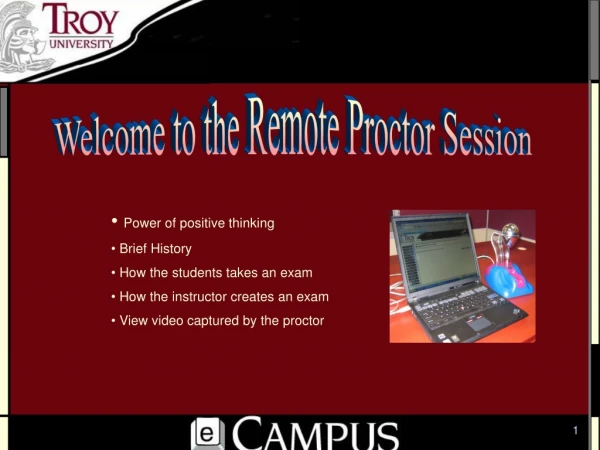
Is the student who is taking the test, the one registered for the course? Is the student using notes or an open book? Is the student copying

E N D
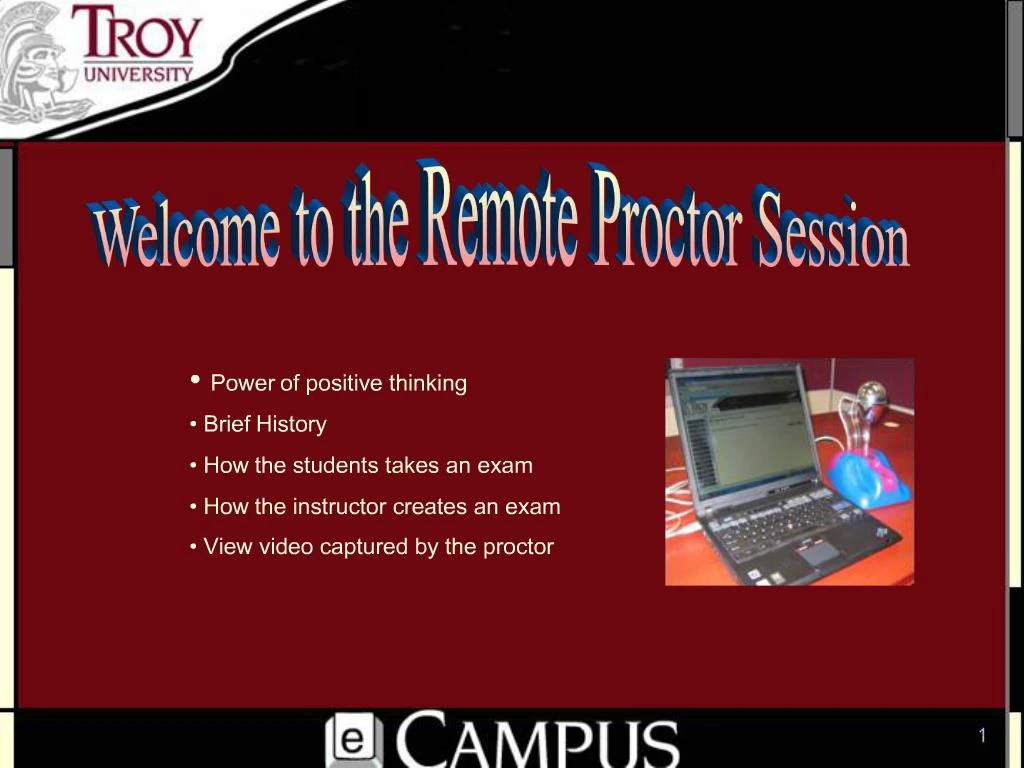
5. Troy University and Software Secure have partnered to develop a Distance Education Solution to:
Verify student identification
Decrease online cheating
Eliminate the need for students to go to the campus to take an exam
Eliminate the need for students to have a human proctor for an exam
Exceed the Regional Accreditation and Federal Regulation requirements
9. Remote Proctor 2007 Milestones Beta testing completed (February)
Delivery of 25 remote proctor units (April)
Mass production of final units to begin (May)
Training of faculty beginning (April�s Distance Learning Colloquium)
Live testing using students in actual classes (July)
Begin use in graduate classes (August)
Staggered implementation to all graduate programs (October-July �08)
Finalize all policies and procedures for students and faculty (Academic Year 2007-08)
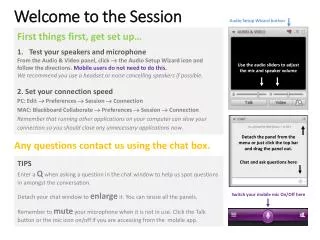
11. We are now going to take you through the login process. To avoid system problems, we are going to go through these steps together one at a time.
Please DO NOT get ahead of the slides.
38. Securexam Remote Proctor A comprehensive faculty guide to using the remote proctor system
39. Session Outline Installing ExamBuilder
Creating an Exam using ExamBuilder
Setting Parameters in Software Secure
Viewing suspicious Video taken during Exam
Questions and Answers
40. Installing ExamBuilder Exam builder Requirements
Windows XP
Internet Explorer 6.0 or better
Blackboard Account
Preferred broadband (high speed) Internet connectivity
41. Installing ExamBuilder Begin by selecting the exam builder folder, either from the CD you have been provided or a download that Software Secure has provided with new updates, and click on setup.exe. You will see the Exam Builder Set-Up Wizard appear which will guide you through installation.
42. Installing ExamBuilder Upon clicking the next button you will be led to a screen where you are able to choose the installation folder for the exam builder program. This screen will enable you to select the installation folder. The default location for this installation is (C\Program files\Software Secure Inc.\ SecurexamRemoteProctor) Software Secure recommends that you accept this default location but you do have the option to browse and select a different location.
43. Installing ExamBuilder Clicking on the Next> button will lead
you to the �Confirm Installation� screen
and will allow you to start the
installation process.
44. Creating an Exam using ExamBuilder Creating an exam using Exambuilder is no different than creating a Blackboard exam, there are just a few extra steps.
It is recommended to create an exam first in Blackboard then use the Exambuilder to set parameters.
45. Using Exambuilder The first time you use Exambuilder the software may need to update. Just let the updates run and continue.
46. Using Exambuilder Once ExamBuilder runs, it will open Blackboard. Login to Blackboard with the �Faculty� user name and password provided on the 3 x 5 index card on your desk, click enter. Now, click on the course.
47. After selecting the course, click on the control panel.
48.
In the Content Area click on �Exams and Quizzes�
49. Click �MODIFY� for the Remote Proctor Test 2 exam.
50. Select �Modify the Test options�.
51. If a password is not entered the user will not be prompted to pass these rules to the Securexam Server and the test will not be a Remote Proctor test. Do not share the password with your students!!! Once the correct test information has been entered and the password has been established you can click on �Submit� at the bottom right hand corner of this page.
52. Upon clicking �submit� the user will be asked if they want to update the exam settings to the Securexam Remote Proctor Rules Server.
NOTE: If you do not see this prompt something went wrong with the submit to Securexam server.
These problems could be:
You did not enter a password and check the box.
You are not set up for Securexam server, Submitting the exam but not using the Exam builder software, and other MISC problems.
53. Setting Parameters in Software Secure
55. Viewing suspicious Video taken during Exam The remote proctor sends all of the video and audio to a secure server. These video feeds can be reviewed at any time by the faculty/staff to check the authenticity of the exam.
56. Viewing suspicious Video taken during Exam
57. Viewing suspicious Video taken during Exam
58. Viewing suspicious Video taken during Exam
59. Examples of Video Click each video to playClick each video to play
60. Examples of Video Click each video to playClick each video to play
61. Questions and Answers