Download
1 / 8
80 likes | 129 Views
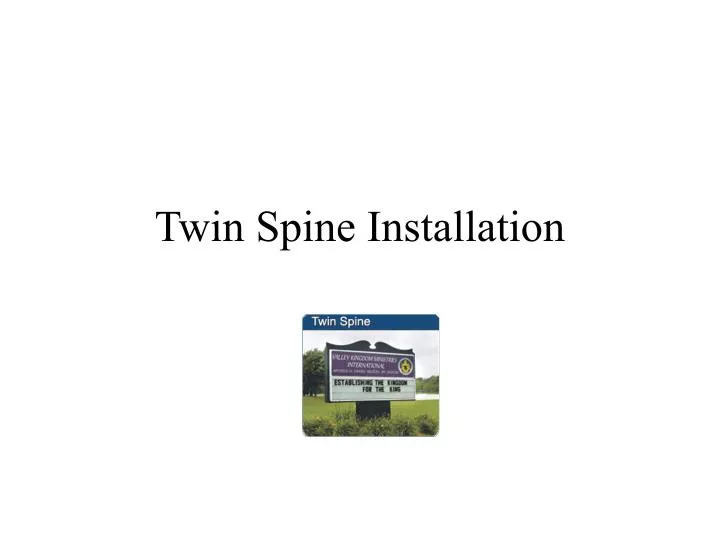
Twin Spine Installation. Twin Spine Installation.

E N D
Twin Spine Installation Installation of a Twin Spine is very simple and easy. Before you begin, make sure you have a copy of the installation instructions, the necessary materials and the electrical conduit has been run to the sign location. If you have an 8’ X 5’, a 10’ X 5’ or a 12’ X 6’ you may need some type of mechanical lifting assistance to set the base. Make sure you have the proper permits.
Twin Spine Installation • Dig a Hole
Twin Spine Installation • Set base in hole. Use blocks to aid in leveling base.
Twin Spine Installation Pour ready mix concrete. Make sure base is level and conduit for electrical lines lines is installed
Twin Spine Installation • Your sign will be delivered on a wooden skid. You will need some mechanical means of lifting your sign so as to place it on the base. Two legs extending from the bottom of the sign should slide into the two larger legs of the base.
Twin Spine Installation • After sign legs have been inserted into the base legs, tighten the four bolts on the base legs and make electrical connections.
Twin Spine Installation Install cowlings and enjoy your new sign.