Download
1 / 18
190 likes | 326 Views
Flash shape tweening tutorial. step 1. draw an object,We draw an oval with a thick border with the Oval tool and also set the background.

E N D
step 1 draw an object,We draw an oval with a thick border with the Oval tool and also set the background.
Then we center the oval in the stage. To do so, use the Align panel (Window->Align, or hit Crtl-K)Check to stage and click on the Align icons until you get it right :)
Step 2 • - Insert a new blank keyframe
Select about frame 20 and hit F7 or right-click on frame 20 and select Insert Blank Keyframe. Do not use "Insert Frame" / "Insert Keyframe" (F6))F7 will insert an empty new Keyframe
Step 3 • Add a new object to the new keyframe
In this frame, draw a new object, i.e. we inserted a Polystar, also in object mode.
Select the Polystar tool (It sits below the rectangle tool and you must hold down the mouse to get at it)Then, in the properties panel, select from the Options pull-down menu: Star and Number of sides = 9Then, draw it by dragging out the mouse
Step 4 • Change its shape and align it with the oval and the stage • Then make it a bit "oval" and adjust it more or less to the size of the oval • Change the width (in the Properties panel or with the Free Transform tool
Align with the oval: To see the oval at the same you can click on the "Edit multiple frames" icon in the Timeline control bar and drag the onion skin marker on top of the timeline all to the leftTo achieve a perfect centering, use the Align panel. Read Flash arranging objects tutorial if needed.
Step 5 • Change colors of the polystar • Firstly, untick the "Edit multiple frames" icon !! • Then you can change the colors of the stroke and the fill
Step 6 - Morph • Right-click on an empty frame between the two keyframes and select Create Shape Tween • Alternatively you also could click into an emtpy frame and select Shape Tweenin the Insert menu on top
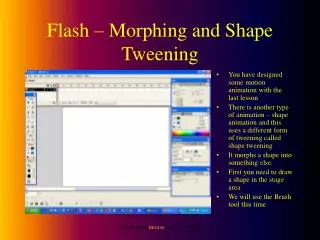
Create a shape tween between two keyframes that contain editable graphics
Step 7 • Repeat the other way round • Insert a new empty keyframe around frame 40 • Copy the picture from frame 1 (select it and hit CTRL-C in frame 1) • Paste-in-place it to the empty keyframe (CTRL-SHIFT-V) • Add the shape tween as above
If the animation is too fast, drag the keyframes to the rightClick on the keyframe first. You should see a cursor with a rectangleOnly then you can drag.
Extend shape tween span by dragging the second keyframeDone :)