Download
1 / 25
250 likes | 388 Views
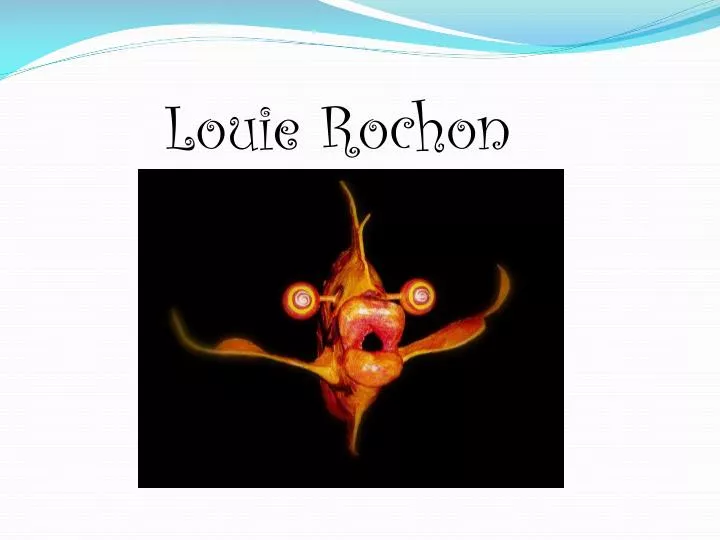
Louie Rochon. http://rochonsculpture.artspan.com/gallery/12039/Gallery%20of%20Works/. CREATING FISH 1. Creating the Initial Concept. Sketching. 2. Laying Out the Fins. Using a marker and 1/4" Foam Core Board, I layout the rough design.

E N D
Louie Rochon http://rochonsculpture.artspan.com/gallery/12039/Gallery%20of%20Works/
2. Laying Out the Fins.Using a marker and 1/4" Foam Core Board, I layout the rough design.
3. Wire the Fins.Aluminum wires are inserted into all appendages to provide added support and strength, allowing me to manipulate the fins into any shape I desire.First I use a razor knife to hollow out the edges of the fins, then aluminum wiring is inserted into the length of the fins and taped into place.
4. Scoring the Fins.All surface areas of the foam core fins/appendages are scored and then cross scored with a razor knife to allow for smooth curves when bending into the shapes I create.
5.Appendages Laid Out.This image shows all of the appendages, cut from foam core, wired, scored and trimmed prior to taping onto the body. These Appendages will be taped into place on the main body.NOTE: The main body shape is made frommolds that I have made up ahead using 'Sculpt-A-Mold' a lightweight, ultra hard plaster-like material. Before it sets up hard, I insert a wire hanger clasp to hang the finished 'FisHead' when completed.
6. Carving the Eyes. Again using 'Sculp-A-Mold', a plaster-like material, I pre-poured these eyes into plastic egg molds to create the domelike eyes. Here I am carving the forms to fit snugly onto the side of the main body.
7. Eyes Attached to Body.After carving the eyes to fit onto the body, I simply tape them into place.
8. Creating Eyelids.Using heavy card stock, I've cut a couple eyelids and bent the paper into place to form goofy looking eyelids.
9. Creating Big Powty Lips.Using a marker and 2" thick foam, I sketch out the rough shape of the lips.
10. Lips, Eyes and Eyelids Attached to Body.Here I must be careful to use only enough professional grade masking tape to secure all the appendages to the body as most of the strength of the attachment will be multiple layers of papiermache. _________________________________________________________
11. A Naked Fishead, ready for Papier Mache.Here is the assembled FisHead prior to papiermache, after having manipulated all the appendages into the curves and shape that I desire. _________________________________________________________
12. Two Coats of Papier Mache are Hand Applied.This is the most time consuming part of the piece. A fish this size takes about 10 hours of patient hand layering with incredible focus on detail for both structure and appearance. Thank God for apprentice helpers.
After two coats of papiermache, three coats of PVA glue are applied, allowing a day in between each coat to allow for drying and shrinking. The piece below is ready, after a few more days of drying, for final prmier coats with gesso.
14. Two Coats of 'Gesso' Primer are applied.Gesso is a chalk like primer that provides a firm, bright white surface allowing colored tissues and acrylic washes to show through with their intended true colors.
15. Patterns of Hand Dyed Batik Papers are cut and collaged onto the body.To add additional texture, color and interest, random patterns of hand dyes Batik papers are cut and 'collaged' (glued) onto the body.
16. Acrylic Paint Glazes are Layered In.To achieve the rich textured look desired, I apply numerous acrylic glazes/washes (acrylic paints mixed with glazing compound, which extends the drying/working time of acrylics allowing me to create a watercolor effect). For this FisHead, 6 different glazes were applied.
17. Almost Done. The mark of an original work of art, the signature.With a fine point brush and black acrylic, each 'FisHead' is signed and dated. Inside of each FisHead, they are numbered. To date, we are up to number 27.
18. Final Sealing.3 final coats of acrylic lacquer are hand applied which provides permanent protection for each work of art, adding not only protection but substantially increases the richness of the numerous color and textures applied as well as creating a soft reflective finish.