Download

1 / 11
110 likes | 117 Views
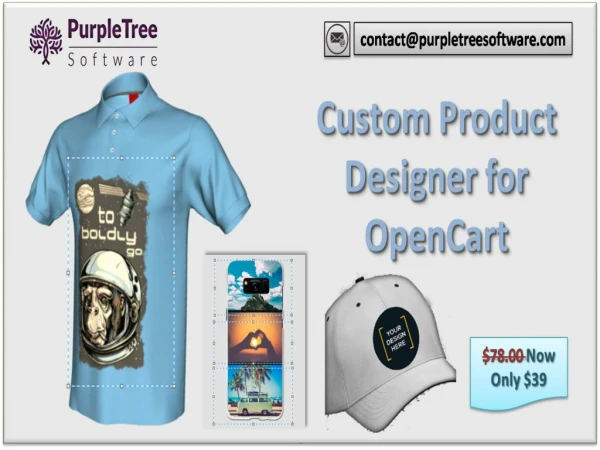
The Design which the user designs on the Image would go to Order and the admin can then see that design to print the Product. Users can Add and Edit the Text layer anytime on the product while designing. visit here:- https://bit.ly/39BKs0t

E N D
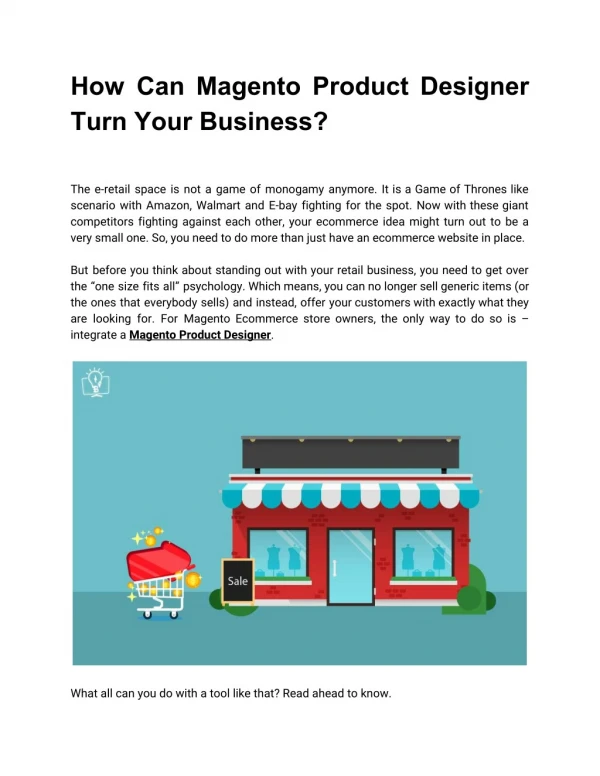
How to Add Text Layer in Custom Product Designer for Magento 2
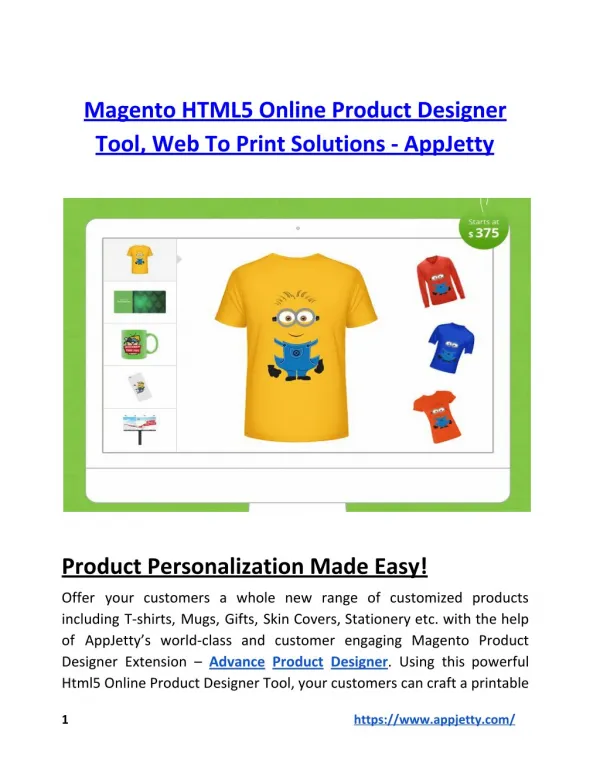
Our Extension allows users to buy any Designer product and design the Print on that product by adding any text, Clipart, or any image on the product and it is very easy to use by simply click on actions.
Firstly to design the product go to the Product page of the Designer product and Click on Customize the design button in our Purpletree custom product designer for Magento 2. Then Click on Add text on the right side and a new small Popup will open with Default text as Hello on the Design area. Now in the Edit Text Popup, there are the following options that can be chosen by the customer.
Text Color - From here choose the font color, Color picker will open on click of it so choose as per your design. By default, it would be Black in color.
Font Size - Choose the Font Size from the dropdown, we have added Font Sizes from 10 Pixels to 198 Pixels. Choose as per your design. Default is set to 30.
Background Color – choose the Background Color for the text. By default, there is no Background color set for the Text. Shadow - Chose Shadow Right, Bottom, and Blur, Enter numeric Values for these, then Choose Color for shadow. To apply shadow you must click Apply button under Shadow Color.
Text Style – Choose style as Bold, Italic, andUnderline. You can choose all or anyone. By Default, all would be disabled for text. Text Align - This would only work if there is more than 1 line in a single text Layer. Select from Text Align Left, Align Center, or Align right buttons. This will align text within the text layer and not in the whole Canvas Area. Horizontal Scale - Enter a numeric value to stretch the text layer horizontally. This can also be achieved by from mouse with Drag from Left or right.
Vertical Scale - To vertically scale the text layer enter a numeric value here, You can also use the mouse to Drag vertically in a text layer.
Rotation (in degrees) - Enter a numeric value to rotate the text layer up to 360 Degree. This can also be done using Mouse Dragon Text Layer Left Top corner or Icon on top of the Text layer.
Line Height - To set Line Height for text if it is of more than 1 line in a single text layer. Enter Numeric value in here. Outline width – To set outline on Text written in Textarea. Default is 0. Enter Numeric value in here. Outline Color – Set the Color for Outline width set from Color Picker. Please go through related blogs below: Set layer limit for Product in Custom Product Designer for Magento 2 How to define custom Product from admin in Magento Custom Products Designer extension View Source Here:- https://bit.ly/39BKs0t