Download
1 / 26
280 likes | 524 Views
Appointment 3 Selecting Teeth. Dr. William G. Golden, DDS Prosthodontist & Associate Professor Director of Removable Prosthodontics. Purpose. To take the mystery out of selecting teeth (Put all our eggs in one basket.). Selecting Teeth. Goals:

E N D
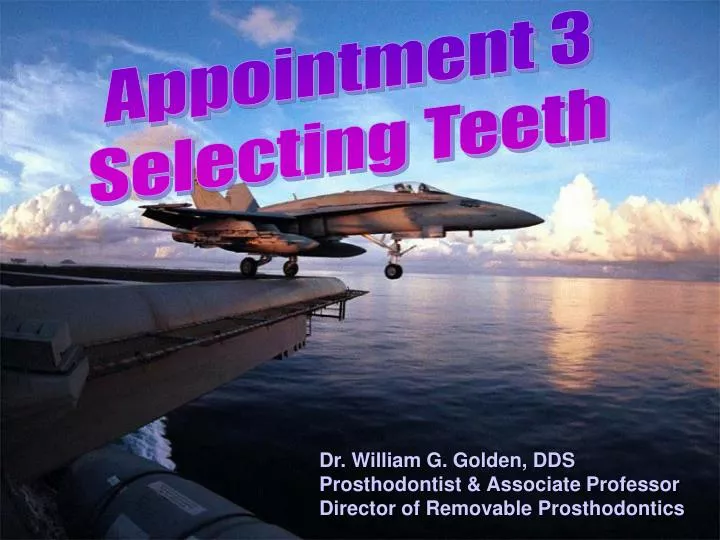
Appointment 3 Selecting Teeth Dr. William G. Golden, DDS Prosthodontist & Associate Professor Director of Removable Prosthodontics
Purpose To take the mystery out of selecting teeth (Put all our eggs in one basket.)
Selecting Teeth • Goals: • Student will be able to select the right teeth for the patient. • Student will be able to guide the patient to acceptance of the decision. • The patient will be happy with the result.
Assess the old dentures Is the patient happy with the mold, shade, and tooth arrangement?
Note the wear on the occlusal surfaces and the repair of the denture on the left. Also note that the denture on the right was made as a temporary denture.
It is important to note that even if the patient claims to be satisfied with the setting of their teeth in the denture they are currently wearing that they came in for some reason. A patient usually is not aware that problems of instability and lack of retention are often related directly to the positions of the teeth in relation to each other and to the denture supporting structures.
The bottom line: Denture teeth cannot be set to the same occlusion as natural teeth, because anterior guidance is not acceptable in dentures and is desirable in natural teeth or in arches restored with fixed dental prostheses.
Measure the width of the six max. anterior teeth (the distance from distal of #6 to distal of #11). Measure the height & width of the maxillary central.
Get the proper shade guide to go with the available teeth. It is recommended that this shade guide be disinfected with an appropriate cold sterilizing solution according to the manufacturer’s instructions. Caution: do not use chloride or iodophers, e.g. bleaches or solutions containing iodine.
Compare the shade of the old denture’s teeth.
MODIFIED OR SOFTENED FORM BASIC FACE FORM SQUARE TAPERING OVOID MODIFIED OR SOFTENED FORM BASIC FACE FORM TRIANGULAR OVOID SQUARE TAPERING MODIFIED OR SOFTENED FORM BASIC FACE FORM TRIANGULAR SQUARE OVOID Typical Face Forms BASIC FACE FORM OVOID
Go to the tooth selection chart and mold display. Begin with the maxillary anterior teeth.
There is also a chart with the maxillary anterior teeth displayed in real life dimensions.
MOLD NUMBER LENGTH OF CENTRAL WIDTH OF CENTRAL WIDTH OF 6 ANTERIORS ON CURVE LOWER MOLD NUMBER Here is a chart of a different mold of teeth with the maxillary anterior teeth displayed in real life dimensions.
MOLD WIDTH OF 6 ANTERIORS HEIGHT OF CENTRAL WIDTH OF CENTRAL ARTICULATES WITH THIS LOWER MOLD Select the maxillary anterior teeth that best match the patient’s mold (old CD or natural teeth) and use the manufacturer’s chart to determine the mandibular anterior teeth and all posterior teeth that will be in harmony with those teeth.
Shade Number MOLD Right Canine Right Lateral Right Central Left Central Left Lateral Left Canine The maxillary anterior teeth have the mold and shade listed on the front of the card.
A mold chart will have several suggested teeth that will complement the maxillary anterior teeth you select. It is important to understand these suggestions are based on a Class 1 Patient.
Use the mold compatibility chart to pick all posterior teeth and the mandibular anterior teeth. red = mold blue = shade
An easy way to verify the selection of the maxillary teeth is to put a piece of soft rope wax or Triad on the anterior ridge area of the maxillary cast and set the teeth in place.
Measure the width of the 4 mand. posterior teeth.
Compare the mesiodistal width of the four teeth with the length of the mandibular posterior ridge. It is easy to see that the width of the four teeth is too wide for this area, so we will choose three to set in this area. Which three?
The second premolar and two molars are chosen because the molars are necessary for a proper compensating curve to be established. Teeth should not be set on the rise of the mandible to avoid creating a problem which allows the pressure on a tooth set on this rise to displace the mandibular denture anteriorly.
Also remember to select a denture base acrylic that will match the patients natural coloring as closely as possible.