Download
1 / 4
0 likes | 7 Views
Discover the ultimate guide to flawless drywall repair with how to patch and repair drywall. This PDF manual equips you with expert techniques to tackle any project. Say goodbye to unsightly cracks and holes! Get your copy now and master drywall repair in Phoenix. Don't miss out, Read now!<br>

E N D
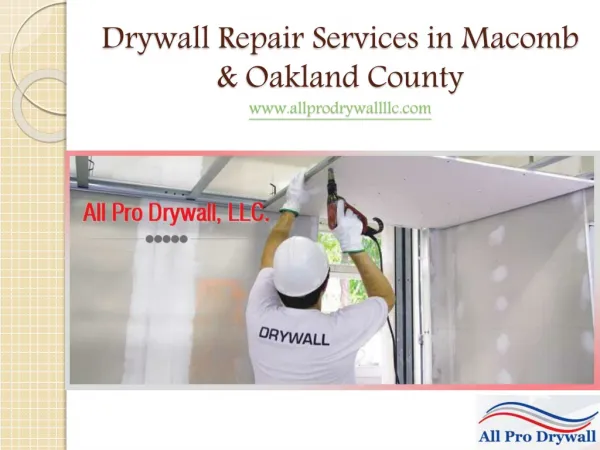
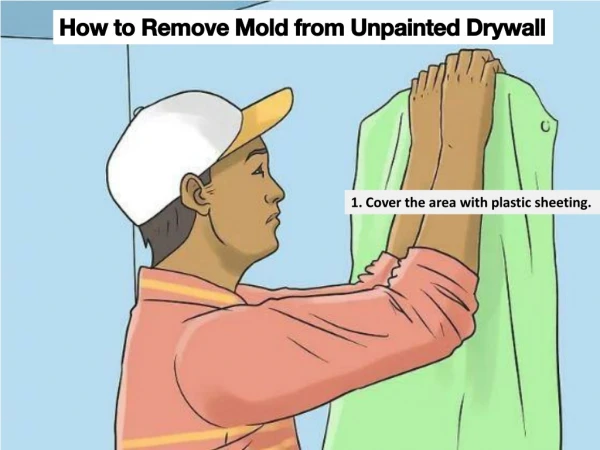
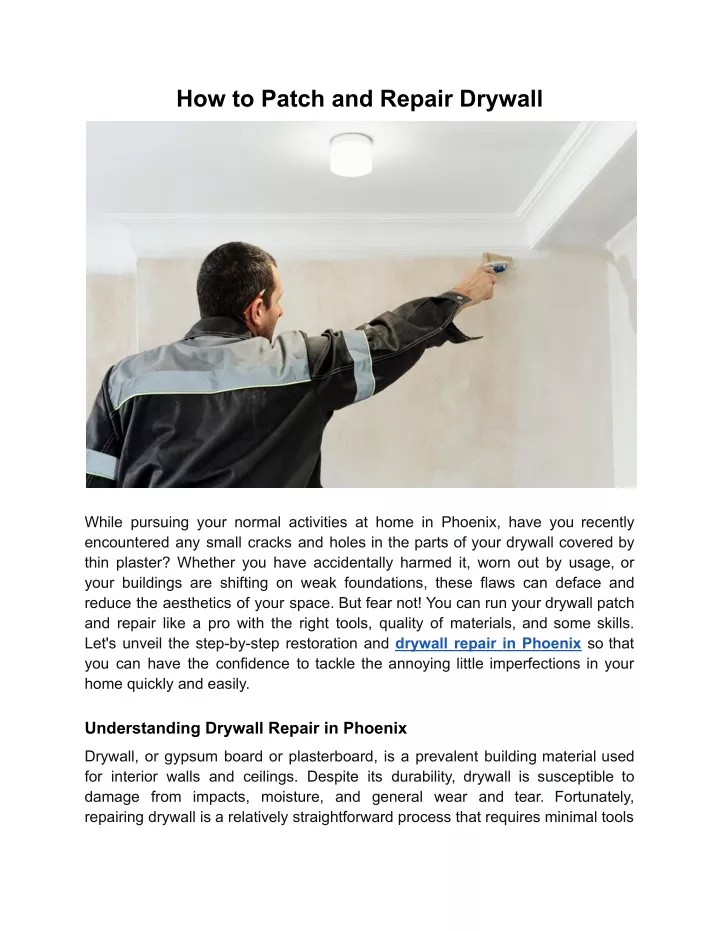
How to Patch and Repair Drywall While pursuing your normal activities at home in Phoenix, have you recently encountered any small cracks and holes in the parts of your drywall covered by thin plaster? Whether you have accidentally harmed it, worn out by usage, or your buildings are shifting on weak foundations, these flaws can deface and reduce the aesthetics of your space. But fear not! You can run your drywall patch and repair like a pro with the right tools, quality of materials, and some skills. Let's unveil the step-by-step restoration and drywall repair in Phoenix so that you can have the confidence to tackle the annoying little imperfections in your home quickly and easily. Understanding Drywall Repair in Phoenix Drywall, or gypsum board or plasterboard, is a prevalent building material used for interior walls and ceilings. Despite its durability, drywall is susceptible to damage from impacts, moisture, and general wear and tear. Fortunately, repairing drywall is a relatively straightforward process that requires minimal tools
and materials. Assessing the Damage: With The Beginning Before stepping into the repair process, the first step is to evaluate how extensive the damage caused and choose the best course of action. Check the affected area first, noting down its size and place as well as the crack, hole, and imperfections that it has. Minor cosmetic flaws can be fixed by repairing and sanding the affected area. In contrast, more significant areas of damage may require the removal of the existing drywall and installing new drywall patches with the help of a drywall contractor in Phoenix, AZ. Gathering Your Tools and Materials To effectively repair drywall, you'll need a few essential tools and materials, including: - Drywall joint compound (mud) - Drywall tape - Sandpaper (various grits) - Putty knife or drywall trowel - Utility knife - Drywall saw or rotary tool - Measuring tape - Pencil - Paint and primer (if applicable) Patching Small Holes and Cracks For minor damage, such as small holes and cracks, follow these steps to patch and repair your drywall: 1. Clear the area around the damage first by removing any loose debris or dust. 2. Spread a thin coat of joint compound onto the hole or fracture using a putty knife or a drywall trowel.
3. Mount drywall tape into the wet joint compound, removing any ripples or irregularities. 4. Add a new layer of joint compound on top of the tape, smudging the edges softly for transition into the wall. 5. To complete the compound, let it dry totally. Then, use sandpaper to sand the area finely. 6. Add other layers of compound when required, sanding for each coat until the surface is clean and even. 7. If necessary, paint the repaired area with Prime corresponding to the surrounding wall's color. Repairing Larger Holes and Damage For more significant damage, such as larger holes or water damage, follow these steps: 1. Use a utility knife or drywall saw to cut out the damaged section of drywall, creating a clean, rectangular opening. 2. Measure and cut a new piece of drywall to fit the opening, ensuring a snug fit. 3. Secure the new drywall patch in place with drywall screws or nails, making sure to sink them slightly below the surface. 4. Apply joint compound over the seams and screw/nail heads, embedding drywall tape as needed. 5. Feather the edges of the compound with a putty knife or drywall trowel, blending them into the surrounding wall. 6. Allow the compound to dry completely, then sand the area smooth and level.
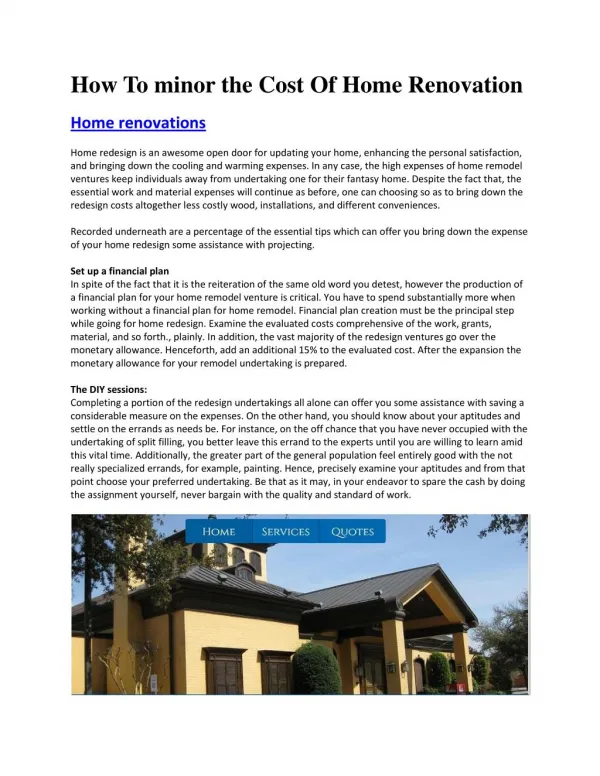
7. Apply additional coats of compound as needed, sanding between each coat until the repair is seamless. 8. If necessary, Prime and paint the repaired area to match the surrounding wall. Seeking Professional Assistance You must rely on Professional Home Repair experts regarding drywall repair in Phoenix. The company's roster of skilled experts can handle all home repair and renovation aspects, including drywall repair services. With its ability to deliver high-quality craftsmanship, attention satisfaction, you can rely on Professional Home Repairs to restore the beauty and firmness of your walls with precision and care. to detail, and adherence to client Conclusion: In homeownership, drywall damage will occur regardless of how much you try to avoid it. On the other hand, knowing how to patch and repair drywall can enable you to successfully fix your walls, giving them a new and improved look. Whether repairing the holes and cracks or the large-scale damage, you'll be able to do the perfect job by these steps, but hiring a professional for more extensive repairs will keep your home in good condition for a long time. With some patience, concentration, and effort, you will be a professional drywall repairman. Source: https://techplanet.today/post/how-to-patch-and-repair-drywall