Download
1 / 15
150 likes | 215 Views
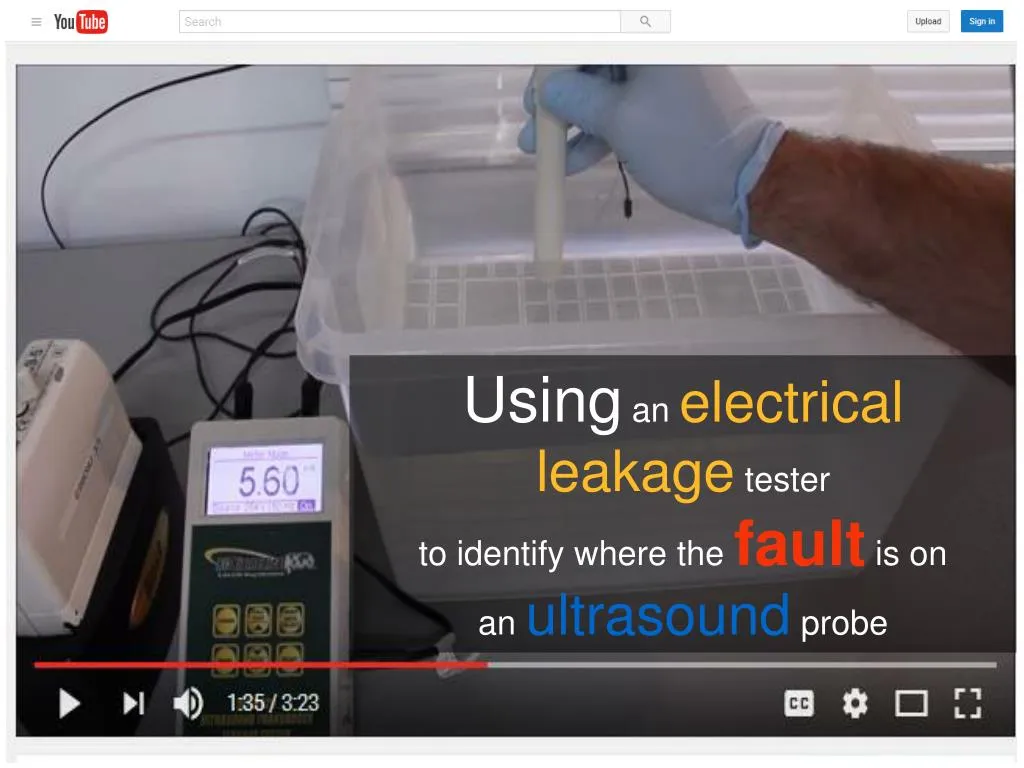
In this presentation you will see how you can identify the location of an electrical leakage issue on an ultrasound probe by using a real time electrical leakage meter.<br>In this example i use the ULT-2020 from BC biomedical.Feel free to contact us for any assistance at www.probelogic.com.au

E N D
Using an electricalleakage tester to identify where the faultis on an ultrasound probe
In this video i show you how you can identify the location of an electrical leakage issue on an ultrasound probe by using a real time electrical leakage meter. In this example i use the ULT-2020 from BC biomedical. Feel free to contact us for any assistance at www.probelogic.com.au
Many people ask me what electrical leakage.Esther they should be using to test their probes I usually recommend the bc.biomedical ult 2020 and i really like this tester.
it's got some automatic functions but what I really like about it is the real.time monitoring mode now this allows you to just display in micro amps the current leaking through the probe their first you need the probe in the back
current leaking through the probe their first you need the probe in the back I like the flexible conductivity probes that they have and i just have plugged in there.
universal adapter so that i can plug the private once we've turned the unit on we can click mode and then turn on the power right and then we get a leakage through the system.
Now that is basically out baseline it's very close to zero so 1 2 micro amps now that is basically out baseline it's very close to zero so 1 2 micro amps that's quite low we can then plug the protein to the universal adapter and this probe.
it's quite an old probe and it has some damage on the lens there so we're expecting some significant leakage through that . and i'll show you how we can identify at what point the damage actually is now if I take this probe and insert it into the water bath from each angle
so if i take it down this way and we can see as it enters the water and then all of a sudden it goes off range because that . has gone on the water so don't actually draw on your probes
but if i were to you what you will be able to imagine an imaginary line around there.sothat's where the water line was then i can do it from a different axes let's say we pick like this
and about their so the game can draw another imaginary line this time it goes arround there then if i do the final axis which is that way to do it that way there.
you can see the intersection of those lines is at that point so we know that the damage isat that point so it's a very great way of identifying where you leak is
hope that's helpful. Feel free to contact us for any assistance at www.probelogic.com.au
http://www.probelogic.com.au/how-to-use-an-electrical-leakage-tester-to-identify-the-position-of-a-leak-on-an-ultrasound-probe/http://www.probelogic.com.au/how-to-use-an-electrical-leakage-tester-to-identify-the-position-of-a-leak-on-an-ultrasound-probe/