Download

1 / 12
120 likes | 142 Views
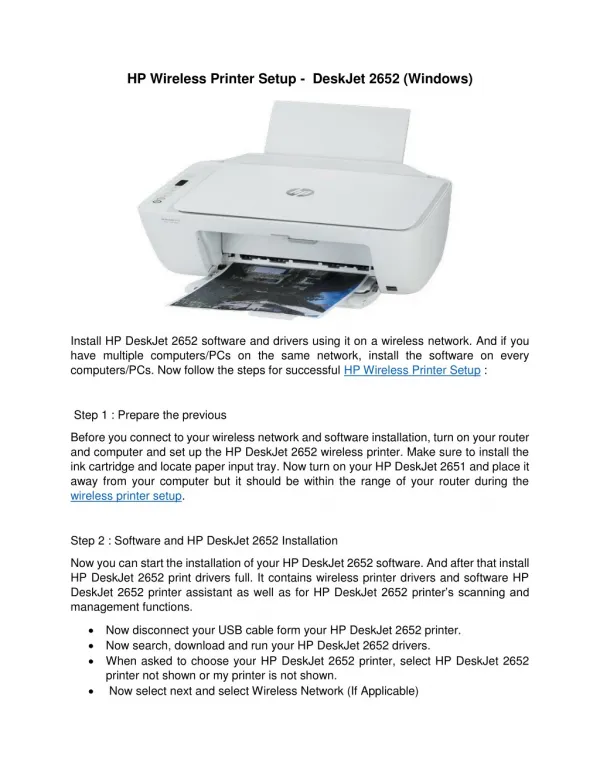
How to Add Wi-Fi Network to Any Device

E N D
Introduction - There are many brands of wireless routers on the market. The concern is to find one with at least the wireless “n” standard which is more than adequate for the type of network being created. It needs to have a built in DHCP server capability. The router should have four or more ethernet ports. Most suitable brands and models of the type router needed for this network will have four ethernet ports. There is no need for a cable modem! The network being built is a stand-alone network with no external connections.
Cisco linksys E3000 wireless router - For illustration purposes, a cisco linksys E3000 wireless router/switch is typical of what you are seeking. Other suitable linksys routers include the E1200-NP, E2500, and EA6200 models. Netgear also makes several suitable models as well.
Cisco linksys E3000 wireless router - Notice on the back there are 4 ethernet ports along with a yellow port labeled “internet”. You will not be using the internet port except maybe for initial access to the device according to the setup instructions that come with the router.
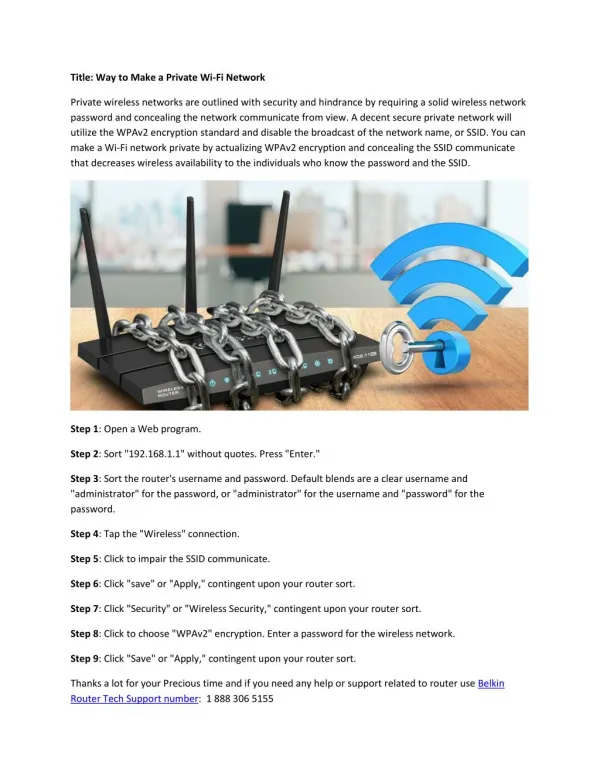
Initial setup - Follow the directions that come with the router to gain programming access to it. In the case of the E3000, it comes with a cd that installs a program called cisco connect. Following the instructions, it automatically detects and sets the router up with basic information. It will ask for a network “SSID”, which is simply a name you assign to the network, along with an administrative password for advanced setup access. Once the device has the basic settings installed then access the advanced setup area. A browser, such as Internet Explorer, is used to connect to the E3000 as instructed. Once the SSID and password you set up are entered into the login area, it will open directly to the page where the DHCP server info is displayed. On other devices the software or browser may have links that will lead to the DHCP server settings page.
DHCP server settings on the wireless router - At the middle of this display is seen the network and DHCP server setting area. The router address is set by the software. The only number that changes in the IP addresses assigned to computers connecting to the network is the last number. It can be in the range of 1 to 254. Make sure the DHCP server is “enabled”. Then set the start IP address at 50 and change the max users to 150. After saving these settings, the address range changes to those that will be assigned automatically to computers that connect to the network by the DHCP server, in this case 50 to 199. 1 through 49 are not part of this “pool” of addresses and can be used manually for special needs computers. Only one of these “reserved” IP addresses will be assigned and that will be to the PC2 server.
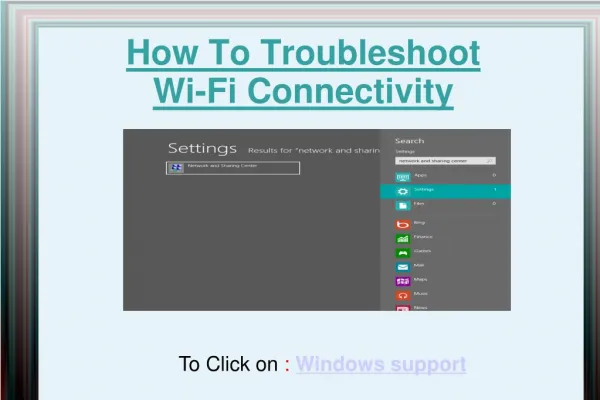
Manually assigning an IP address to a computer - The procedure for assigning an IP address manually varies by computer operating system but they all have the same basic information. In windows7, go to control panel and then go to the network and sharing center. Find the blue “local area connection” link and click on it.
Manually assigning an IP address to a computer - The window that pops up shows the status of your connection. Click on the “properties” button.
Manually assigning an IP address to a computer - In the next popup you will see a list of items with checkmarks beside them. Highlight “internet protocol version 4” and then click on the “properties” button.
Manually assigning an IP address to a computer - When this window appears click on “use the following IP address:” and enter the information as shown in this picture. The default gateway is not important except, in this case, it points all computers in the network to the computer where PC2 is located. This would normally be the IP address of the router that leads to the internet. Now, select “obtain DNS server address automatically”. We are not using DNS so no addresses will be entered. The PC2 server is the only computer you should have to install an IP address manually.
Thank you for watching this site Click here to install webroot setup http://webroot.com-safe.me