Download
1 / 9
90 likes | 96 Views
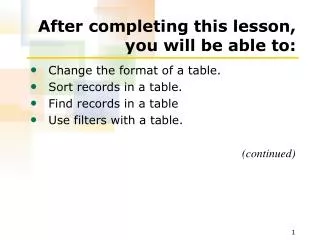
After completing this lesson, you will be able to:. Add a header and footer to a worksheet. Change margins and center a worksheet. Change the orientation and the scale of a worksheet. Add and delete page breaks. Set and clear a print area. Customizing Headers and Footers.

E N D
After completing this lesson, you will be able to: • Add a header and footer to a worksheet. • Change margins and center a worksheet. • Change the orientation and the scale of a worksheet. • Add and delete page breaks. • Set and clear a print area.
Customizing Headers and Footers To customize a header or a footer • On the View menu, click Header and Footer. • Click the Custom Header button or Custom Footer button. • In the Header dialog box or Footer dialog box, enter the desired text in the Left, Center, or Right sections. • Format the text, if desired, and click OK twice.
Changing the Margins of a Worksheet To change the margins of a worksheet • On the File menu, click Page Setup and click the Margins tab. • Adjust the size of the margins in the Top, Bottom, Left, Right, Header, or Footer boxes. • Select the Horizontally and Vertically check boxes and click OK.
Changing the Page Orientation of a Worksheet To change the page orientation of a worksheet • On the File menu, click Page Setup and click the Page tab. • In the Orientation section, click Portrait or Landscape and then click OK.
Scaling a Worksheet To scale a worksheet • On the File menu, click Page Setup and click the Page tab. • Click the Fit to option, and adjust the number of pages wide and number of pages tall in the two Fit to boxes. • Click OK.
Adding a Page Break To add a page break • Select the cell directly below and to the right of where you want the page break. • On the Insert menu, click Page Break.
Deleting a Page Break To delete a page break • Select the cell directly below and to the right of the page break you want to delete. • On the Insert menu, click Remove Page Break.
Setting the Print Area To set the print area • Select the portion of the worksheet that you want to print. • On the File menu, point to Print Area and click Set Print Area.
Clearing the Print Area To clear the print area On the File menu, point to Print Area and click Clear Print Area.