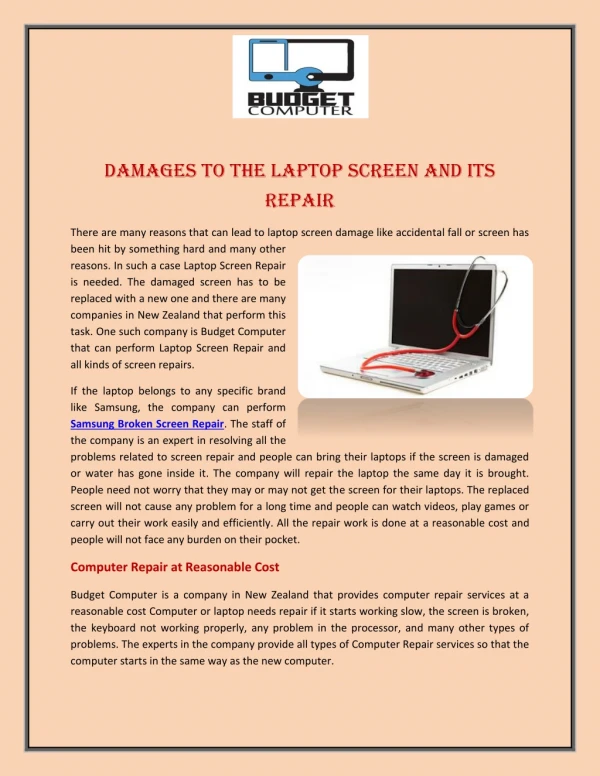
Download
1 / 1
10 likes | 30 Views
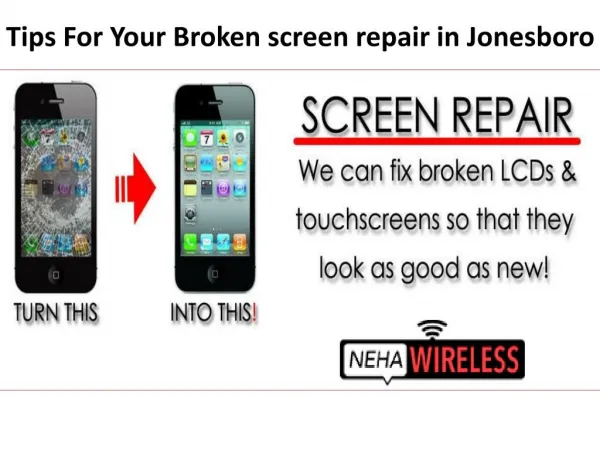
http://phonegenius.com.au/services - One of the most common issues that device repair shops are resolving these days are the screen issues. Be it the iPad glass repair or the Mobile phone screen repairs, they experience one or two common issues that if one wants can be solved at home too.

E N D
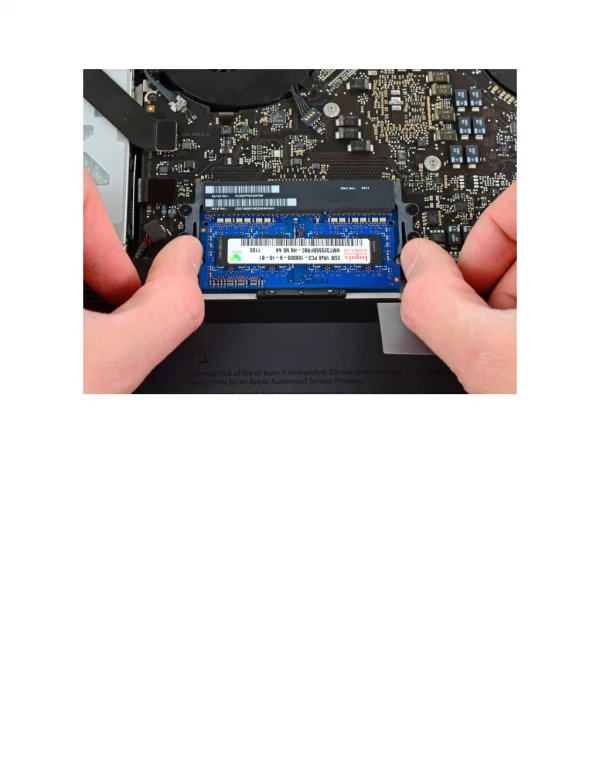
Tips for Laptop Screen Repair One of the most common issues that device repair shops are resolving these days are the screen issues. Be it the iPad glass repair or the Mobile phone screen repairs, they experience one or two common issues that if one wants can be solved at home too. Here we are giving the tips for laptop screen repair. For more information, visit: http://phonegenius.com.au/ These are as follows Specific problem with screen It sometimes so happens that you drop your device and the crack appears on the screen, at other times they don’t. In the first case it is evident that you need to replace the LCD but what in the latter case? Here you need to check whether the other components of the device are working or not. In case your screen flickers, shut down or you see that faint images then problem is the inverter. In case the lines appear on the screen then you need to resolve the motherboard. Unveil the bezel screws With the screen first get damaged, you tend to experiment and resolve the issue yourself. In such a case you can simply remove the current one and see for other problems also that might have cropped up and gather the required parts for apt replacement. For this you will need a special set of tools. Remove the bezel After removing the securing screws, pull out the bezel from LCD. Using your finger carefully pull the bezel in between the bezel and the screen. Once you have done this, you will spot the LCD in a metal frame. Slide the LCD forward and away from the plastic shell. In case there are no cracks on screen then see the cable connections to the motherboard. Spot right replacement The rear of LCD panel allows you to see the manufacturer part-number and the cable connections. Check the label on the back to see manufacturer’s part number. Having this information, it is now easy for you to find the replacement. Replace, check and power on Now position new LCD and screw it in place into metal frame. You simply need to fit back the cables. It is a reverse process of what you did till now. Prior to replacing the bezel and the screws, you just need to test the screen.