Download
1 / 5
50 likes | 143 Views
The great thing about macro photography is that you can find endless details, patterns and subjects in the tiny world around us that are waiting to be photographed. While DSLR and Mirrorless cameras will have a huge variety of accessories available to help you create close-up images, many compact cameras have the ability to also create really great close-up pictures.

E N D
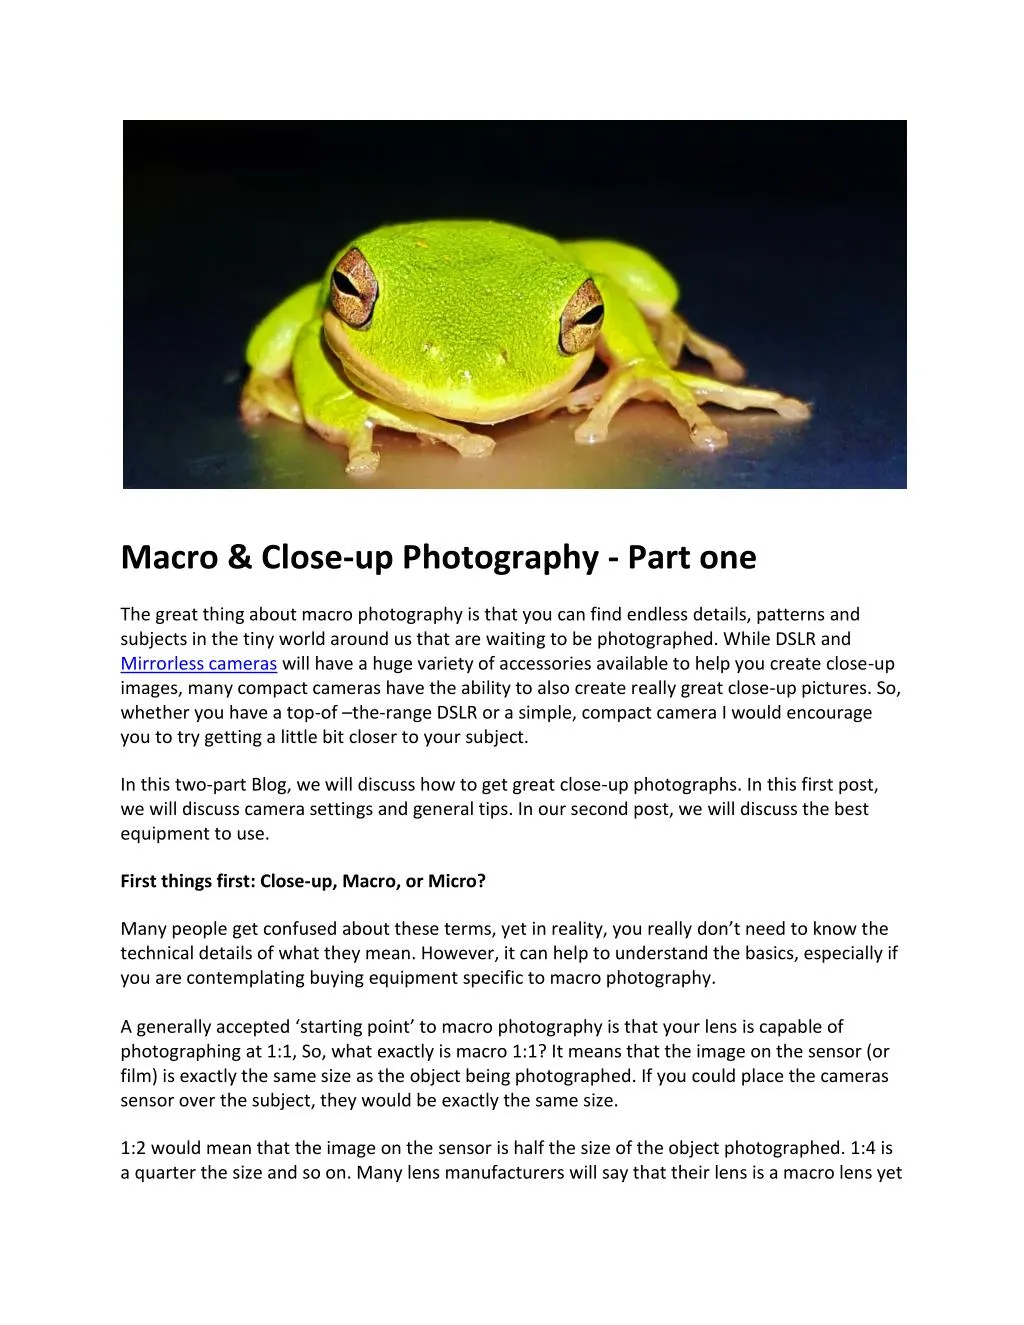
Macro & Close-up Photography - Part one The great thing about macro photography is that you can find endless details, patterns and subjects in the tiny world around us that are waiting to be photographed. While DSLR and Mirrorless cameras will have a huge variety of accessories available to help you create close-up images, many compact cameras have the ability to also create really great close-up pictures. So, whether you have a top-of –the-range DSLR or a simple, compact camera I would encourage you to try getting a little bit closer to your subject. In this two-part Blog, we will discuss how to get great close-up photographs. In this first post, we will discuss camera settings and general tips. In our second post, we will discuss the best equipment to use. First things first: Close-up, Macro, or Micro? Many people get confused about these terms, yet in reality, you really don’t need to know the technical details of what they mean. However, it can help to understand the basics, especially if you are contemplating buying equipment specific to macro photography. A generally accepted ‘starting point’ to macro photography is that your lens is capable of photographing at 1:1, So, what exactly is macro 1:1? It means that the image on the sensor (or film) is exactly the same size as the object being photographed. If you could place the cameras sensor over the subject, they would be exactly the same size. 1:2 would mean that the image on the sensor is half the size of the object photographed. 1:4 is a quarter the size and so on. Many lens manufacturers will say that their lens is a macro lens yet
it will only record an image at 1:4 or 1:8, In reality, these lenses are close-up lenses not macro. Only lenses that can get to 1:1 are true macro lenses. Macro or Micro? These two terms are often used in place of each other. In fact, Nikon call their lenses ‘Micro’ while Canon call theirs ‘macro.' Purists will argue that micro refers to microscopy (using microscopes) and is not the correct term for ‘macro’ lenses. Depth of field Depth of field is critical for macro photography and is something you will quickly discover is harder to control the closer you get to your subject. Depth of field is the distance that is acceptably sharp in front of and behind the plane of focus… your subject.
The closer you get to an object the less depth of field you will have. When photographing a landscape image you often have hundreds of meters, that is in focus: a large depth of field. As you get closer to a subject, the amount of the subject in focus becomes smaller. When shooting macro images, you may only have 3 or 4mm of the subject acceptably sharp! Because of this limited Depth of field, you will often be working with small apertures… f16, f22 or even f32 in order to get enough for your subject in focus. TIP Often, changing your viewpoint or shooting position can often help. If you are photographing a subject lengthways then you may simply not be able to get enough depth of field to get the whole subject in focus. Moving so that you are parallel to the subject means that you do not need to have such a large depth of field and gives you the chance of getting everything in sharp focus. Keeping it steady When you magnify a subject, you also magnify movement. When photographing a landscape image a light breeze blowing the leaves is not a big problem, but if you are filling the frame with a single leaf then that small movement all of a sudden becomes a big movement and can create real problems.
Movements of the subject create image blur and ruin what could otherwise be a great image. The normal answer to this problem is to increase the shutter speed to freeze the movement, but this can create issues with depth of field. Using small apertures to increase depth of field means less light is allowed to reach the sensor so the shutter speed has to be made longer to compensate. You are now faced with a dilemma. Making the shutter speed longer increases the chances of camera shake while keeping the shutter speed fast will reduce your depth of field. If the subject is static, mount the camera on a tripod. If the subject is moving in the breeze, you could create a windshield or carefully ‘clamp’ the object so that it cannot move. Increasing your ISO to allow a faster shutter speed, while retaining a small aperture will create more noise in the image, but the overall shot will be sharper with more depth of field. Exposure modes As with all photography, the exposure mode you choose will depend on the outcome you want from the image. With macro photography depth of field is your biggest problem so small apertures are required. Aperture priority is best for this. However, if the subject is moving, you may want to consider shutter priority to help freeze the subject movement. Focus manually. But autofocus is really good and fast I hear you say. Yes, autofocus is excellent on new cameras. However, the subjects we choose for macro images often make it difficult for the camera to get correct focus. Also, because depth of field is so small we want to make the most of it. Often this means focusing slightly in front of, or behind, the place we would usually focus on. This let us make use of depth of field to get more of the image in full focus. Watch your backgrounds
A bad background can ruin a good photograph. Backgrounds that are busy or poorly framed will distract the viewer and take the attention away from your main subject. Always look beyond the subject and take a good look around the frame of your image, especially the edges. Are there things that can be cropped out? Can you move where you are shooting from to get a cleaner background? Would a different time of day light up or, put into shadow, a busy background? TIP Carry some coloured A4/A3 paper around with you. This can be placed behind your subject to create a nice clean background. Camera shop Parramatta Cameras (www.parramattacameras.com.au) is your one-stop shop for one of Sydney’s largest Digital SLR Cameras, Compact Cameras, CSC Mirrorless Cameras, Lenses, Drones, Binoculars and Accessories.